
.jpg)
If you haven't notice, I tend to get excited about messy things. Most often, the messier, the better. This is not, by far, the messiest thing we have tried.... but for those of you who thought our "slime off" was a mess.... don't tell me that I didn't warn you....
While I was looking for great recipes to test in our "Slime Off," I ran across this recipe for floam. If you have never played with floam, it is a neat sculpting/sensory/all around fun/messy thing to play with. Prior to this experience, I had only played with store bought floam. It is made from polystyrene beads and a slimy substance.
 Please, please, please don't go out and buy any styrofoam beads to make this. Styrofoam is not good for the environment, so please reuse some that you have or can find. The children enjoyed the grating of the styrofoam the best anyway!!!
 We used a plastic cheese grater and some styrofoam packaging I saved because I figured that we could find "something" to do with it. Styrofoam is very clingy! We used a little bit of water in a spray bottle to help keep the static down. However, the beads did tend to stick to everyone and everything!
 Some of the children spent hours grating the styrofoam. They found out that if they blow on it or clap their hands in it.... "it makes a snowstorm!!!"
 Perhaps our next sensory table will be filled with grated styrofoam :).
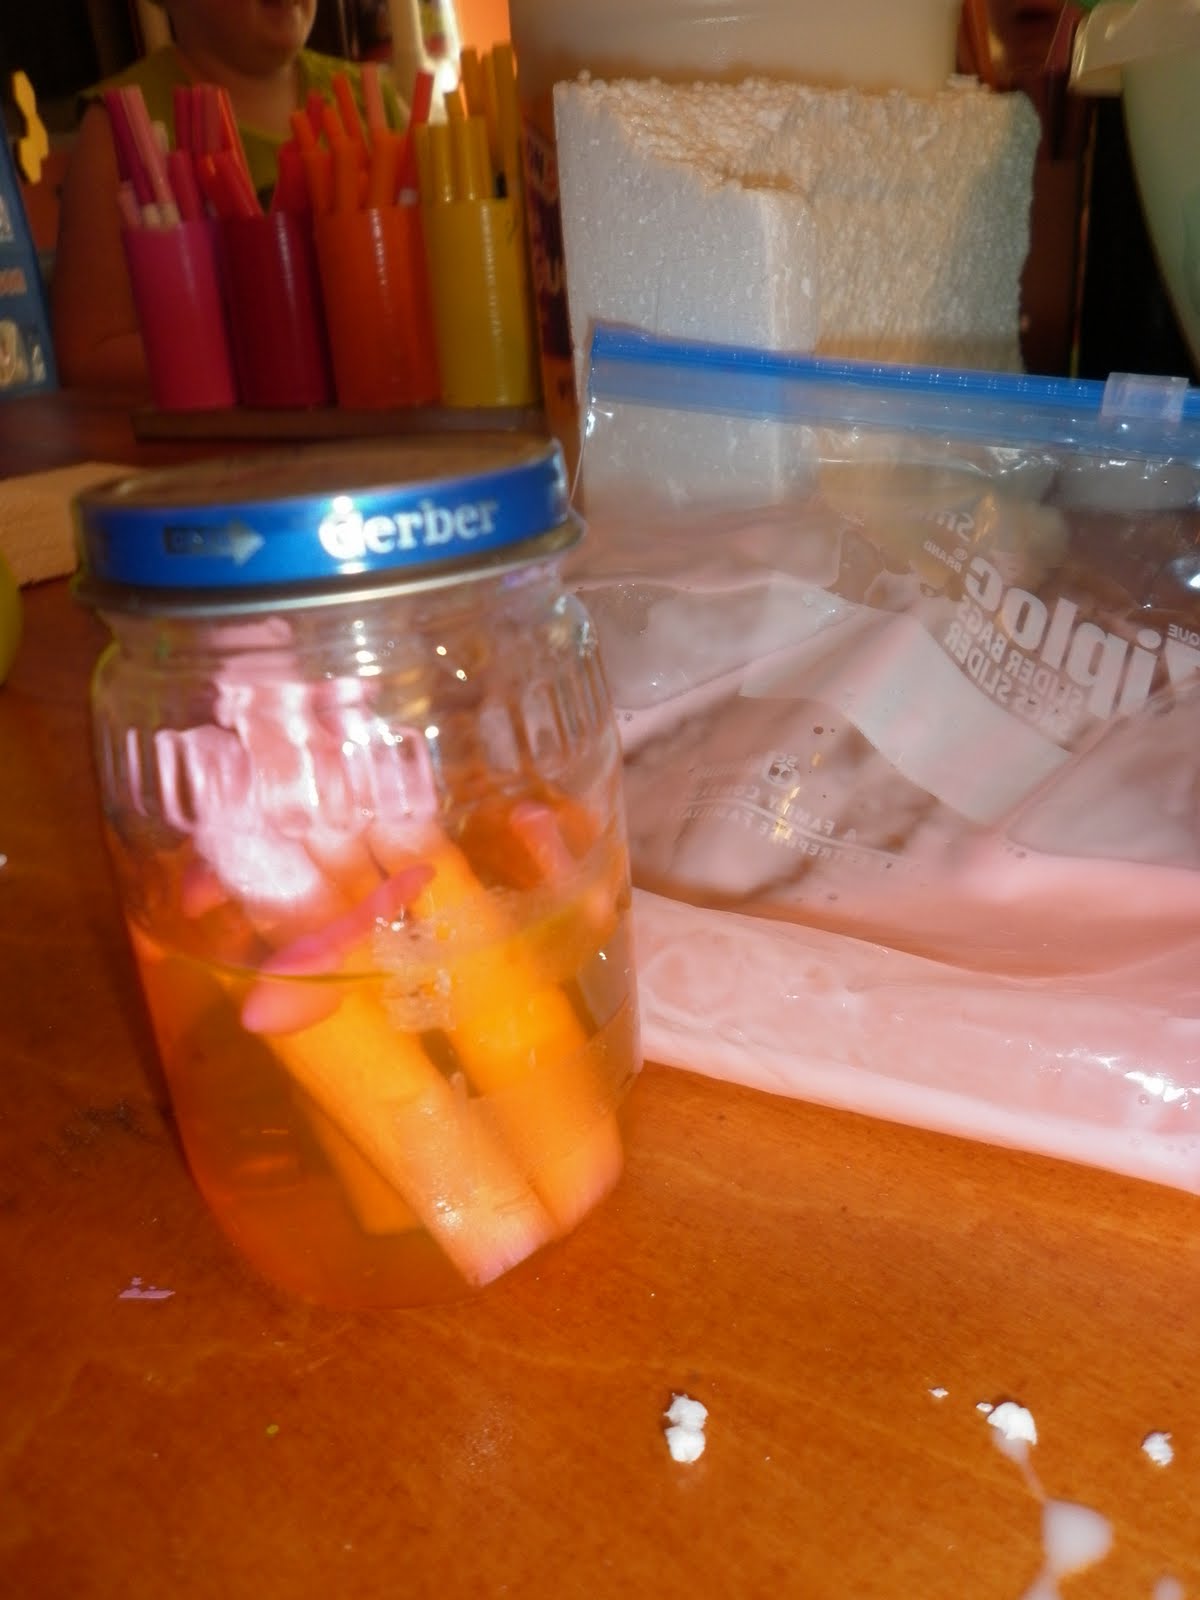 The recipe calls for a solution of water and coloring. We opted to use the coloring we made from "The Markers That Don't Work" instead of food coloring. Each baggie started with 1/4 cup of the colored solution (each child chose their own color).
 Then they scooped 1/4 cup of school glue into the bag. (You could have them squeeze it out of a bottle to measure into the cup, but we buy our glue by the gallon so I had them scoop it out of a dish instead of refilling the glue bottles all day :).
 Now, our zipper bags looked like this. We had to squish them to mix it up.
 After the solution was blended well, we added 1 1/3 cups of styrofoam beads. I had a 1/3 cup measuring cup in the bowl, so the children counted 4 of them to complete the task.
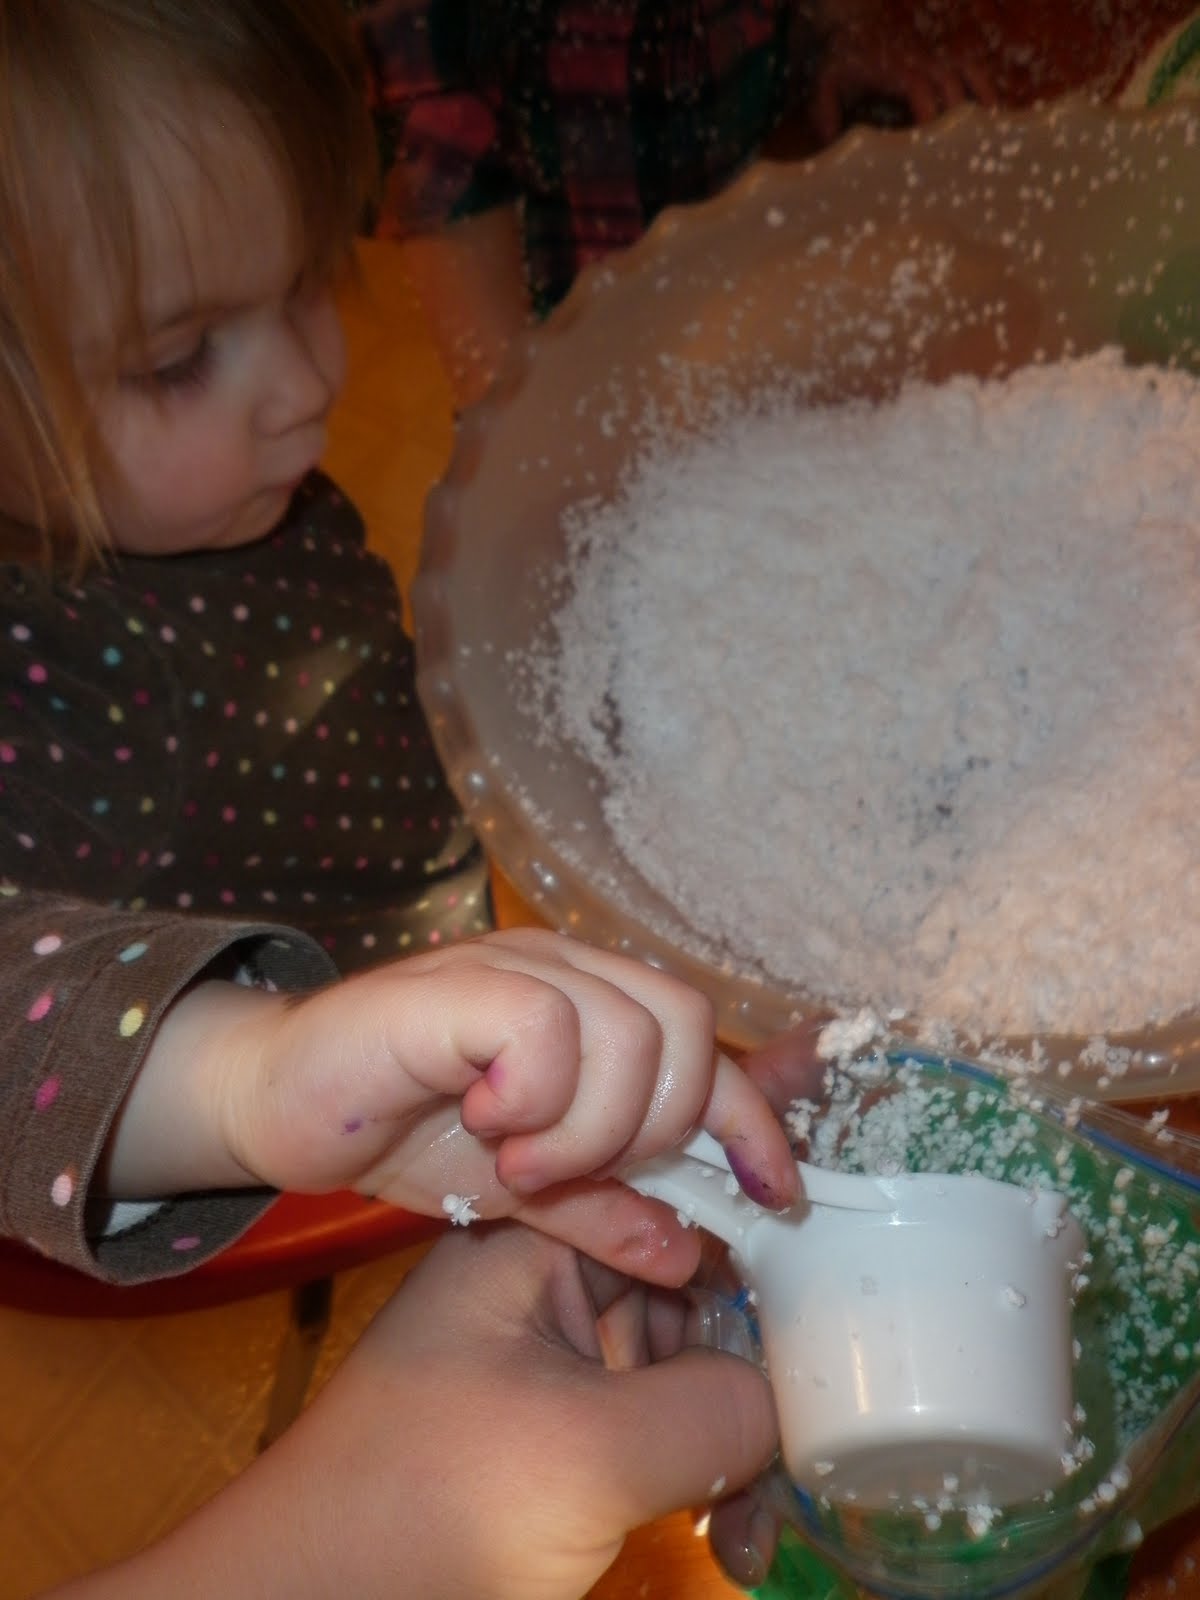 Somehow, in all of the craziness and mess.... I missed a couple of photos in the sequence. After the scooping of styrofoam, you need to mix them in well.
Then, in another container, (We used an empty crystal light container that was marked with a permanent marker to show 1/2 cup), add 1/2 cup of warm water and 2 tsp of Borax. Mix this solution well.
 When both solutions have been mixed well, add the Borax solution to the zippered baggie.
 Then, mix well. Be careful to mix it thoroughly, but not too rough or the bag could pop or you could break the zipper seal and end up with parts of the solution all over. You can either warn your little munchkins or learn this via trial and error like we did.......
Unlike when you make slime with Borax, you want to make sure that you continue to mix the solutions for your floam. At first, it may seem like you will have a lot of fluid left over. If you take the time to mix them, you will get much better consistency in your floam.
 After you are done mixing it in the bag- take it out and play!
This is one of those projects that tends to "follow" you wherever you go. The styrofoam beads stuck to all of us! We found traces of them in the play room... in our coats, etc. It's a good thing we have a Shop Vac!
What probably made it worse.... is that we were in the middle of "floaming" when I realized that some of our friends were going to get picked up in about 1/2 an hour and we had talked about getting back outside! The floam took much longer than expected.... so we just dropped everything.... left the mess and went out to play! When we came back inside, the children who were staying longer finished up with the floam. Sometimes.... you just have to drop everything and not worry about the mess to continue to have fun. The mess wasn't really going anywhere (okay... it did a little because we carried some of it with us.... ), and we were able to get most of it cleaned up when we came back in. Like a lot of fun messy things... we'll be seeing small traces of this for months!
Comments
Love the foam post btw.