Our February Sprouts

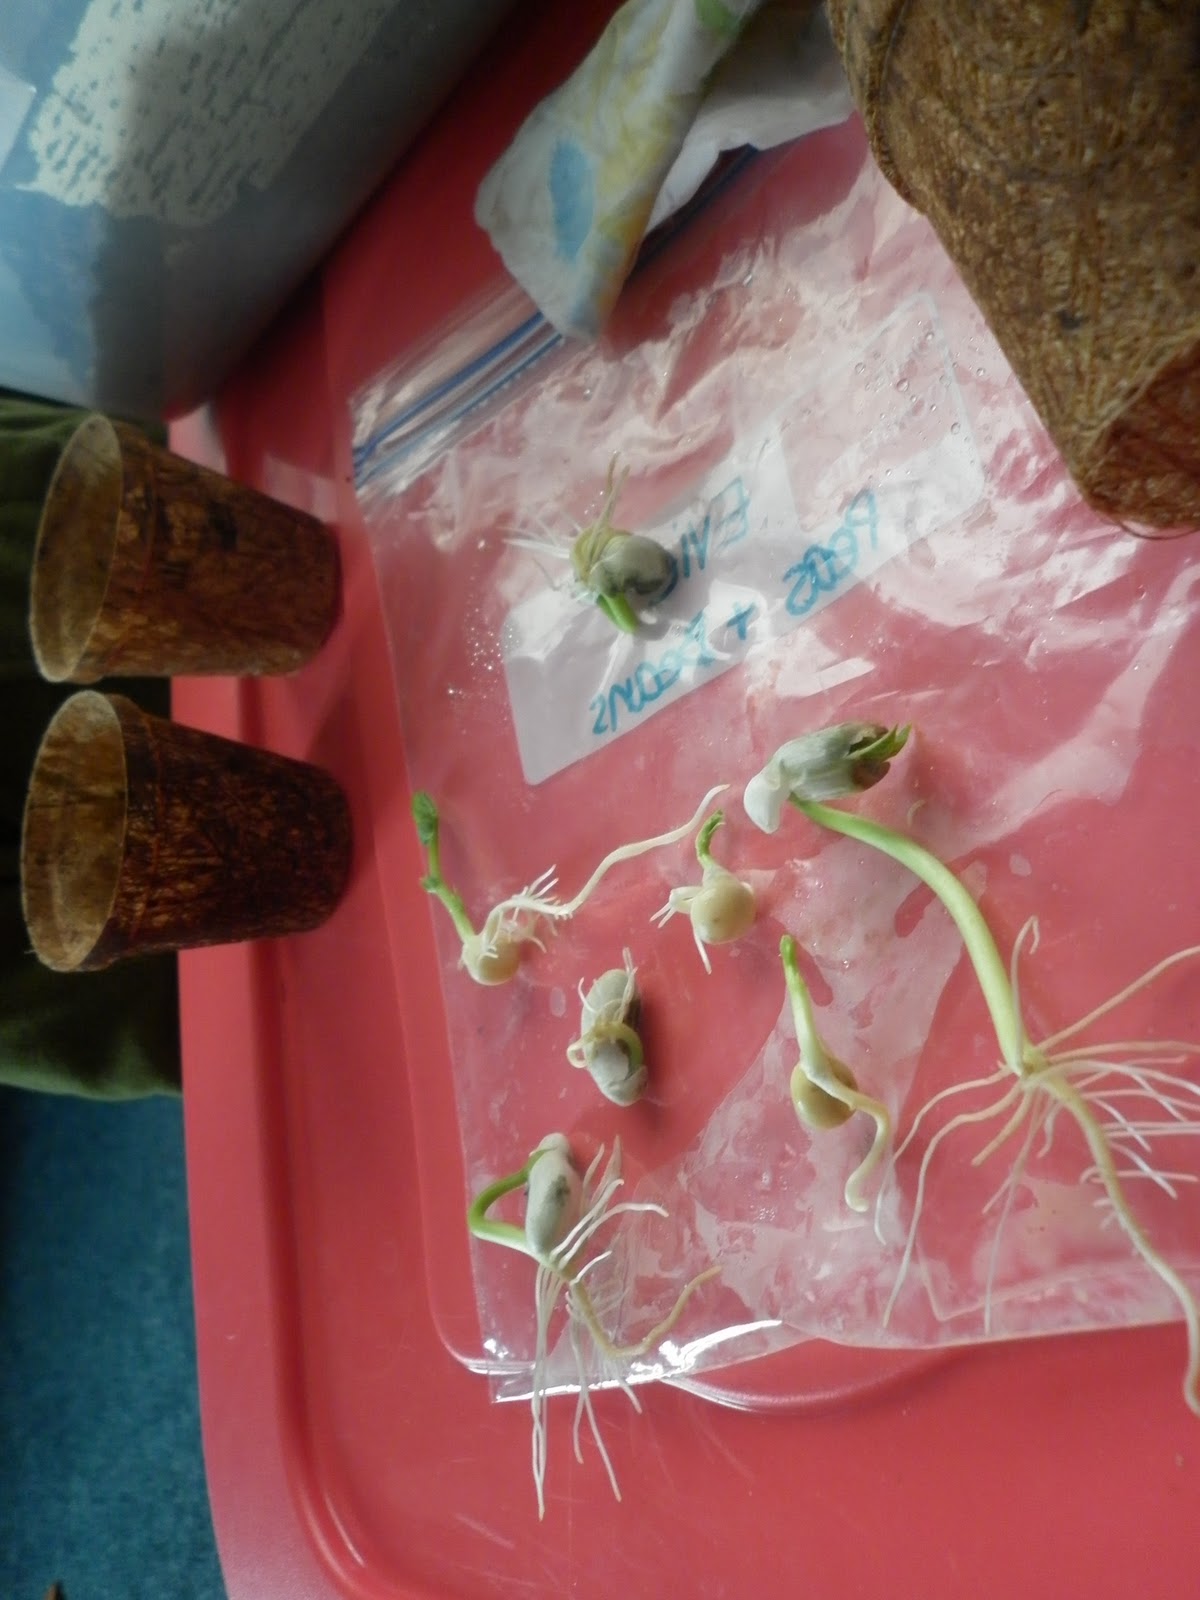
If you've been following along, you'll know that we started to sprout a few seeds about a week and a half ago. In Upper Michigan, starting seeds indoors is almost a necessity considering that the outdoor growing season is so short. You can see the start of our project here.  We have been taking photos daily to document our observations. (You can see our full photo stream on Facebook.)

After about 9 days of sprouting in the plastic bags in the window, our peas and beans were ready to be moved to dirt.


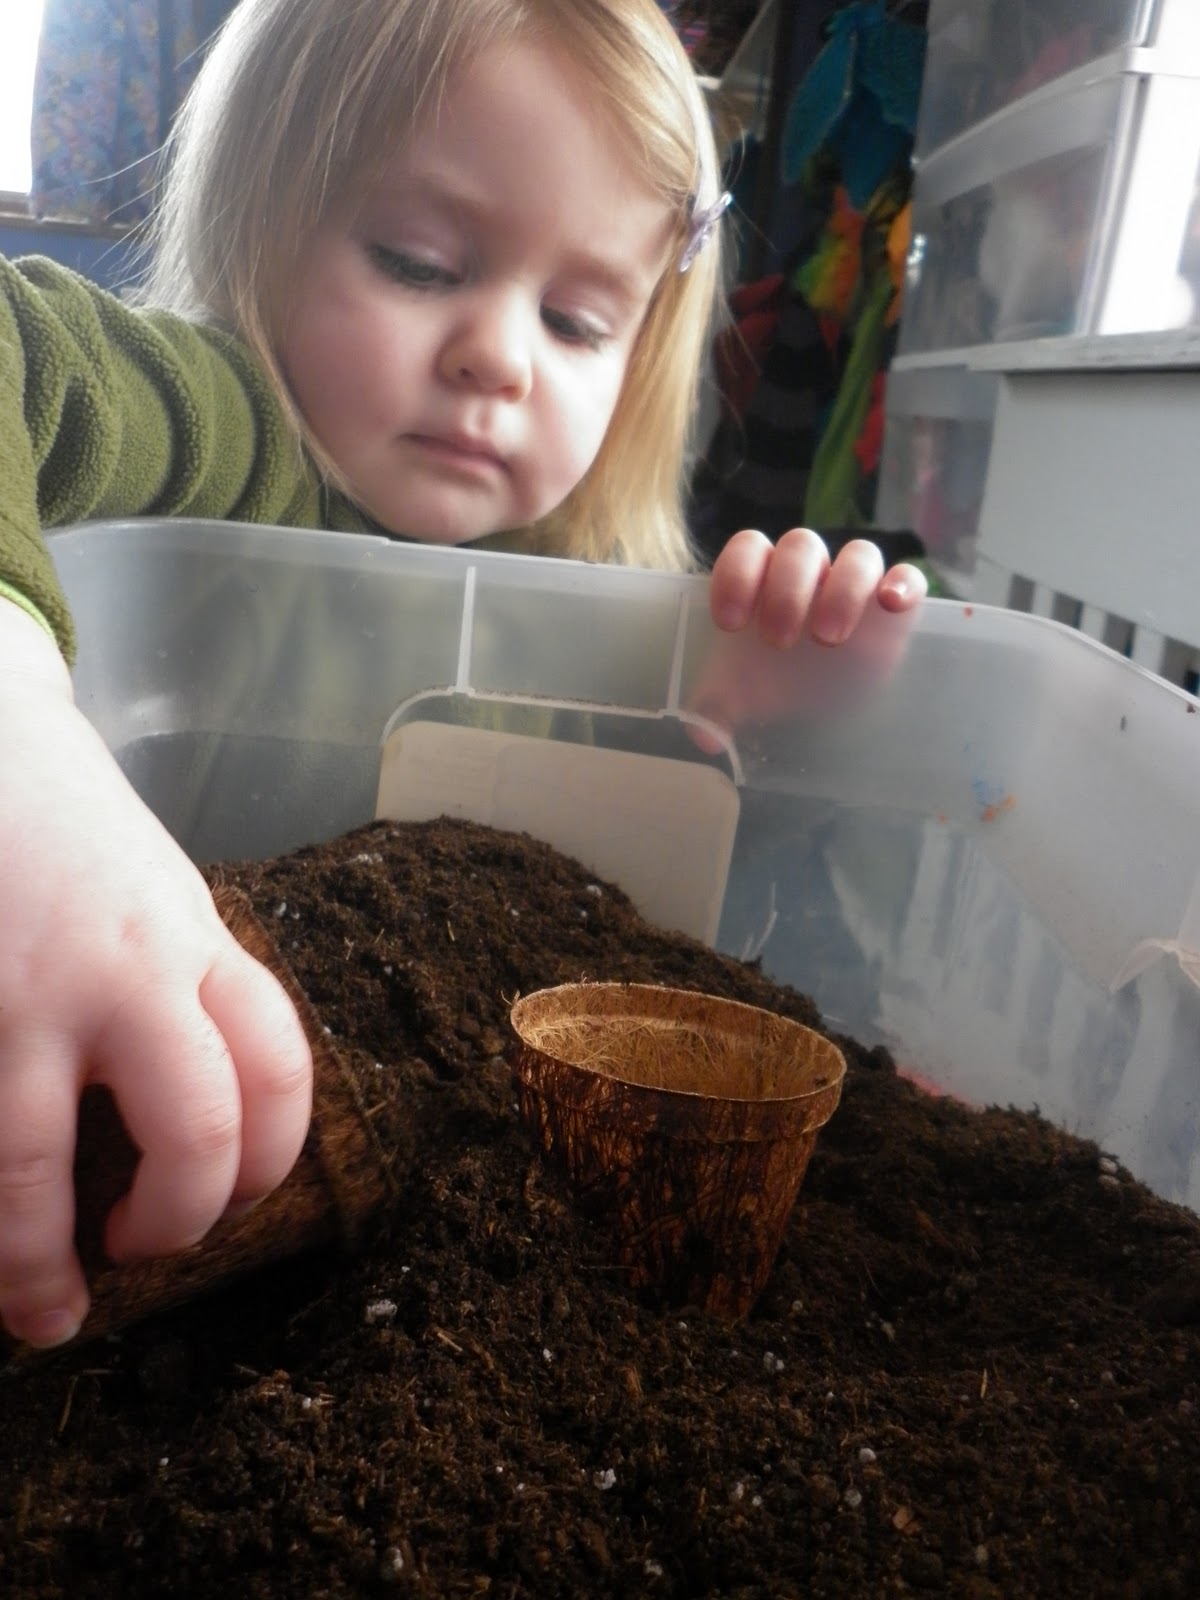
The children did a great job planting the sprouts in our fiber pots.

We have been watering them daily with our spray bottles.

The children have been carefully observing the changes and growth of the seedlings.


We have also been testing another experiment with some seeds. We planted a bean seed in each of these test tubes: water, sand, and soil.
(This photos if from day seven of the experiment. We take a photo with a number each day so that we will have a record of the changes.)

We've also been pretending to be tiny little seeds...... 

First, we are all bunched up like a little seed.


Then our legs reach out, down into the ground just like roots.


Our arms reach straight up into the air like stems....  and then....


Out pop our arms just like the leaves!
 

Comments

Ticia said…
Oh, I like the movement activity to get them moving and thinking.
Anonymous said…
So smart how you had them do the planting in that big tub. Great way to not waste any soil. Stealing that idea for when we do our planting!
Unknown said…
I was just thinking that we need to get some little sprouts going in the classroom! Clearly, I am behind...thanks for all the great ideas!
Anonymous said…
I love this posting! It is so great to think about gardens and growing seeds. I really like the movement activity with your children.

Mmm- I can smell that dirt!
Ticia- They came up with the start of the movement activity all on their own :). They are used to coming up with finger plays or full body movements to help us remember different things. I thought it was cute.

Abbie- Using a tub or our sensory table is always a must with "jobs" like this. With so many little hands at work at various levels, we need something to catch the spills :).

Pam- you aren't really behind (depending on where you are...) We are very early here, as we often have frost into June, but we will just have an inside harvest if we need to! I hope to plant in various stages so that we will be able to have a vine teepee all summer long.

Brenda- Thanks! Yes, the smell of the dirt in the middle of our cold winter has been great! I can't wait to be digging in it again outside.
Love the holistic approach! The kids look like they are haing a great job. The test tube experiment is wonderful! We are going to start planting in March.
teachmama said…
I love how early you began your planting--February's a great time here in DC, because we're in the thick of winter and ready for spring. . . but I also love how you got these tinies up and moving and really involved! Awesome

Popular posts from this blog

A Few Ideas With Marker Caps (As Promised)

Yesterday, I hope I convinced you not to throw away your markers that "don't work." Today, I will share with you a few ideas for what to do with all of the caps. The possibilities are nearly endless, but here are a few of our recent creations: 1) A Leprechaun/Fairy Ladder/Rope Ladder: 2) #1 if not permanently secured can also double as a rope bridge: 3) #1/#2 can also be made into a train track for your homemade trains :). (No photo available) 4) You can use them as beads for a necklace: 5) You could make them into a wind chime. (No photo available). 6. You can use them as small manipulatives to count, sort, and make patterns with. (No photo available). 7) You could use them as playing pieces in your own homemade board game. (No photo available). 8) You could put them on a wire and glue them in place to make a twirling whirly-gig. 9) You could top them with a lid from a milk jug to make tiny tables or toadstools. 10) You could make them...

"The Markers Don't Work!"

How may times have you heard, "Ms. (fill your name in here), this marker doesn't work!" I know I hear it all the time. Sometimes it is because our little friends forget to replace the caps, and sometimes the markers have just been "all used up!" What do you do with all those markers that just don't work? Please don't tell me that you throw them out, try this instead: First, sort your markers out. Put the caps in one container ( save those too, I'll show you what you can do with them in tomorrow's post) and the markers in another. I have a box for the markers that "don't work" for the children to place them into every time they run across one. You can also have the children help you test the markers periodically to sort out the ones that need to be removed from the "working set." When it comes time to use "the markers that don't work," we use a small sponge paint roller to roll water onto our card...

Our DIY Light Tables

There has been a lot of buzz about light tables over at Teach Preschool on Facebook . Deborah has collected some great ideas for light table play and has been experimenting with making her own table over on the Teach Preschool blog.   I thought I would share with you our two light tables and how we made them. This first table is one that we put together with some scrap wood pieces, an old plexi-glass door from an entertainment center, and a couple of aquarium lights. Total Cost = $0. (We had everything on hand.)  The table needs a little bit of tweaking. (It is on my to do list).  Basically, we made a frame of wood around the plexi-glass and placed the lights under it. Our DIY skills in putting this together were far from expert, so the frame has a couple of gaps (and the reused wood is warped). We plan to try a new frame and use some caulk to seal any gaps.  We also plan to attach the lights to the side of the frame instead of just placing them on the f...