
I know, I usually post a photo memory series on Mondays, but I've been gone for a bit and wanted to share some of our bubble fun with you this morning! (and a little bit from yesterday afternoon when we were testing out our bubble blowers!)

I found this great idea through Teach Preschool on Facebook. The link that Deborah shared for the "Super Foam-erator" originally came from Betz White.
 All you need is a water bottle, a piece of cloth, a rubber band, and some bubble solution.

We found that the stronger the plastic bottle the better. If the bottle is too flimsy, it is difficult for the children to use.

We also found that the bottles with a sipper top work best for younger children. The ones without it are more difficult to get a good seal for blowing into.
 For these reasons, we found that funnels work exceptionally well. They are constructed with a thicker plastic and generally have a smaller opening to work with.
 The children had a great time experimenting with their foam "snakes" of bubbles. They really enjoyed playing with the mountains of foamy bubbles too. It was like a bubble bath- without the water!
 The bubbles were fun to try to sculpt.
 Of course, we also had "regular" bubble blowers in the table. They weren't nearly as much fun as the "foam-erators though)

Have you tried these out? Do you have any additional tips to add? We tried to color some of the bubble soap with food coloring, but the soap was much more powerful than the color and we were only able to produce regular white bubbles.... which were just as much fun anyway!

I found this great idea through Teach Preschool on Facebook. The link that Deborah shared for the "Super Foam-erator" originally came from Betz White.

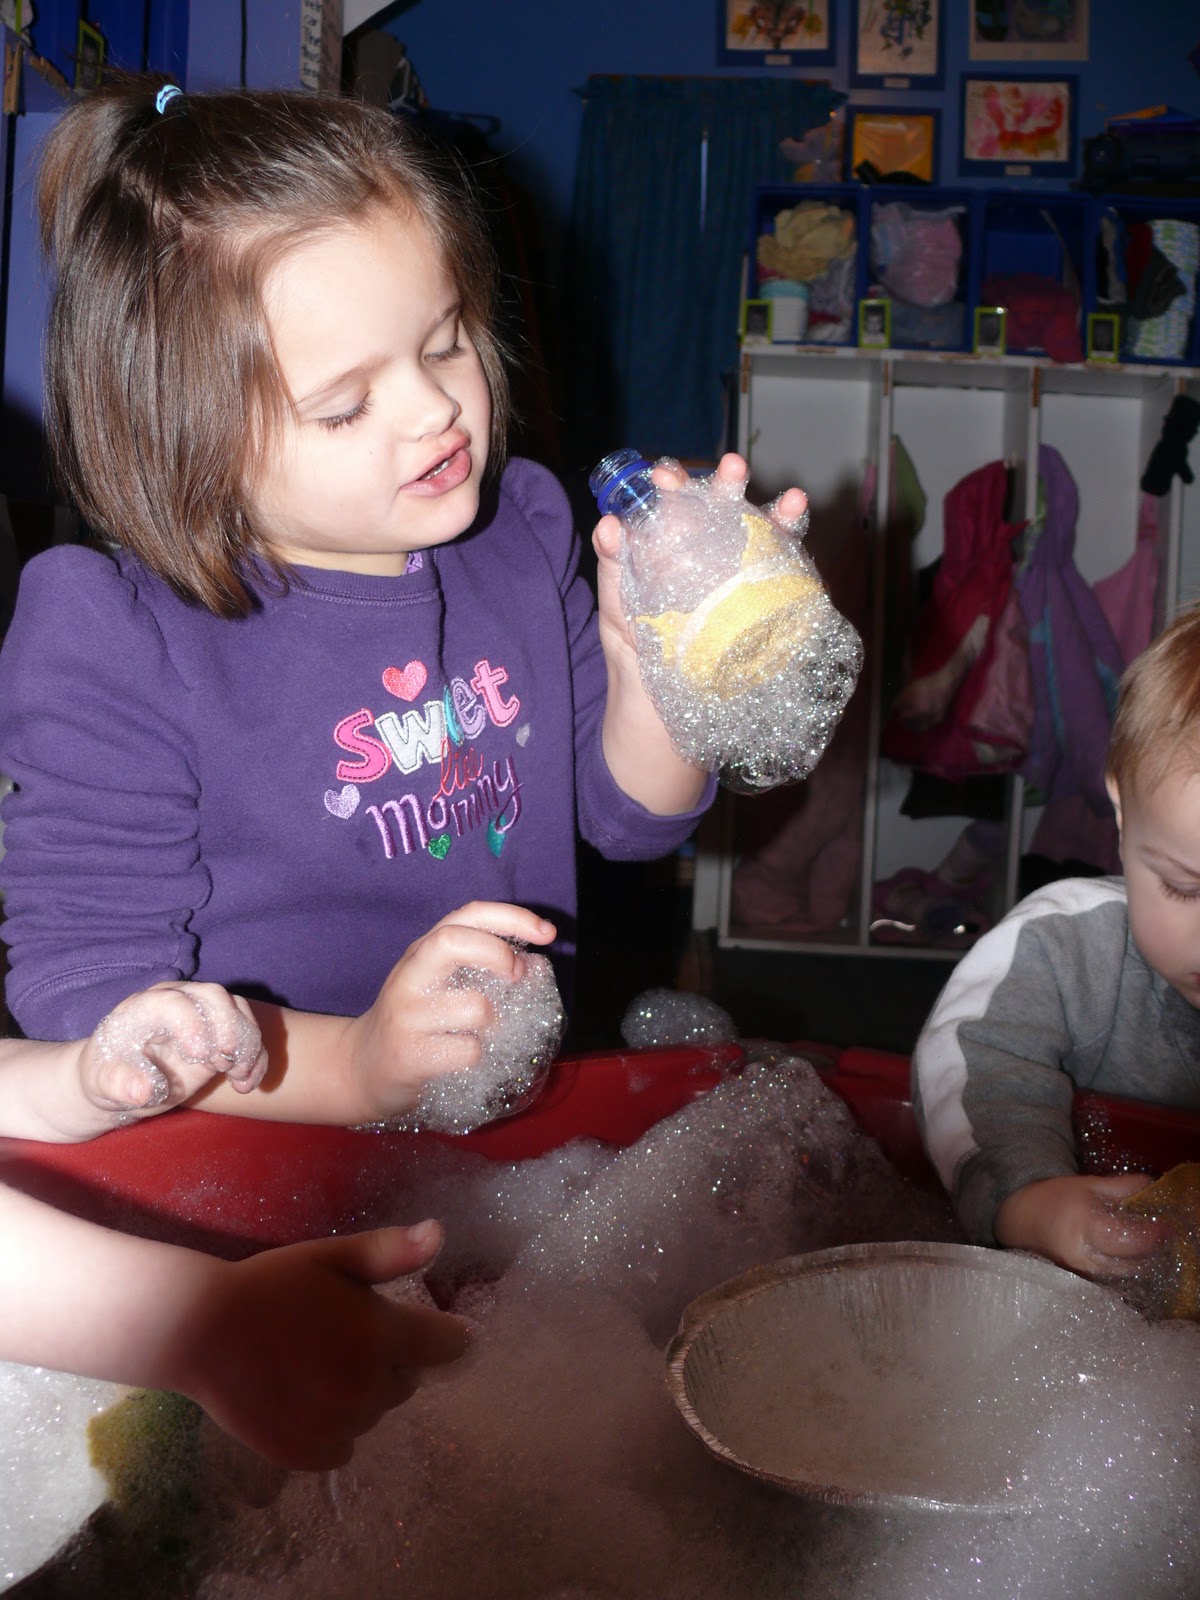
We found that the stronger the plastic bottle the better. If the bottle is too flimsy, it is difficult for the children to use.

We also found that the bottles with a sipper top work best for younger children. The ones without it are more difficult to get a good seal for blowing into.


Have you tried these out? Do you have any additional tips to add? We tried to color some of the bubble soap with food coloring, but the soap was much more powerful than the color and we were only able to produce regular white bubbles.... which were just as much fun anyway!
Comments