Experimenting with Hydraulics!


I've been busy, and other aspects of life have taken over for the time being. Thus, I've been away from the blog. I'm still busy- posting here and there on our Facebook page. I'll be back eventually. Until then.... I thought I would schedule a few posts from the archives to repost!
 This one orginally posted last August. Enjoy!


Last night, I finally sat down and tried to make it through my google reader. (After an hour or so of reading and still having over 1000 posts, I cleared it.... So, if I missed something great that you wrote about please bring it to my attention!) One of the posts that I did manage to read before clearing the slate was a selection from Tom Sensori. If you have a sand and water table and have not been to Tom's blog... you need to stop reading this post and go over there RIGHT NOW! (Just don't forget to come back!) Tom has amazing ideas for really making the most of your table and providing engaging learning activities for your children (of all ages!)


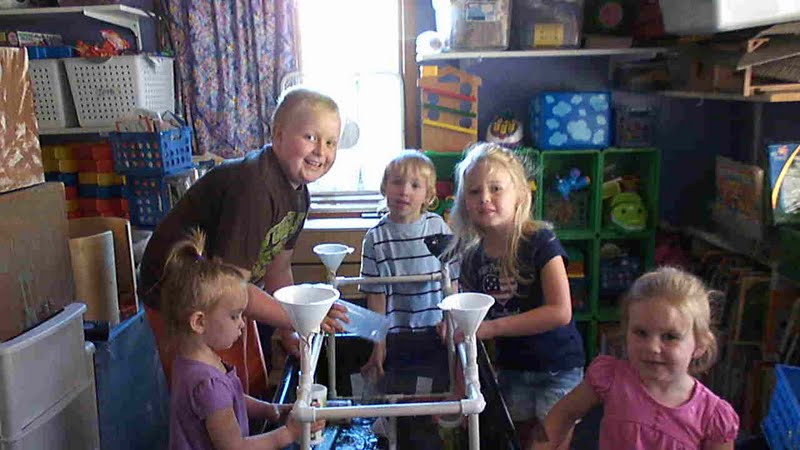
With inspiration from Tom, the children and I put together this wonderful hydraulics station today! Please stop by his blog for the instructions.... know that we opted to make ours just a little bit different.....
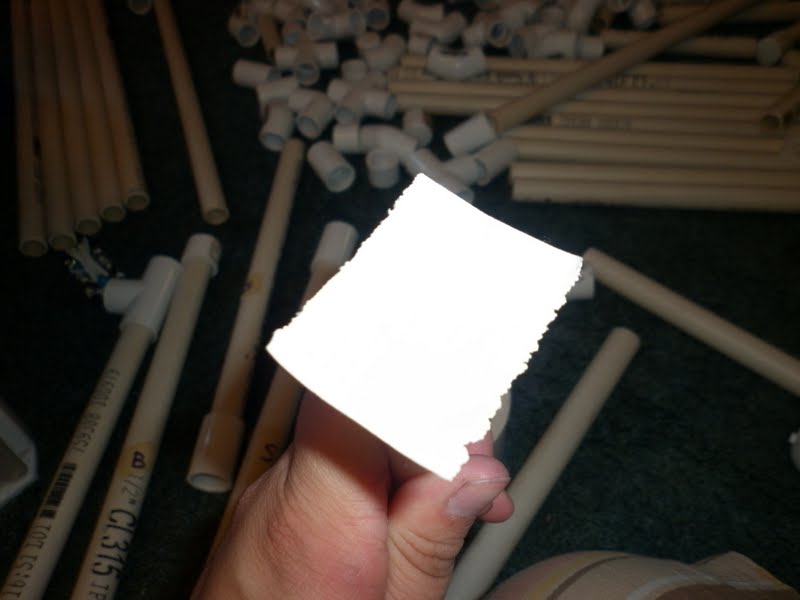
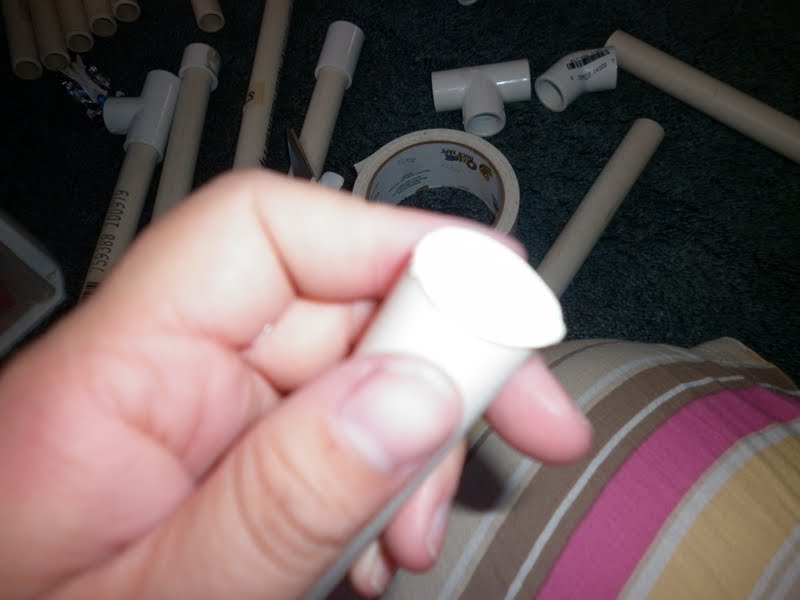
First off, we made ours with our already existing plethora of pvc pipe set. (We didn't even have to drill holes because we had some with holes from our Bike Wash already!)We didn't want the apparatus to be permanent, so we didn't use plumber's putty or glue. To keep the water from running down into the support pipes we used.... DUCT tape! (Imagine that!) We put a piece over the end of the pipe and then....
Cut off the excess so that there was a small amount of tape that would wrap around the side of the pipe. Just enough to keep the tape tight and across, but not so much that you wouldn't be able to fit the pipe in the fittings.

We also taped the funnels to a very short piece of pvc pipe that we added to the connections. This kept our set up "temporary", but still allowed the apparatus to function properly. (After we are done exploring this way.... I am hoping that the children will want to come up with their own ideas to test out.)
We played and explored for hours this morning! The children thought it was "AWESOME!!!!" and we made a short thank you video for Tom!
The children noticed that when you filled some of the funnels up quickly, you could make the other ones over flow!
 The spent a lot of time collecting the water from the fountains and noticed that they could change where the water landed by turning the pipes (another benefit of not gluing them!) AND... If they put their finger over some of the holes the other ones sprayed higher!
We ended up with hours of fun... We were all drenched and we did move water in and out of the table! The carpet soaked up some of our fun, but that's what shop vacs and steam cleaners are for!

Some of the older children are already working on the "blue prints" for another contraption. They really want to use clear pipe so they can see what is happening inside. I have a feeling we will be making a trip the hardware store soon!


Comments

Tom Bedard said…
Amy, thanks. Wow, that is really cool having the kids thank me. That simply blew me away. I think it is so great that you were able to take an idea and make it your own with the materials you have. I wish you many more hours of wet fun. Tom
Fabulous - I agree with you totally - Tom Sensori borders on pre-school genius. Anyone who hasn't visited his blog should. Your activity looks great too!
Tom- I like to give credit where credit is due. The children and I spent some time looking at your videos and set up before building ours.

Thanks Juliet, we had a great time with our version of Tom's contraption. I'm excited to see what the next week brings with the "blue prints" the children are creating.
All kinds of wonderful Amy - and I get lost in Tom's blog just looking at all he comes up with.

Popular posts from this blog

A Few Ideas With Marker Caps (As Promised)

Yesterday, I hope I convinced you not to throw away your markers that "don't work." Today, I will share with you a few ideas for what to do with all of the caps. The possibilities are nearly endless, but here are a few of our recent creations: 1) A Leprechaun/Fairy Ladder/Rope Ladder: 2) #1 if not permanently secured can also double as a rope bridge: 3) #1/#2 can also be made into a train track for your homemade trains :). (No photo available) 4) You can use them as beads for a necklace: 5) You could make them into a wind chime. (No photo available). 6. You can use them as small manipulatives to count, sort, and make patterns with. (No photo available). 7) You could use them as playing pieces in your own homemade board game. (No photo available). 8) You could put them on a wire and glue them in place to make a twirling whirly-gig. 9) You could top them with a lid from a milk jug to make tiny tables or toadstools. 10) You could make them...

Our DIY Light Tables

There has been a lot of buzz about light tables over at Teach Preschool on Facebook . Deborah has collected some great ideas for light table play and has been experimenting with making her own table over on the Teach Preschool blog.   I thought I would share with you our two light tables and how we made them. This first table is one that we put together with some scrap wood pieces, an old plexi-glass door from an entertainment center, and a couple of aquarium lights. Total Cost = $0. (We had everything on hand.)  The table needs a little bit of tweaking. (It is on my to do list).  Basically, we made a frame of wood around the plexi-glass and placed the lights under it. Our DIY skills in putting this together were far from expert, so the frame has a couple of gaps (and the reused wood is warped). We plan to try a new frame and use some caulk to seal any gaps.  We also plan to attach the lights to the side of the frame instead of just placing them on the f...

"The Markers Don't Work!"

How may times have you heard, "Ms. (fill your name in here), this marker doesn't work!" I know I hear it all the time. Sometimes it is because our little friends forget to replace the caps, and sometimes the markers have just been "all used up!" What do you do with all those markers that just don't work? Please don't tell me that you throw them out, try this instead: First, sort your markers out. Put the caps in one container ( save those too, I'll show you what you can do with them in tomorrow's post) and the markers in another. I have a box for the markers that "don't work" for the children to place them into every time they run across one. You can also have the children help you test the markers periodically to sort out the ones that need to be removed from the "working set." When it comes time to use "the markers that don't work," we use a small sponge paint roller to roll water onto our card...