
I am SUPER delighted to share with you another guest post for our What Would You Do With It? Wednesday linky party! This week, Laura Eldredge from the SEEDS Network shares an amazing trash to treasure art idea that focuses on collecting and combining a wide array of items in your art work!
Have you been over to the SEEDS Network? Laura along with a colleague, Tressa have an amazing resource site for anyone who works with or has young children. SEEDS stands for Supporting Early Educators with Dynamic Solutions, and their site features a great search tool with oodles of ideas and information. You can also learn about professional development and advocacy. So, hop on over and check out the SEEDS Network! (Don't forget to come back and check out this great idea Laura has to share though too!)
Trash to Treasure Art
The inspiration for this idea came out of a theme we did at preschool about art and famous artists / types of art. In trying to find some new types of art that I could teach to the children, I found the book "Make it POP! Activities and Adventures in Pop Art” by Joyce Raimondo. This book features the artistic styles of famous pop culture artists. That sounded interesting to me – and the book was filled with great samples of art by famous pop culture artists like Andy Warhol and Jasper Johns. I thought it would be fun to show this to the kids and try to replicate various artistic styles.
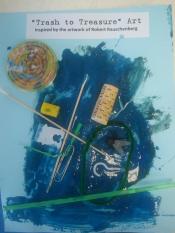
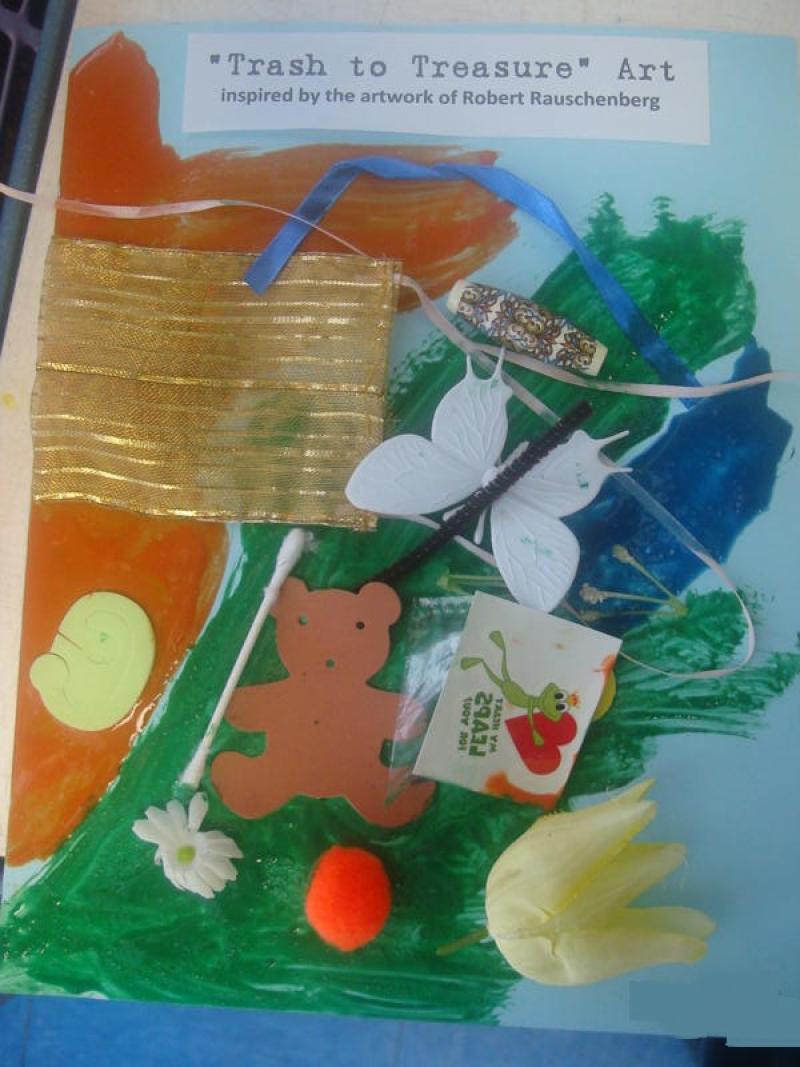
One of our projects was inspired by the artwork of Robert Rauschenberg. Mr. Rauschenberg would walk around New York City and collect things and use them in his art. Since children are natural-born “collectors”, this sounded like a project they could really get into! It is a great way for them to repurpose old or broken items and display “treasures” that are meaningful to them.
To prepare for the project
This project can be done at home or adapted for a school setting. Beforehand, have your child/children collect small items from around the home that they are no longer using, and would otherwise discard. (If you are a teacher and doing this at school - you can send a note home to families a week before the project to give time for the collecting).
Some ideas of small objects could be buttons, pieces of old puzzles or board games, jewels from costume jewelry, small pieces of fabric, old wrappers, hair bows, bottle caps, shells, small toys, etc. Tell the children and families that you will be recycling the objects and using them for art!
Supplies
You will need: cardboard or cardstock, tempera paint, white glue and tacky/gorilla glue, paintbrushes and children's "collections/treasures" of small, recycled items
You will need: cardboard or cardstock, tempera paint, white glue and tacky/gorilla glue, paintbrushes and children's "collections/treasures" of small, recycled items
Directions
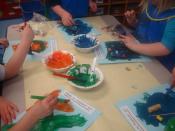
Put out a few bowls of paint (2-3 colors) and mix some white glue into each. This will make the paint “stickier”. Allow children to paint their cardstock/cardboard as they wish with the paint colors. Then have them look through their "treasures" and stick some objects onto the paint/glue mix. For heavier objects, assist children with applying some tacky glue or gorilla glue onto their board.
Put out a few bowls of paint (2-3 colors) and mix some white glue into each. This will make the paint “stickier”. Allow children to paint their cardstock/cardboard as they wish with the paint colors. Then have them look through their "treasures" and stick some objects onto the paint/glue mix. For heavier objects, assist children with applying some tacky glue or gorilla glue onto their board.
The best part about this piece of art is that it will be a true, one of a kind, unique work of art that is personal to each individual child because of the objects he/she used!
Now, it's up to you!!!! What would you do with a collection of trash?
Here are the rules:
1) The post MUST use a collection of "trash"
2) The post MUST be family friendly.
There are no other requirements. If you would like, I would love if you linked back to his linky party, but it is not required. I would hope that you will investigate the links shared and visit some of the other blogs, but I'm not imposing any "blog hop/linky" rules. Please, if you do find great ideas and photos... Give credit where credit is due :).
If you are interested in being a guest blogger, please pop on over to this post.
Comments