
The End of Summer


Today marks the end of the second week that our school aged friends returned and/or started school. It also marks the last day for our friends who are starting Head Start next week. It has been a time of big changes and transitions for us. The summer was a whirlwind of fun, learning, and memorable adventures.
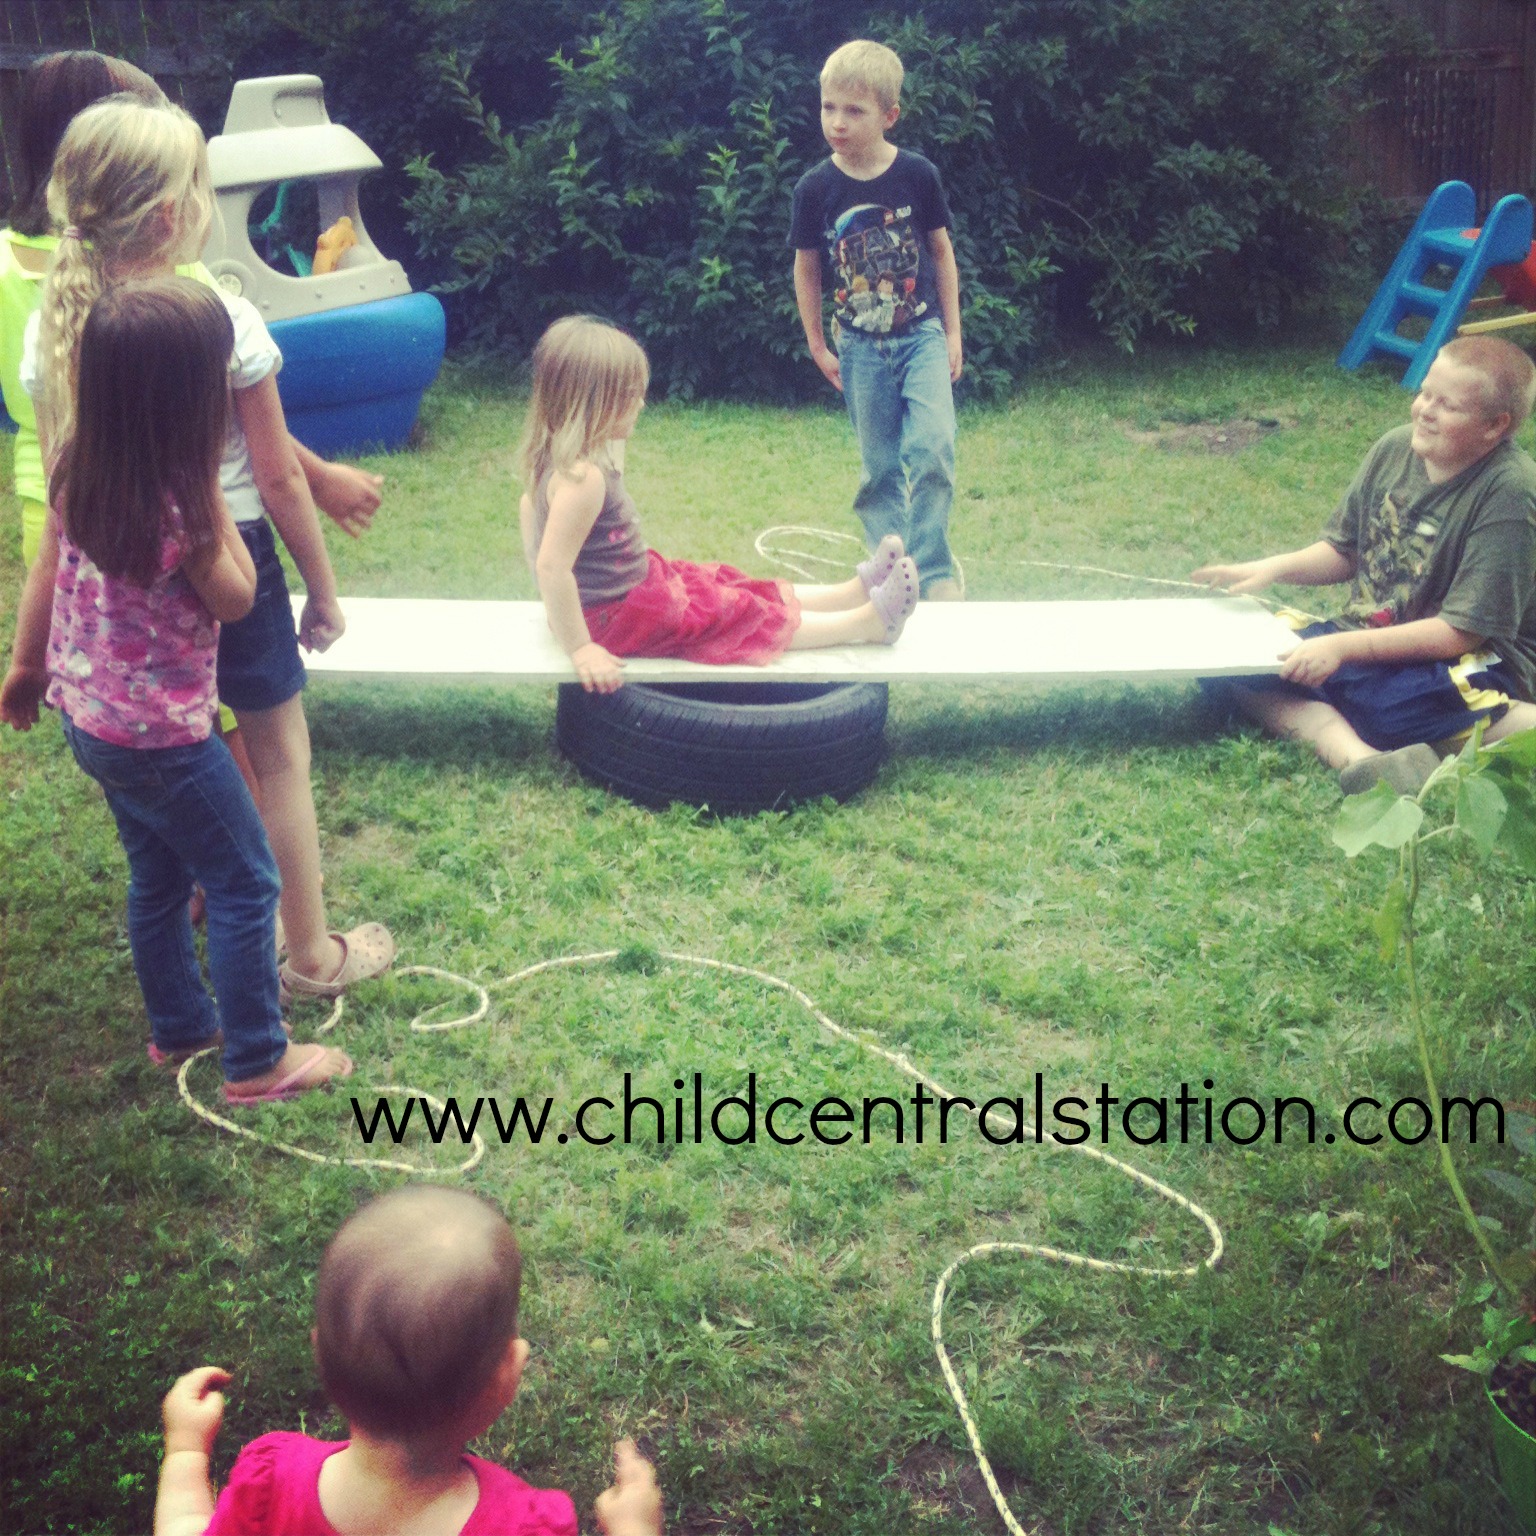


I'm sure many of you noticed that I opted to take most of the summer off. It was a nice, much needed break. In general- juggling a home based business, homeschooling, and family can be a bit challenging at times. I have often had people ask me exactly how I manage to do it all- and the truth is, sometimes you just have to let one or two things go in order to make the other things happen. This summer, I opted to let technology go. My presence on the blog and social media were quite minimal. I needed to stop juggling and doing- and to just be.

Now that life is again changing, I hope to get into a regular blogging routine. I've missed sharing our adventures and connecting with all of you. We had an AMAZING summer, so anticipate seeing a wonderful mix of new posts that contain both new/current happenings as well as a few posts mixed in from our summertime fun!


Thanks for sticking with us through the lull- and I hope to hear from you either on the blog, or feel free to stop by Facebook and share what you are up to on our page as well! 

Comments

Popular posts from this blog

A Few Ideas With Marker Caps (As Promised)

Yesterday, I hope I convinced you not to throw away your markers that "don't work." Today, I will share with you a few ideas for what to do with all of the caps. The possibilities are nearly endless, but here are a few of our recent creations: 1) A Leprechaun/Fairy Ladder/Rope Ladder: 2) #1 if not permanently secured can also double as a rope bridge: 3) #1/#2 can also be made into a train track for your homemade trains :). (No photo available) 4) You can use them as beads for a necklace: 5) You could make them into a wind chime. (No photo available). 6. You can use them as small manipulatives to count, sort, and make patterns with. (No photo available). 7) You could use them as playing pieces in your own homemade board game. (No photo available). 8) You could put them on a wire and glue them in place to make a twirling whirly-gig. 9) You could top them with a lid from a milk jug to make tiny tables or toadstools. 10) You could make them...

Our DIY Light Tables

There has been a lot of buzz about light tables over at Teach Preschool on Facebook . Deborah has collected some great ideas for light table play and has been experimenting with making her own table over on the Teach Preschool blog.   I thought I would share with you our two light tables and how we made them. This first table is one that we put together with some scrap wood pieces, an old plexi-glass door from an entertainment center, and a couple of aquarium lights. Total Cost = $0. (We had everything on hand.)  The table needs a little bit of tweaking. (It is on my to do list).  Basically, we made a frame of wood around the plexi-glass and placed the lights under it. Our DIY skills in putting this together were far from expert, so the frame has a couple of gaps (and the reused wood is warped). We plan to try a new frame and use some caulk to seal any gaps.  We also plan to attach the lights to the side of the frame instead of just placing them on the f...

"The Markers Don't Work!"

How may times have you heard, "Ms. (fill your name in here), this marker doesn't work!" I know I hear it all the time. Sometimes it is because our little friends forget to replace the caps, and sometimes the markers have just been "all used up!" What do you do with all those markers that just don't work? Please don't tell me that you throw them out, try this instead: First, sort your markers out. Put the caps in one container ( save those too, I'll show you what you can do with them in tomorrow's post) and the markers in another. I have a box for the markers that "don't work" for the children to place them into every time they run across one. You can also have the children help you test the markers periodically to sort out the ones that need to be removed from the "working set." When it comes time to use "the markers that don't work," we use a small sponge paint roller to roll water onto our card...