

 One of my favorite magazines and websites to visit for ideas is Family Fun Magazine. In a recent issue, I found this great idea for shaving cream prints. (If you click on the link, you will be directed to the online version of the article).
We opted to use a Medium sized Plastic Tote rather than a large pan for our attempt. I found some shave cream at the dollar store that has a lovely fruity scent to it, and it is made for sensitive skin.
We put a small layer of shaving cream in the tote and spread it as even as we could get it with a squeegee. Then came the fun part.... adding the food coloring.
After the food coloring was added, the children were allowed to marblize the cream with their fingers, a plastic knife, or a small wooden dowel. They were creating their works of art in the shave cream. Dane made up his own little song for this part of the project, it went something like "cutting the cake, cutting the cake, cutting, cutting, cutting the cake."

Then after they were satisfied with their shaving cream art, we took sheets of paper and pressed them gently down on the shaving cream.
 In our situation, very little shaving cream stuck. I'm not sure if it was the brand we used or the paper, but we had limited use for the squeegee. Additionally, the directions call for card stock. We opted to use some lightly colored construction paper and regular copy paper. I admit that the copy paper was extremely fragile when wet, but the construction paper seemed to hold up well. (I would imagine that the experience is very different with different brands of shave cream).

Then after they were satisfied with their shaving cream art, we took sheets of paper and pressed them gently down on the shaving cream.
The directions mentioned that you need to use a squeegee to remove the shaving cream that sticks to the paper.
 In our situation, very little shaving cream stuck. I'm not sure if it was the brand we used or the paper, but we had limited use for the squeegee. Additionally, the directions call for card stock. We opted to use some lightly colored construction paper and regular copy paper. I admit that the copy paper was extremely fragile when wet, but the construction paper seemed to hold up well. (I would imagine that the experience is very different with different brands of shave cream).
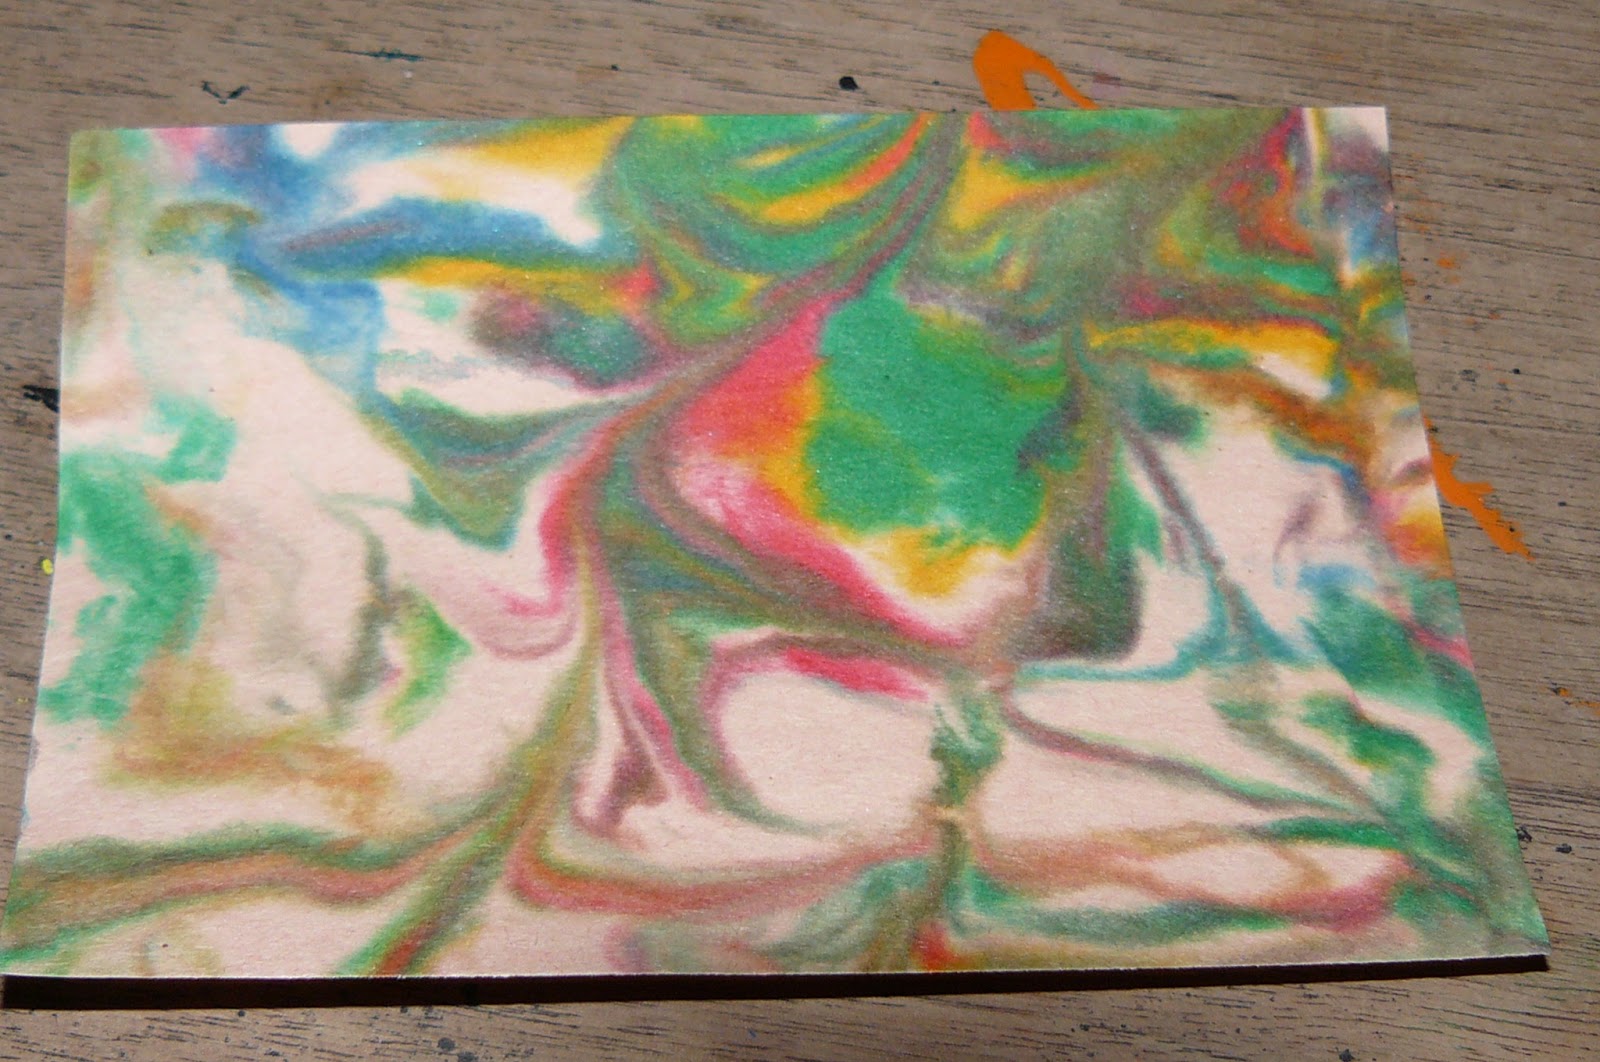
With some of the children's shaving cream and food coloring art, we were able to take a number of prints before the color began to fade too drastically. In fact, after Dane was done, I spent a good twenty minutes making additional prints from his shaving cream art. I think we have a pile of 30-40 prints between the two of us.

Of course, no shaving cream project would be complete without an opportunity to just play! We added a pitcher of ice cold water and spent some time exploring!
Here is a collection of some of our prints. As you will see, toward the end of the photos, I took some of the prints that I made with the leftover "ink" and made them into note cards :). Now, I'm curious, Do you think that a more permanent ink would have the same effect with fabric??? I think I may have to try!


This was linked up over at:


This was linked up over at:

Comments