

One of my favorite quotes (I use this along with my signature in email correspondence) comes from the Bee Movie:
"According to all known laws of aviation, there is no way that a bee should be able to fly. Bee's wings are too short and their bodies are too round to make getting airborne very likely..... Bees, ofcourse, fly anyway, because... BEES DON'T CARE WHAT HUMANS THINK IS IMPOSSIBLE." ~ Bee Movie
I love that the children continue to learn and explore to be creative and to face the world without constraints and those nasty assumptions. I work hard every day to try to be more like they are, and to remove as many of the limits as possible. In my world, I'd like to think that nothing is truly impossible. There may be roadblocks to overcome, and different approaches to take, but one way or another with hard work, determination, and a little bit of "buzz!" anything can happen........
So, when my soon to be 8-year-old son decided that he was going to be a Frankenstein-squid-scoobadiver- and three other things mixed together for Halloween, I thought, well... okay. Then I asked him "How are we going to do that?" He had a pretty good plan, but the next day he had a new vision. This continued for days...... Combining his favorite attributes of a ton of different people/creatures/animals, etc. (By the way, he has his costumes planned for the next 15-20 years..... ) There are just too many great choices and ideas to come up with one!
Finally, on Monday, a decision was made.... He was going to be an "alligator cowboy." Our first mission was to try to find an alligator costume. I was not surprised when the local stores or Halloween outlet did not have one. I didn't think that I really had time to make a costume, but that was where I had to let go of my assumptions.....
 I had some foam left over from the wonderful fish costumes I had made last year and a few squares that were used for packaging the clipboards for the UPECC Conference last year.
(I love it when my "bag lady tendencies" (as labeled by Teacher Tom) come in handy!)
I knew that I would not be able to spend much time at the sewing machine, but I could easily work on a hand sewing project and even encourage my younger friends to do the same.
 I didn't have to buy any fabric, as I had quite a stash of options available. Dane chose the colors, and bit by bit.... We started to have an alligator.
 A styrofoam ball cut in half for the eyes, accented with a little foam....
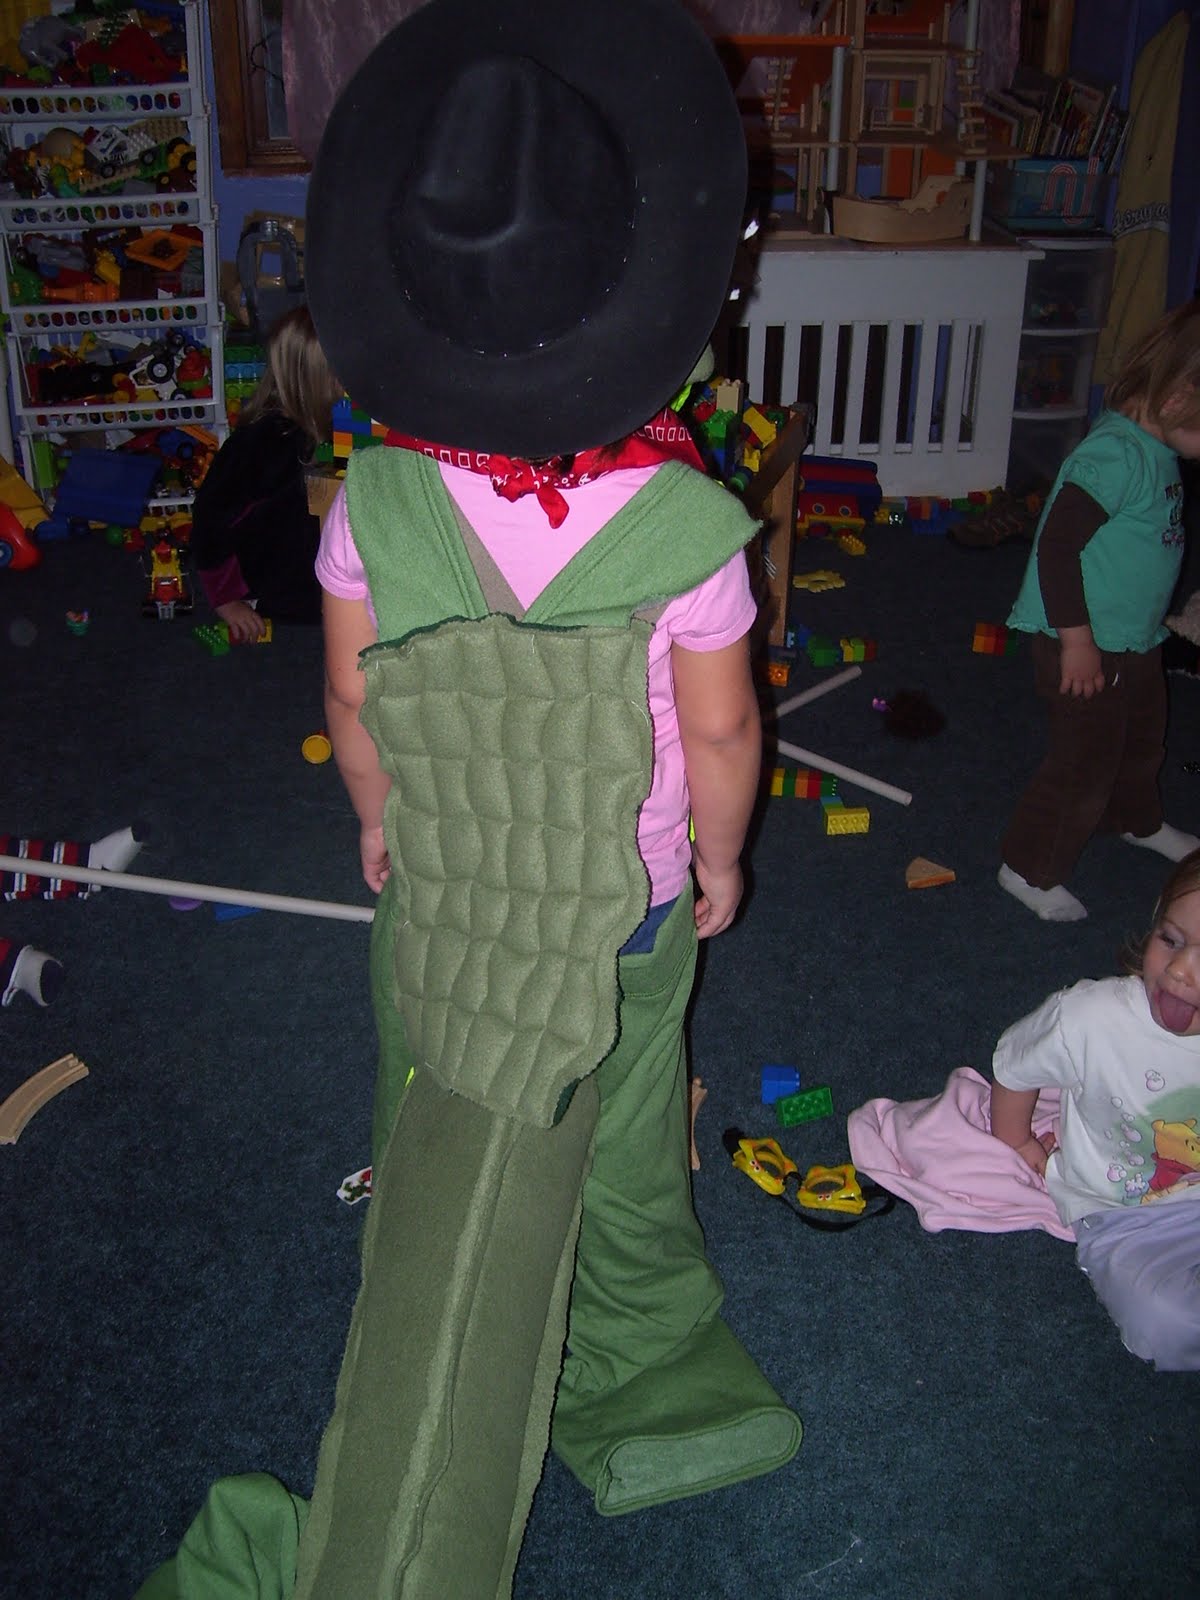
 The start of a tail.....

 And a finished costume! Dane did talk about having some "feet," but time did play a HUGE factor in finishing this project. We didn't have the opportunity to make them... YET. If he still wants them after all of the Halloween festivities, we will definitely make sure to make some!
The children are very excited to have a new creature for the dress-up area as well. They have already been taking turns trying out the gator costume!

 Of course, we took the interest and opportunity to learn more about alligators in our process....
Did you know?????
Raccoons, skunks, river otters, snakes, big birds, and bobcats eat baby alligators.
Gators also eat rocks and pieces of garbage to help with their digestion. Their teeth are only for tearing, so they need rocks and other hard things in their stomach to help mash the food up.
I anticipate we will be learning about alligators for quite some time. I'm sure I'll be posting more soon! Until then, know that you are protected by an Alligator Cowboy- He will be keeping all of the bad guys away.
Be safe and have fun this weekend!
Comments