
Pumpkin Patch Paintings (Balloon Prints)


I have never been a fan of "cookie cutter" projects. I do understand value in children understanding how to follow directions, but I also try to make sure that even with the craft projects we do, children have lots of choices in order to use their own creativity.


I always think more about this concept when it is nearing Halloween. One of my undergraduate professor's at Northern Michigan University always used the example of Halloween pumpkins/Jack-o-lanterns as a very common cookie cutter project. I even remember one year a group of students covering the door to her office with identical looking paper cut-outs. I don't think a year has gone by where I have not thought about her and the cookie cutter pumpkins this time of year.

Art of course, it about the process, it is an opportunity to learn through exploration of materials and to find your own personal way to express yourself. There are no rules, no limits..... in art, anything is possible.
In art, pumpkins can be any shape.

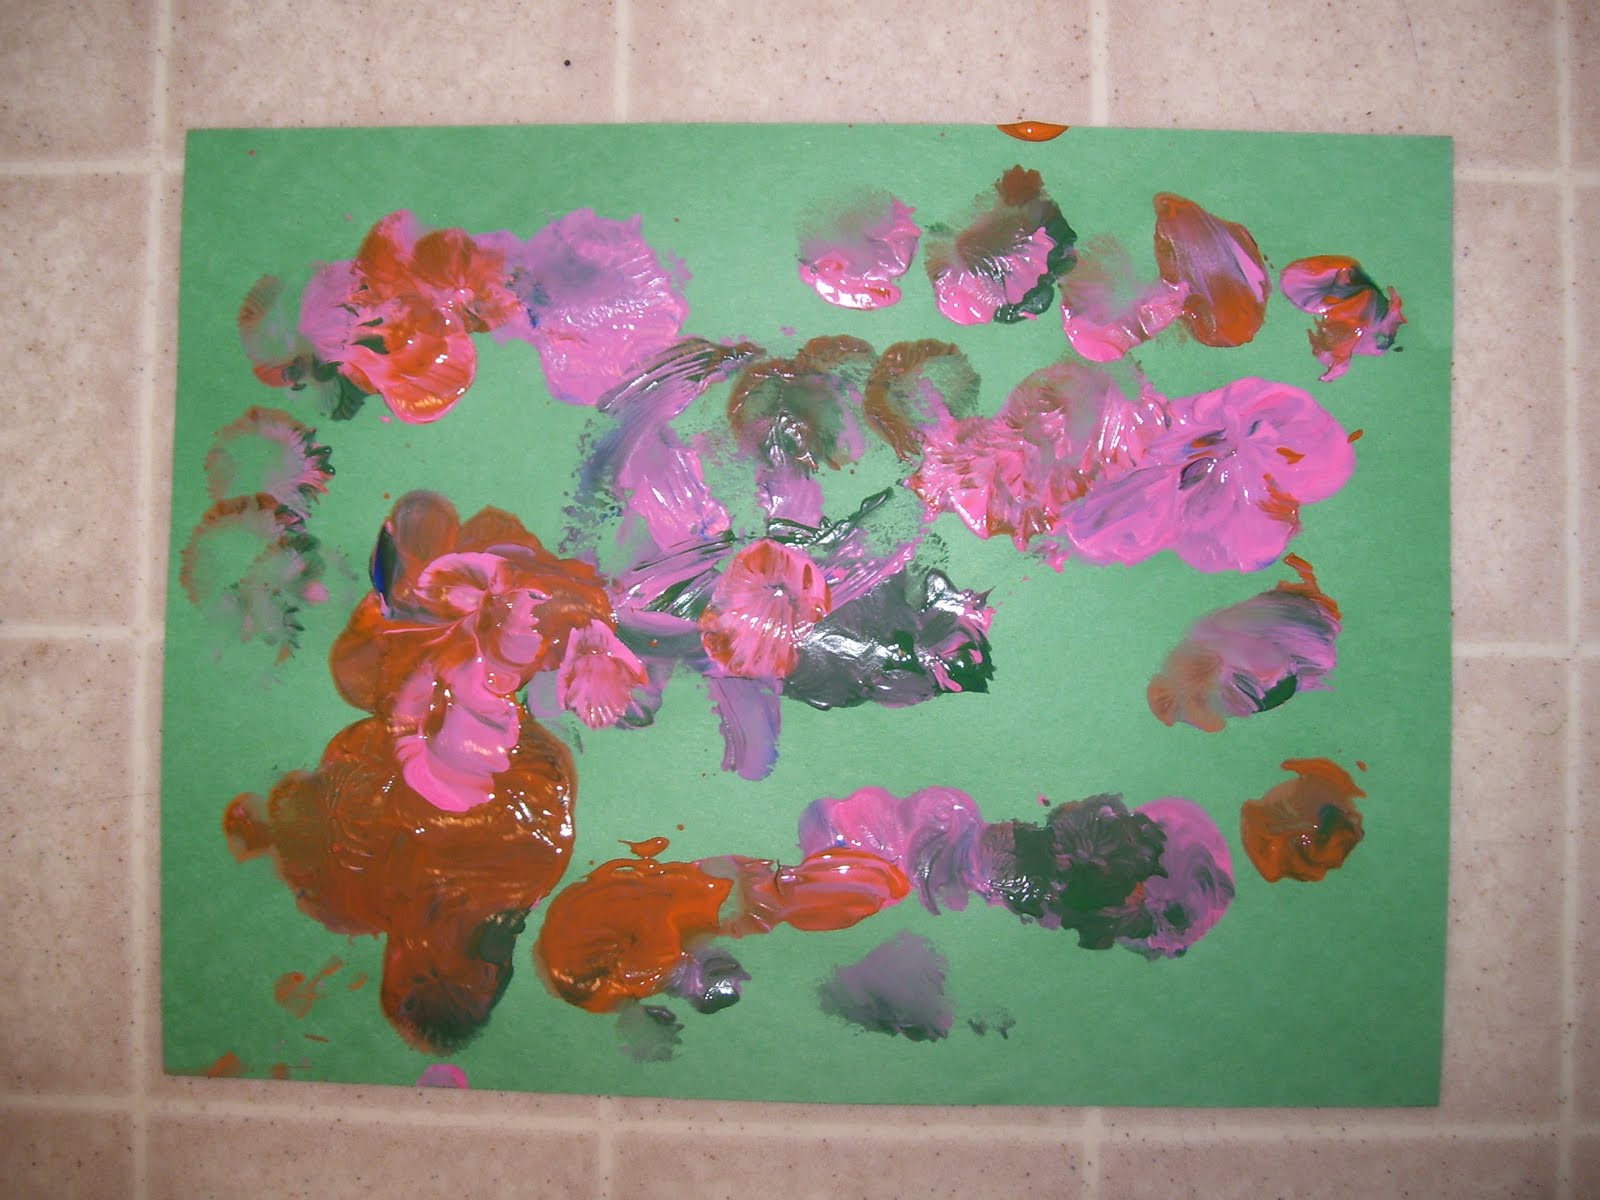
They can be any color.
Your pumpkin patch can be green, or pink, or white.... or any color you choose.

Today, we painted pumpkin patches. We did not make "cookie cutter" jack-o-lanterns. We made a mess, mixed colors and even popped a few balloons.

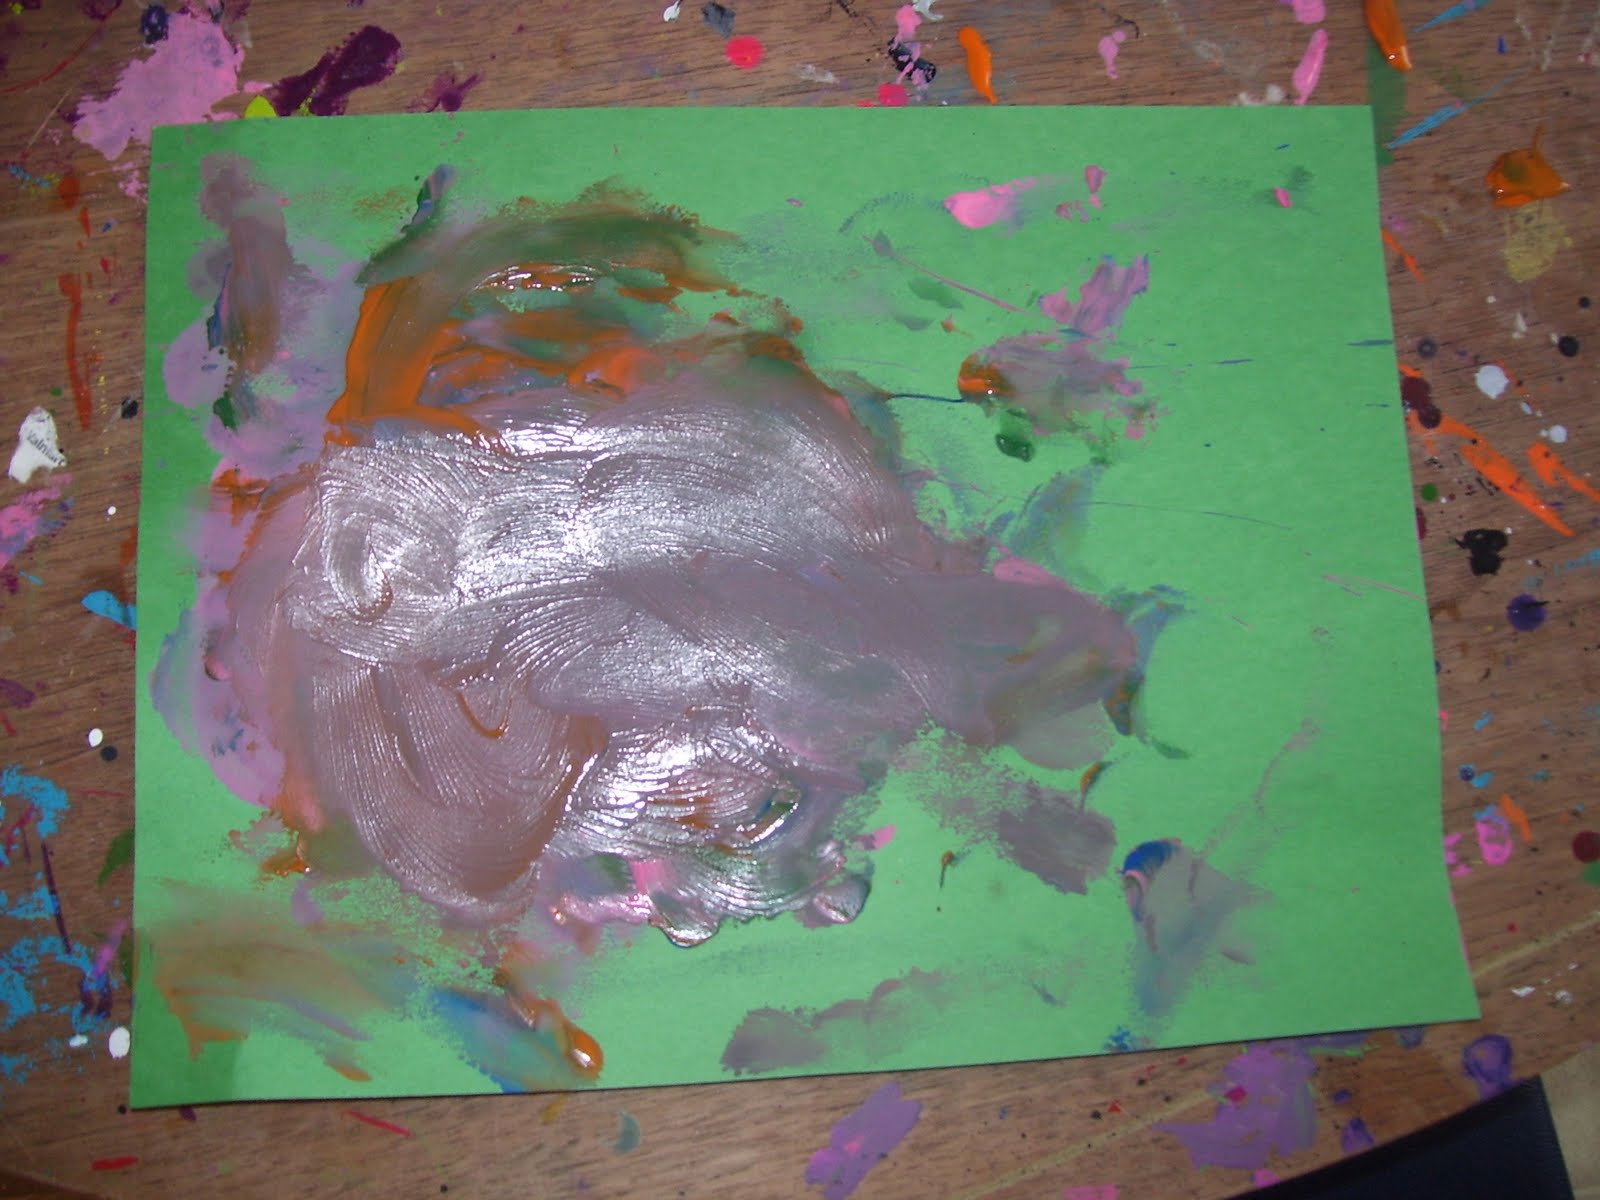
Balloons make funny paintbrushes.

If you plop them down just right, you can make a circle.

If you swirl them in enough colors, you get very colorful pumpkins.

When you squeeze them too hard, they pop! It makes a loud noise and the pieces and paint go flying! This post was linked up at:
PreK + K Sharing

Comments

Ticia said…
And if you read "Spookley the Square Pumpkin" you learn that it's good to have different shaped pumpkins.

Popular posts from this blog

What Would You Do With It? Wednesday #4, Cardboard Tubes (Toilet Paper, Paper Towel, etc)

Welcome to this week's edition of What Would You Do With It? Wednesday. This week's item(s) are paper tubes. You most often find them at the end of a roll of toilet paper or paper toweling. I'm having trouble hunting up the photos I was going to post for this, so when I find them, I will add them. We have made: rain sticks kaleidoscopes marble runs and we have also cut the tubes and made them into flowers or snowflakes like these. If you would like to visit and link to some of our previous What Would You Do With It Wednesdays, please click here.

Yes, WE CLIMB UP THE SLIDE!

Yes, we do climb up the slide. We climb up the slide here at Child Central Station in the backyard... We climb up the slides when we are at the park..... and here are a few reasons why we think you could reconsider climbing up and allowing the children in your care to climb up the slide too! 1. Climbing up the Slide uses MUSCLE!  Young children need to be active and climbing up the slide requires a lot of muscle and coordination. It is not an easy feat- and requires strength, concentration, determination, and will power. 2. Climbing up the Slide is RISKY! Yes- climbing up the slide is potentially risky, but so is sliding down! Your job as a caregiver is to carefully observe and monitor the situation, to be close by- but not to interfere unless necessary. Part of a child's learning process must include managing risks- climbing up the slide is a perfect way to practice this skill. 3. Climbing up the Slide involves potential CONFLICT! It is al

Making Moon Mud!

We usually make our moon sand with cornstarch , sand, and baby oil. However a blog reader commented that when they make their moon sand- they use water instead of oil.  So, of course, my first thought was- why make moon sand when you could make MOON MUD?  And so you have it- our homemade moon mud! Basically, it ends up being a sandy- runny oobleck! It acts kind of like a solid- and kind of like a liquid..... Now, I'm sure I will get all kinds of questions on the exact recipe and proportions to make this stuff.....  The truth is, we rarely measure. We just mix it up until it looks and feels about right! Today, we made ours with too much water. (It was an experiment.) So, we removed some off the top.  After we were done playing in the mud- we let it sit. A little bit more of the water evaporated while we napped.... Then, this afternoon- It was perfect! Hard as a rock on the bottom, until you dig into grab it... Then....