
This week, we have been trying to add some color to our outdoor winter wonderland. First we spray painted the snow, and then we painted the snow with giant paint brushes. Today, instead of just painting the snow, we are painting with the snow!
Everyone who lives in a climate where winter snow is the norm knows that there are all kinds and variations of snow. Some snow is powdery, some is super sticky, etc. The best kind of snow for this project is sticky, wet, snow. I've been itching to try this, and considering that we didn't have "the right kind" of snow and that the temperatures are too cold to hope for sticky snow in the near future, we brought this activity inside!
We collected some snow and put it into our sensory table. The indoor heat turned the fluffy powdery snow sticky rather quickly! Then we used our spray bottles filled with colored water (food coloring and water) to paint the snow in the table. I provided the children with the primary colors and they sprayed them together to make the secondary ones.
 I prepared the floor area with a vinyl table cloth to serve as a tarp to catch our snowballs, and we opted to use freezer paper. This was a GREAT idea. The paper becomes quite wet, and I'm afraid that if you try to use regular paper, your creations will end up as mush!
 You could use an easel, we opted to use our patio door. (This made for easier clean up, as I could brush all of the snow right out the door when we were done).
 After you have prepared your area, you need to paint the snow! Spray it well- add lots of color and get it good and wet! Have I mentioned how much I love using spray bottles with the children?
 Then gently form it into a ball (or just grab a handful of slush!)
 Toss it at the paper, and instant snowball painting! How do you know when it is done? Well, in some cases, I would assume that some children would tell you that it is done. In our case, the paper was so covered in dripping colored water from the melted snow that they fell off the door! We then of course replaced it with more paper. This continued for quite some time.
You can provide mittens or gloves for the children to use if they choose, but most of them really enjoy having the opportunity to do this activity with their bare hands.
 The colors aren't super vibrant this time. We are going to try this again outside when we have the right snow. Rather than using an abundance of food coloring, we are going to try Kool-Aid, Paint, and the Solution from the markers that don't work. I'll report back with our findings when we determine the best coloring option for a great product that matches a super fun process!
Here's to more sticky snow in the near future so that we can continue to explore!
Everyone who lives in a climate where winter snow is the norm knows that there are all kinds and variations of snow. Some snow is powdery, some is super sticky, etc. The best kind of snow for this project is sticky, wet, snow. I've been itching to try this, and considering that we didn't have "the right kind" of snow and that the temperatures are too cold to hope for sticky snow in the near future, we brought this activity inside!
We collected some snow and put it into our sensory table. The indoor heat turned the fluffy powdery snow sticky rather quickly! Then we used our spray bottles filled with colored water (food coloring and water) to paint the snow in the table. I provided the children with the primary colors and they sprayed them together to make the secondary ones.
 I prepared the floor area with a vinyl table cloth to serve as a tarp to catch our snowballs, and we opted to use freezer paper. This was a GREAT idea. The paper becomes quite wet, and I'm afraid that if you try to use regular paper, your creations will end up as mush!
 You could use an easel, we opted to use our patio door. (This made for easier clean up, as I could brush all of the snow right out the door when we were done).
 After you have prepared your area, you need to paint the snow! Spray it well- add lots of color and get it good and wet! Have I mentioned how much I love using spray bottles with the children?
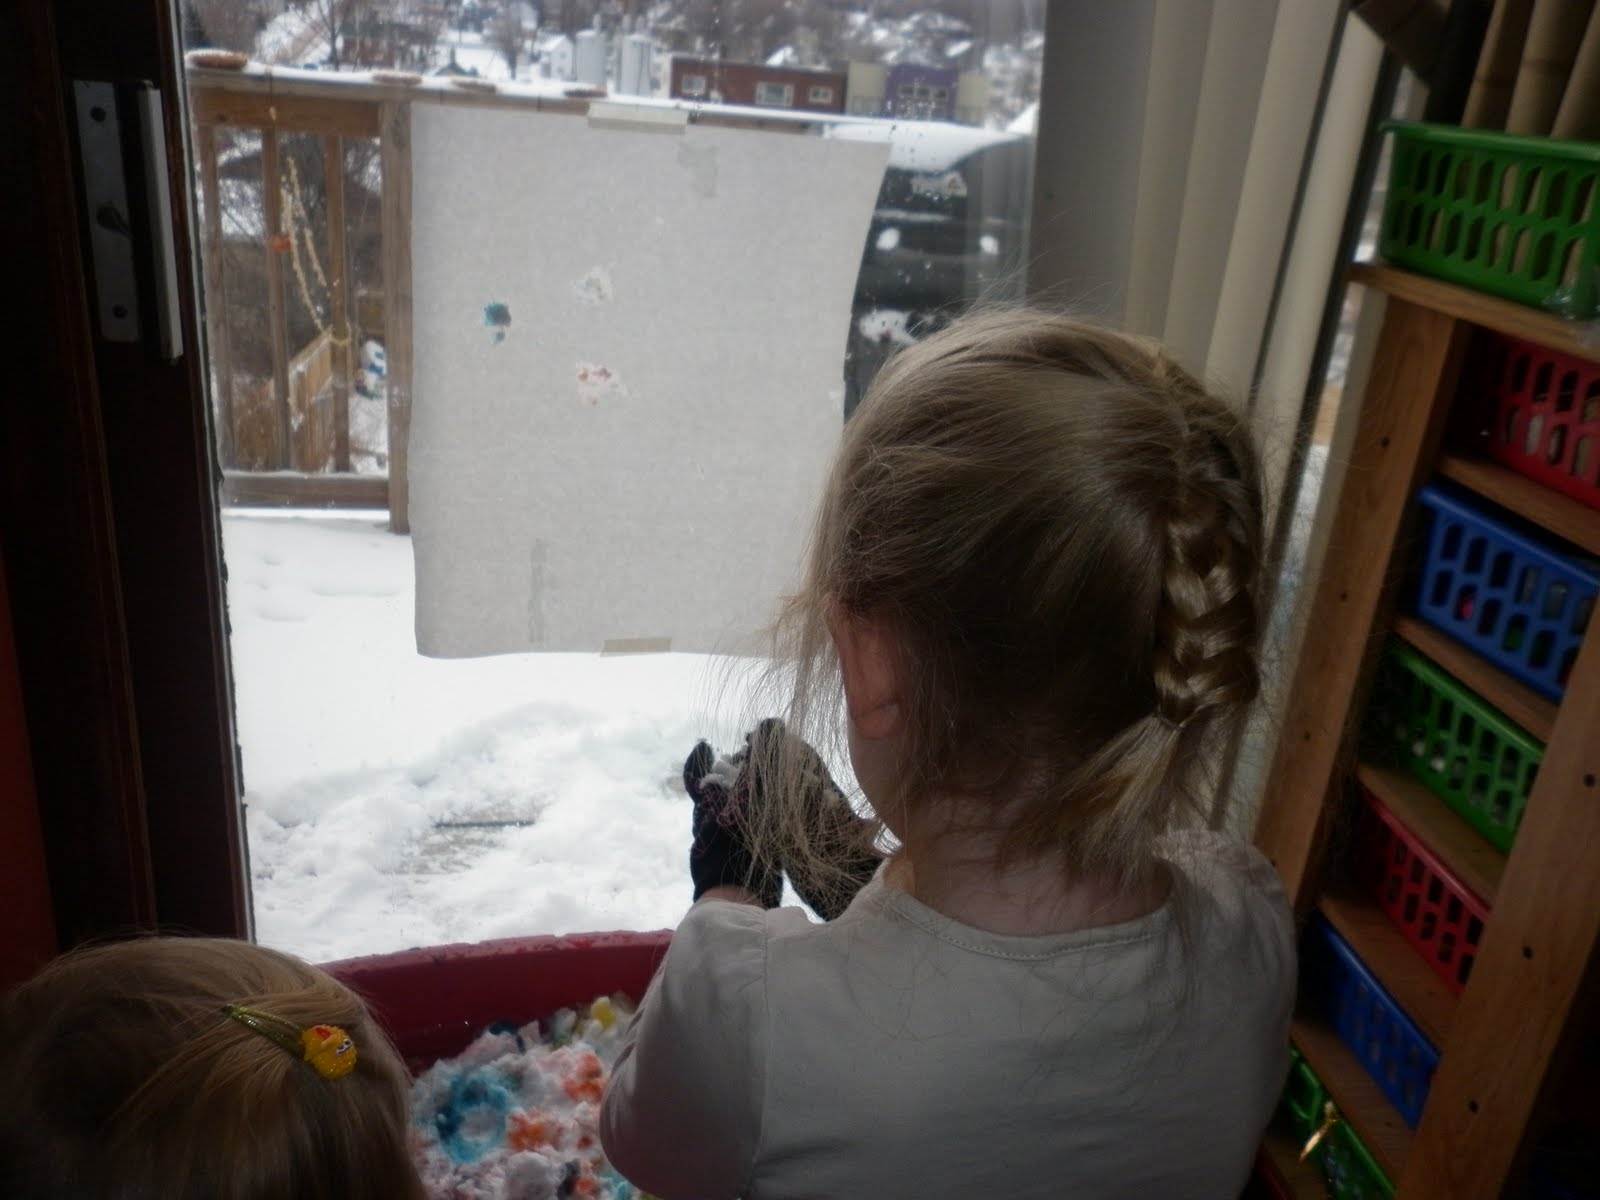 Then gently form it into a ball (or just grab a handful of slush!)
 Toss it at the paper, and instant snowball painting! How do you know when it is done? Well, in some cases, I would assume that some children would tell you that it is done. In our case, the paper was so covered in dripping colored water from the melted snow that they fell off the door! We then of course replaced it with more paper. This continued for quite some time.
You can provide mittens or gloves for the children to use if they choose, but most of them really enjoy having the opportunity to do this activity with their bare hands.
 The colors aren't super vibrant this time. We are going to try this again outside when we have the right snow. Rather than using an abundance of food coloring, we are going to try Kool-Aid, Paint, and the Solution from the markers that don't work. I'll report back with our findings when we determine the best coloring option for a great product that matches a super fun process!
Here's to more sticky snow in the near future so that we can continue to explore!
This post was linked up over at:

Comments