
Bubbly Bubbles and More Sidewalk Pendulum Painting


We had the perfect afternoon today. It wasn't too hot, and it wasn't too cold! It was just right for some giant bubbles and sidewalk painting!
It had been awhile since we covered our parking pad in color, so it was about time to pull out the sidewalk paints and pendulums! This time, we made a short apparatus with our handy pvc pipe set that the children could easily move around.  Some of the children filled the pendulum, while others opted for dumping and brushing.

It was a lot of good, messy fun! For our sidewalk paint recipe, this time around we used basic sidewalk paint, a mixture of cornstarch and water with a bit of color.
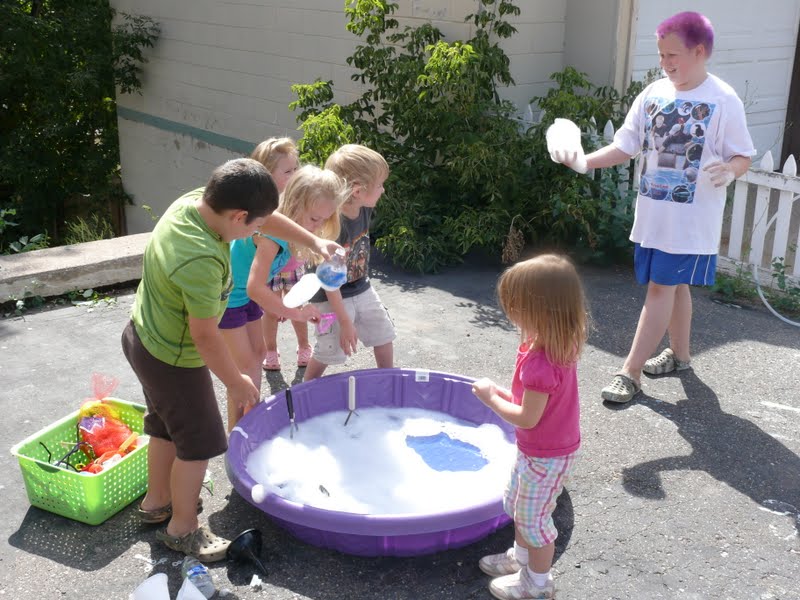
Even our youngest friends were in on the act! 

We also filled the small swimming pool with our homemade bubble solution. 
(I never measure.... Dawn dish soap, water, and a bit of light corn syrup to help strengthen it.)
We had all of our bubble making tools..... foam-erators,
funnels,
giant bubble blowers (large dowel and string)
We also had.... onion bags, cookie cutters, fly swatters, potato mashers, pipe cleaners, 
standard plastic bubble wands, AND....
HULA HOOPS!

We were able to stand in the center of the pool and pull the hoop up around our friends! This created a HUGE bubble tunnel around us!
I was also able to make a few HUGE bubbles by holding the hoop up in the wind!
We had a great, foamy..... 
messy..... 
bubbly fun afternoon!
And.... we even had a visit from an old friend! 
The perfect August afternoon!

This post was linked up over at:

PreK + K Sharing

Comments

Unknown said…
Oohh, that looks like fun! I can't wait for our record temps (115 degrees) to cool off enough to play outdoors again. :) Thanks for linking on LINK YOUR MESS!
Unknown said…
I featured your post on Link Your Mess this week! :)

Popular posts from this blog

A Few Ideas With Marker Caps (As Promised)

Yesterday, I hope I convinced you not to throw away your markers that "don't work." Today, I will share with you a few ideas for what to do with all of the caps. The possibilities are nearly endless, but here are a few of our recent creations: 1) A Leprechaun/Fairy Ladder/Rope Ladder: 2) #1 if not permanently secured can also double as a rope bridge: 3) #1/#2 can also be made into a train track for your homemade trains :). (No photo available) 4) You can use them as beads for a necklace: 5) You could make them into a wind chime. (No photo available). 6. You can use them as small manipulatives to count, sort, and make patterns with. (No photo available). 7) You could use them as playing pieces in your own homemade board game. (No photo available). 8) You could put them on a wire and glue them in place to make a twirling whirly-gig. 9) You could top them with a lid from a milk jug to make tiny tables or toadstools. 10) You could make them...

Easter Egg Caterpillars!

OOOPS! This post has moved, please click on the photo to be redirected!

Xylophones and Outdoor Music (Originally posted May 2010)

These posts were originally published  in May of 2010. Our music area has been updated quite a bit since then, but it will give you some basic instructions for creating the xylophone. I've wanted to make an outdoor area for music for quite some time.  We had a new fence installed around the play area, and my thought was to put a HUGE xylophone on the fence, like the one we saw mounted on the wall at the U.P. Children's Museum.   However, after being inspired with additional ideas for an outdoor area through following Teach Preschool on Facebook, we have opted to create an entire section of our outdoor play space to making music! The first project for our Music area was a Giant Xylophone. Here are a few photos as we worked to put it together. This photo is of our temporary installation. Due to the size of the xylophone, we need to reinforce it with wood, as the string is not strong enough to account for gravity. The xylophone is made out of scrap 2x4 pieces...