Painting Seed Pods


We have been crafting! The Great Start Regional Child Care Resource Center has requested some ornaments to help decorate their tree, so we have been busy creating ornaments for them.

One of our favorites this year has been our milkweed pods!
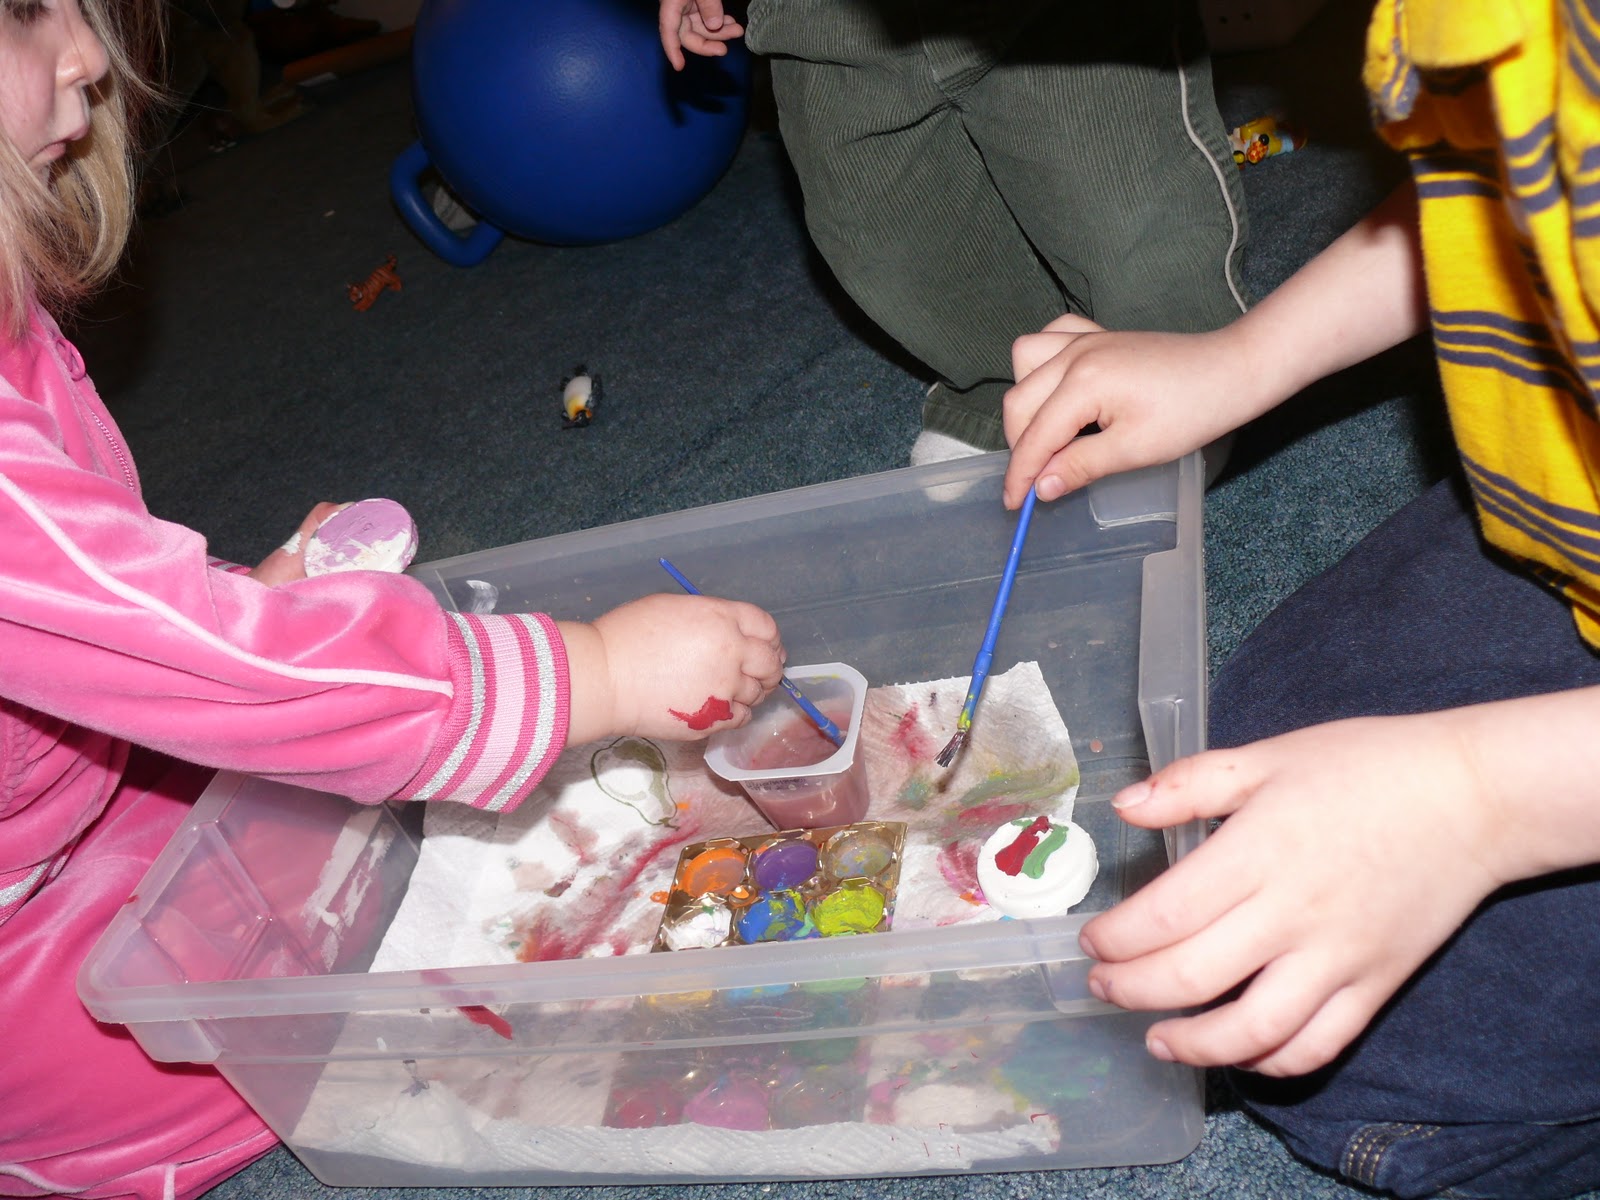
I am often asked how I manage to allow children the opportunity to participate in various activities when I work with so many mixed ages. This little painting tote set up works well when I have some infants and toddlers. We have a GREAT art and tinkering station set up in our kitchen, but when I have little ones in the main classroom, it is hard to help and monitor in two different rooms. I do bring the infants and toddlers into the kitchen, but often their explorations tend to be much shorter than the preschool and school aged children, so I came up with this great painting tote!
 All I do is give the children a clear plastic tote (sweater box sized). I line it with paper towel, place a pallet of paint (I always let the children choose what colors and kind), and a small water dish for rinsing brushes.  When we are painting something smaller, two children can share a tote. If it is a larger project, each child has their own.
As you can see, these children are painting in our main play room. Having these totes keeps the paint from spilling on our carpet (most of the time...). When we do have an occasional spill, we do have a handy dandy steam cleaner! This does allow the preschool children to paint until their hearts are content, while at the same time, allowing us to be in the carpeted play room where the infants and toddlers are exploring other activities. (I recently wrote more about working with mixed ages over at the Pre-k and K Sharing blog.)
Back to our seed pods, we covered them with paint and then spattered them with glitter glue! Then, to finish them off, we strung them with a piece of string.
(The little round ornaments were made with clay dough... I'll post about those soon!)

I linked this up over at:
PreK + K Sharing

Comments

Popular posts from this blog

A Few Ideas With Marker Caps (As Promised)

Yesterday, I hope I convinced you not to throw away your markers that "don't work." Today, I will share with you a few ideas for what to do with all of the caps. The possibilities are nearly endless, but here are a few of our recent creations: 1) A Leprechaun/Fairy Ladder/Rope Ladder: 2) #1 if not permanently secured can also double as a rope bridge: 3) #1/#2 can also be made into a train track for your homemade trains :). (No photo available) 4) You can use them as beads for a necklace: 5) You could make them into a wind chime. (No photo available). 6. You can use them as small manipulatives to count, sort, and make patterns with. (No photo available). 7) You could use them as playing pieces in your own homemade board game. (No photo available). 8) You could put them on a wire and glue them in place to make a twirling whirly-gig. 9) You could top them with a lid from a milk jug to make tiny tables or toadstools. 10) You could make them...

Our DIY Light Tables

There has been a lot of buzz about light tables over at Teach Preschool on Facebook . Deborah has collected some great ideas for light table play and has been experimenting with making her own table over on the Teach Preschool blog.   I thought I would share with you our two light tables and how we made them. This first table is one that we put together with some scrap wood pieces, an old plexi-glass door from an entertainment center, and a couple of aquarium lights. Total Cost = $0. (We had everything on hand.)  The table needs a little bit of tweaking. (It is on my to do list).  Basically, we made a frame of wood around the plexi-glass and placed the lights under it. Our DIY skills in putting this together were far from expert, so the frame has a couple of gaps (and the reused wood is warped). We plan to try a new frame and use some caulk to seal any gaps.  We also plan to attach the lights to the side of the frame instead of just placing them on the f...

"The Markers Don't Work!"

How may times have you heard, "Ms. (fill your name in here), this marker doesn't work!" I know I hear it all the time. Sometimes it is because our little friends forget to replace the caps, and sometimes the markers have just been "all used up!" What do you do with all those markers that just don't work? Please don't tell me that you throw them out, try this instead: First, sort your markers out. Put the caps in one container ( save those too, I'll show you what you can do with them in tomorrow's post) and the markers in another. I have a box for the markers that "don't work" for the children to place them into every time they run across one. You can also have the children help you test the markers periodically to sort out the ones that need to be removed from the "working set." When it comes time to use "the markers that don't work," we use a small sponge paint roller to roll water onto our card...