
Infant & Toddler Fun: Balls, Bells, a Basket, and a Box


This fall has brought with it major changes to the composition of our childcare home. This summer- we were quite busy with a number of school-aged children. When they went back to school - we enrolled a couple of new families and welcomed back some of our younger children who had taken the summer off.  

All of our infants have also grown and reached the stage in development where they have become mobile and are ready for more exploration! We are all born ready to learn and explore!

Here is a simple create I made to give the children HOURS of exploration fun!


I took a cardboard box (this one had holes in it already, but you could put holes in any box)


and a plastic basket


and I taped them together to make a ramp. 

The box is closed at the top of the ramp, but I opened it and taped the sides at the bottom. 

The children have spent HOURS exploring this contraption.


I filled the white basket with ball pit balls 


and large jingle bells.


It was difficult to time the photos just right- as they were very busy putting the balls through the holes and down the ramp. After using the ramp on the floor for quite some time and having the balls and bells roll all over the place, I opted to add a second basket to the end to catch things as they came through. (The green basket is about 2" shorter than the white one, so there is still a decent slope to the ramp).


With so many young children who are in the process of learning how to talk, it was the perfect opportunity for me to observe and narrate.  
"The red ball fell through the box, it went under the ramp. Oh look, D found it!" 


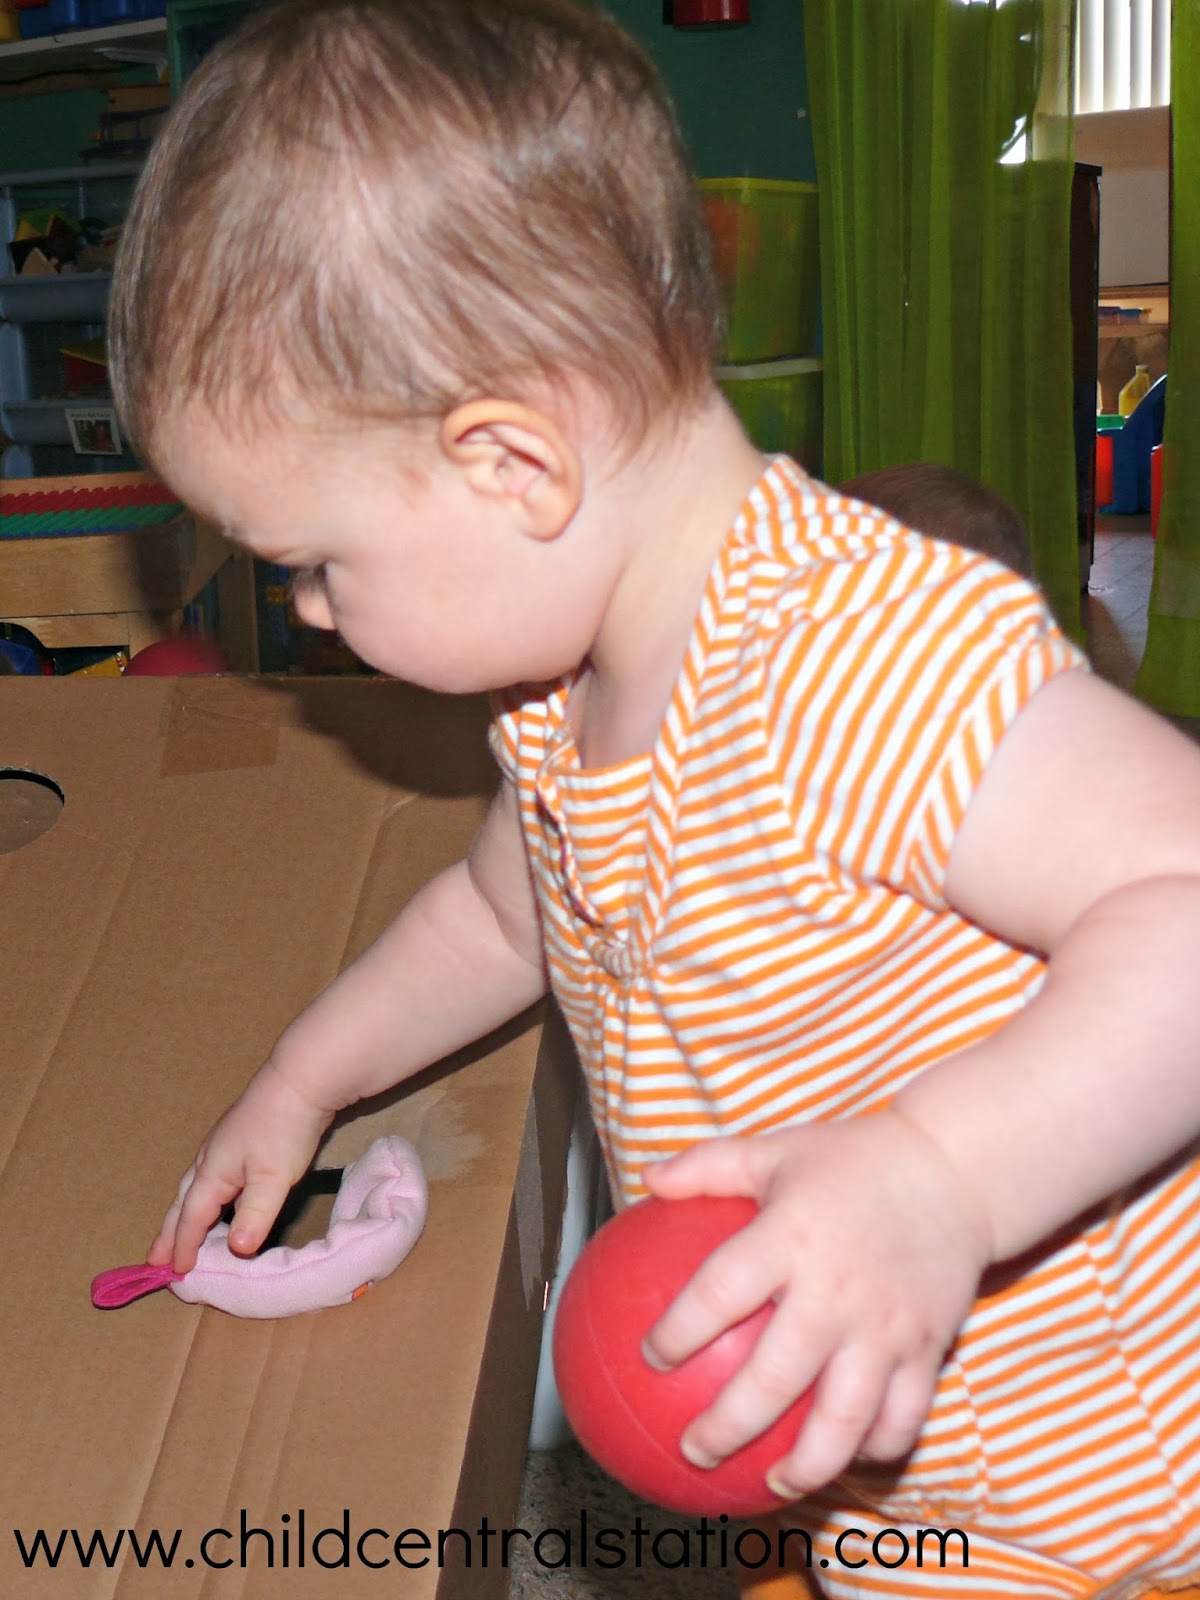
"H found an oven mitt, I wonder if that will fit into the hole. Look! H is pushing the mitt through the hole. She has a red ball in her other hand, I bet she will put that through next."


"The bell is rolling down the ramp. I can hear it. Here it comes- rolling out of the bottom!"

We spent so much time testing the ramp, racing balls and bells. 


Watching, listening, and observing.
We talked about colors.
We talked about prepositions.
We used our motor skills.
We worked on visual tracking.
We worked on sharing spaces.
We played until we were done, and came back when we were ready for more.


All while we were JUST PLAYING.

Have you ever tried to make a fun contraption for the children to explore? I'd love to hear about it!

Comments

Unknown said…
Very nice idea! Have a look also on how we turned a cardboard box into a mysterious tunnel by using some stockings: http://www.outnumbered.be/craft-creativity/tunnel-from-cardboard-boxes/

Popular posts from this blog

A Few Ideas With Marker Caps (As Promised)

Yesterday, I hope I convinced you not to throw away your markers that "don't work." Today, I will share with you a few ideas for what to do with all of the caps. The possibilities are nearly endless, but here are a few of our recent creations: 1) A Leprechaun/Fairy Ladder/Rope Ladder: 2) #1 if not permanently secured can also double as a rope bridge: 3) #1/#2 can also be made into a train track for your homemade trains :). (No photo available) 4) You can use them as beads for a necklace: 5) You could make them into a wind chime. (No photo available). 6. You can use them as small manipulatives to count, sort, and make patterns with. (No photo available). 7) You could use them as playing pieces in your own homemade board game. (No photo available). 8) You could put them on a wire and glue them in place to make a twirling whirly-gig. 9) You could top them with a lid from a milk jug to make tiny tables or toadstools. 10) You could make them...

Easter Egg Caterpillars!

OOOPS! This post has moved, please click on the photo to be redirected!

"The Markers Don't Work!"

How may times have you heard, "Ms. (fill your name in here), this marker doesn't work!" I know I hear it all the time. Sometimes it is because our little friends forget to replace the caps, and sometimes the markers have just been "all used up!" What do you do with all those markers that just don't work? Please don't tell me that you throw them out, try this instead: First, sort your markers out. Put the caps in one container ( save those too, I'll show you what you can do with them in tomorrow's post) and the markers in another. I have a box for the markers that "don't work" for the children to place them into every time they run across one. You can also have the children help you test the markers periodically to sort out the ones that need to be removed from the "working set." When it comes time to use "the markers that don't work," we use a small sponge paint roller to roll water onto our card...