
This post was shared at:
 Our friends are starting to get very excited about Halloween! We decided that it was time to start taking down our summer decor, and opted to make a few spooky totem poles to help decorate our rock garden for fall.
 The original idea for the totem pole came from Family Fun Magazine. You can see our original totem pole in this post. Our spooky totems were a lot of fun to make.

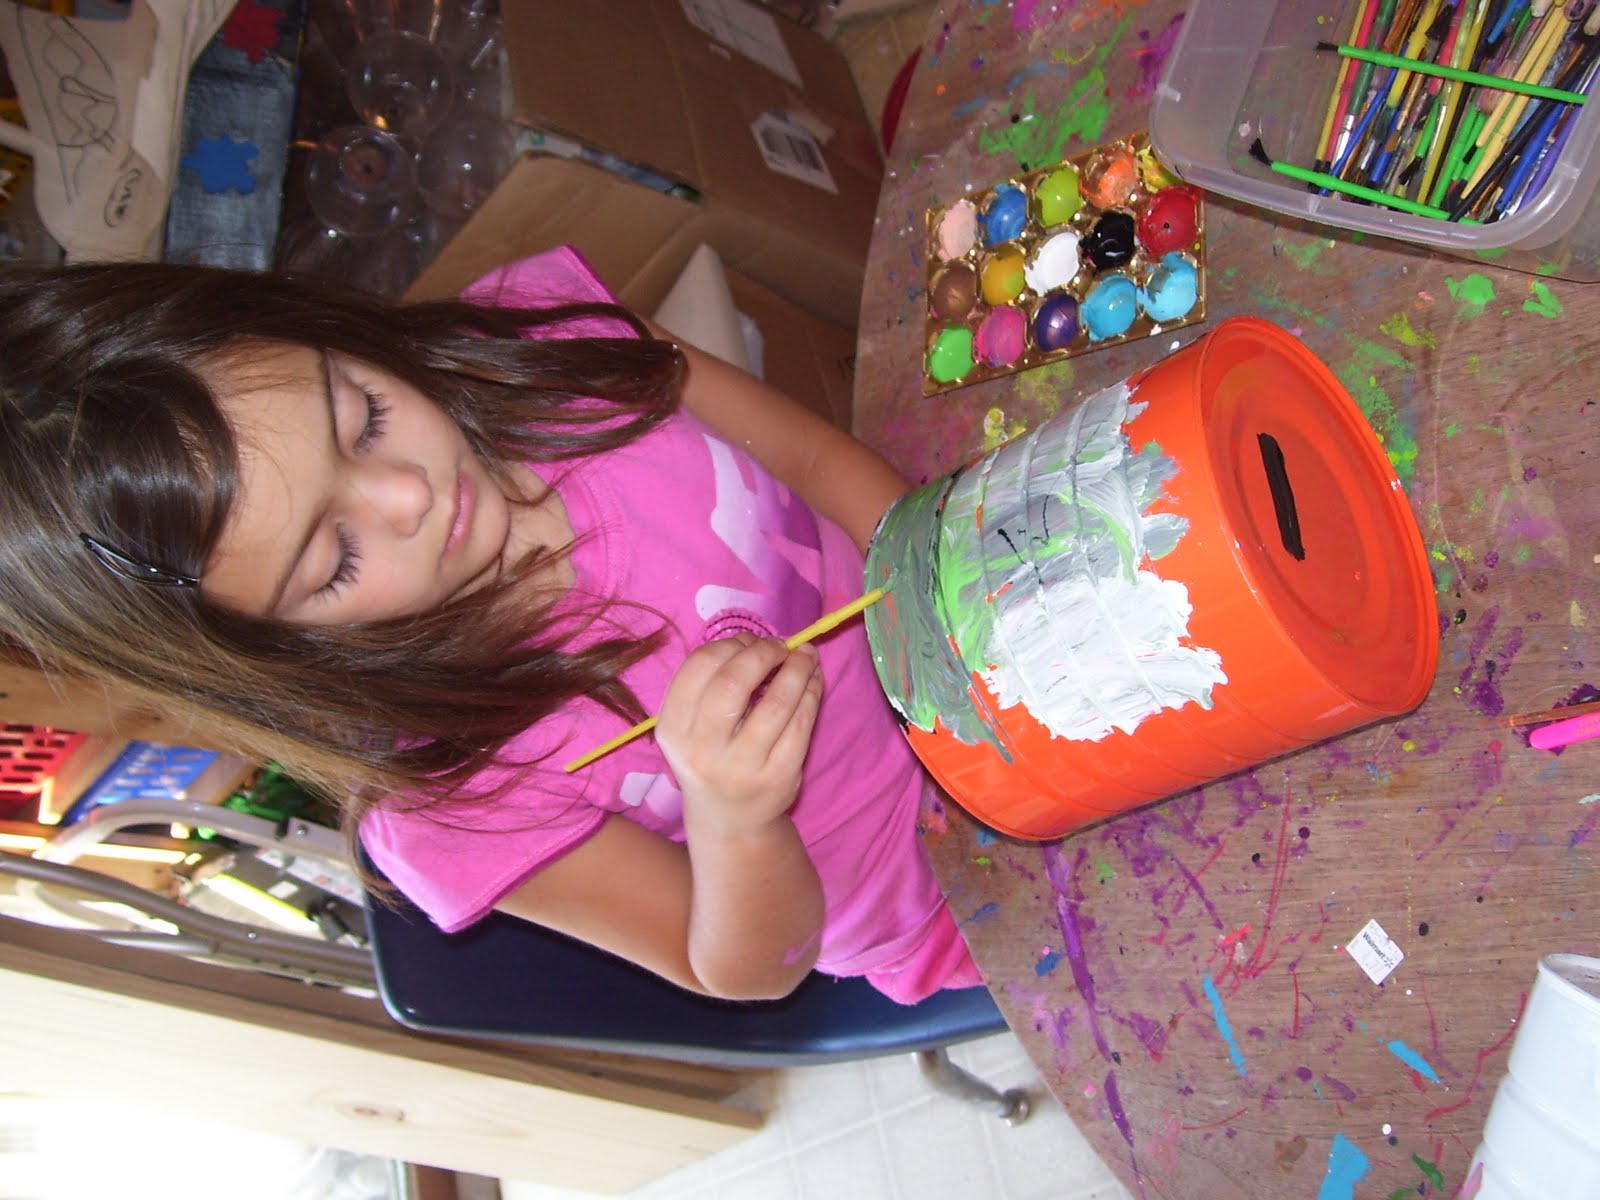
Some of our friends opted to paint their coffee cans. (I sprayed them in various "fall"/"halloween" colors as a base to get them ready for decorating).

 After we finished with the paint, some of our friends added pieces of foam and googly eyes to their creatures.
 Our cans turned out fantastic!


 Check out the cool totems we have out front!
Here is the one on the right:
 The one in the middle is pictured at the top of this post. The one on the left has room for 3 more cans, and will be finished tomorrow when some more of our friends have an opportunity to join in the fun. This is the one on the left:

As you can see from this picture, when we put our totem poles together, we do not use the spacers as suggested by family fun. Instead, we remove both the top and the bottom from the coffee cans. We use a wooden stake as the main support and we screw the cans in place. The only can that has the bottom left on it is the one on the top of the totem.
I shared this post at The Trendy Treehouse's Creative Share. (It is a blog hop! Join in on the fun...)
 The original idea for the totem pole came from Family Fun Magazine. You can see our original totem pole in this post. Our spooky totems were a lot of fun to make.
Some of our friends opted to paint their coffee cans. (I sprayed them in various "fall"/"halloween" colors as a base to get them ready for decorating).
 After we finished with the paint, some of our friends added pieces of foam and googly eyes to their creatures.
 Our cans turned out fantastic!

 Check out the cool totems we have out front!
Here is the one on the right:
 The one in the middle is pictured at the top of this post. The one on the left has room for 3 more cans, and will be finished tomorrow when some more of our friends have an opportunity to join in the fun. This is the one on the left:
As you can see from this picture, when we put our totem poles together, we do not use the spacers as suggested by family fun. Instead, we remove both the top and the bottom from the coffee cans. We use a wooden stake as the main support and we screw the cans in place. The only can that has the bottom left on it is the one on the top of the totem.
I shared this post at The Trendy Treehouse's Creative Share. (It is a blog hop! Join in on the fun...)
Comments
Jenny, I think you need one, too. :)