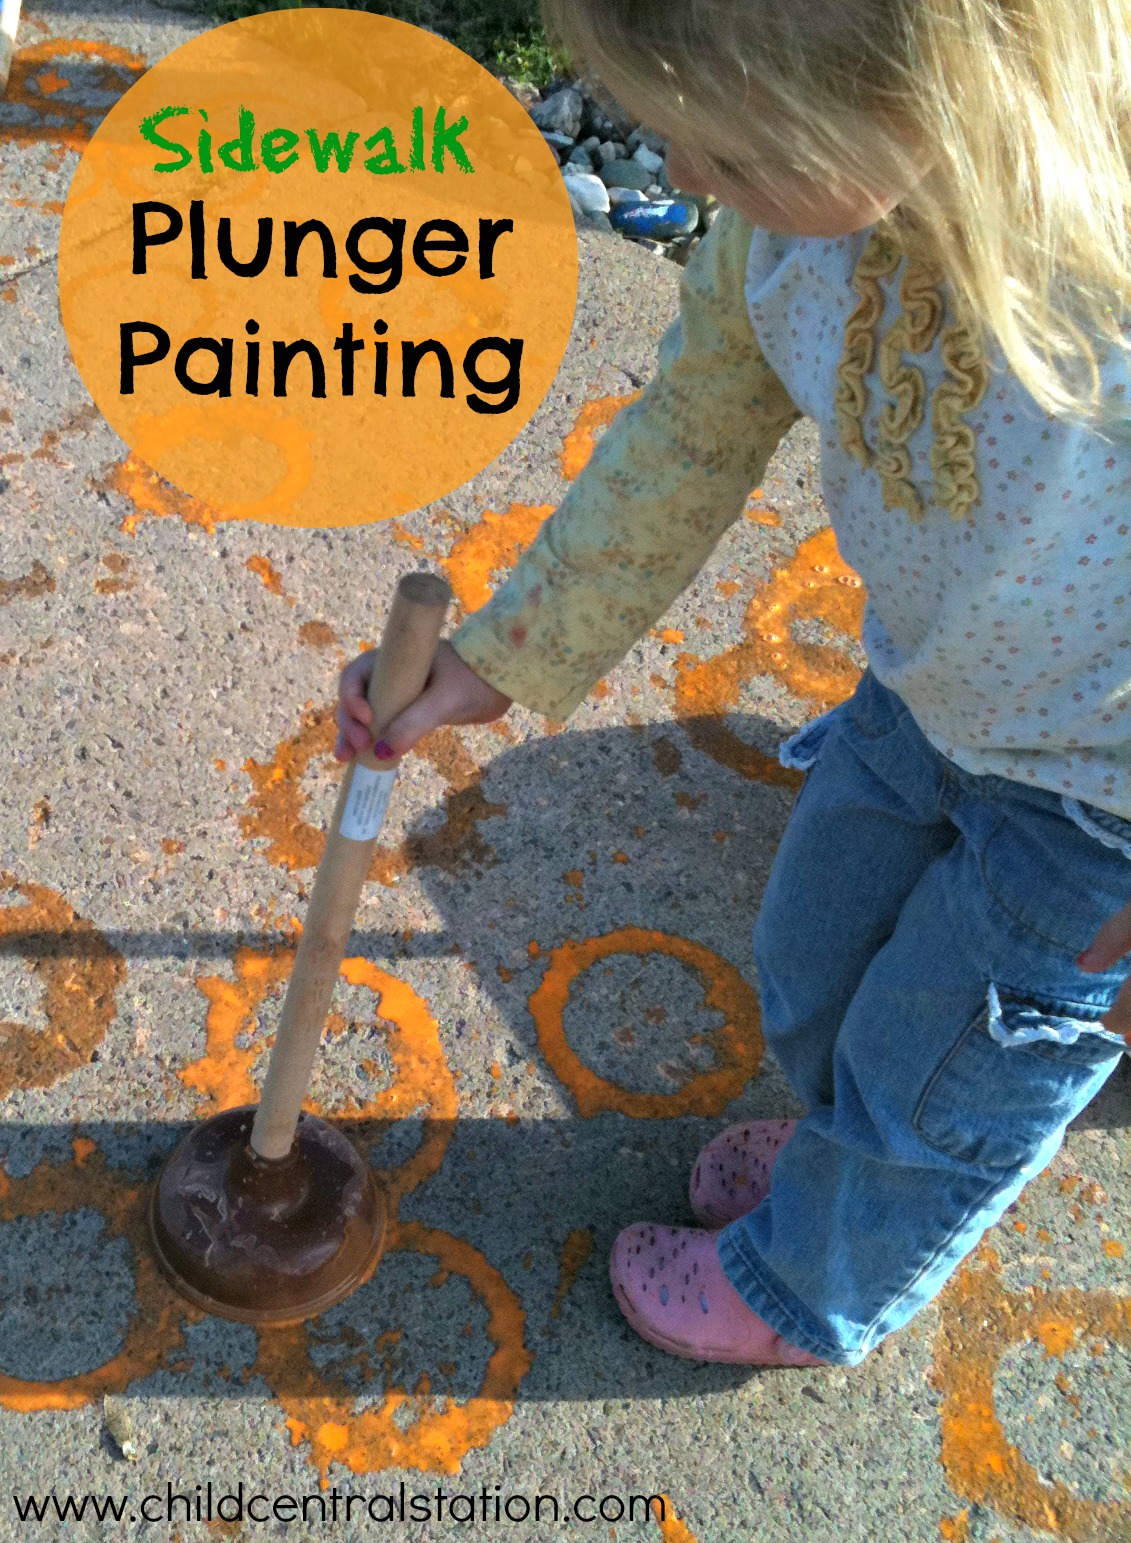
Plunger Paint Pumpkin Patch

I don't remember where I first heard about the fabulous "plunger painting", but it is a wonderful activity for the children. I don't have the plungers available all of the time, so that when they do appear... they are a treat! 

I apologize  for a few blurry photos here. (I didn't realize that the camera was switched to auto-focus). I casually set a couple of plungers in the play room.  "Ms. Amy, what are these?"
"I don't know, what do you think they are?"

"Can we play with them?"
"Of course you can play with them....."
The children find all kinds of ways to play with them..... It is great fun if you have different types of flooring for them to explore. It took very little time before they were able to investigate enough to realize that the plungers stick to the linoleum floor if you push down on them:
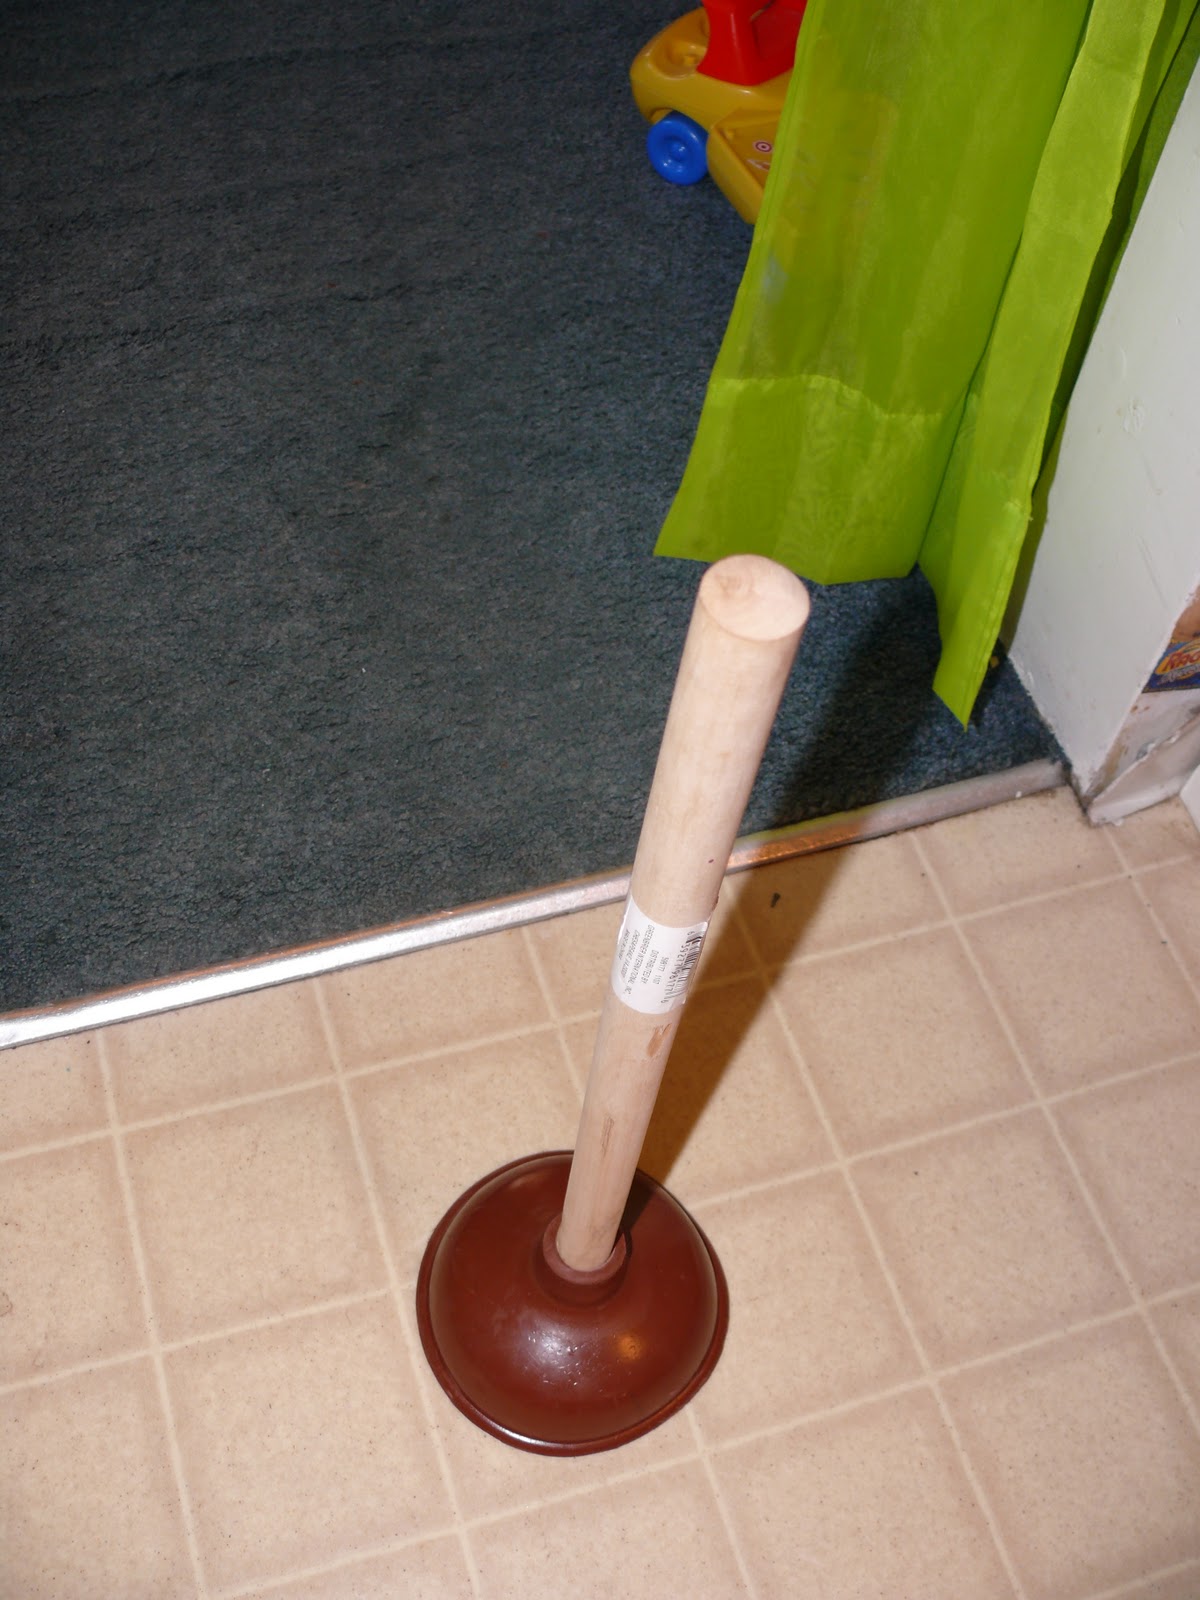
But, they don't stick to the carpet..... Hmmmmm..... I wonder? 
Can I get two of them to stick together? 
After some indoor exploration, we took them outside with a bucket of sidewalk paint
Look at that! It's a circle!
Uh-OH!!!! Mine is stuck in the paint!!! Can someone help?
We're making a pumpkin patch!
I'm going to color my pumpkin purple.
Look at all of those pumpkins!
I wonder what it will look like if we dump some paint too?
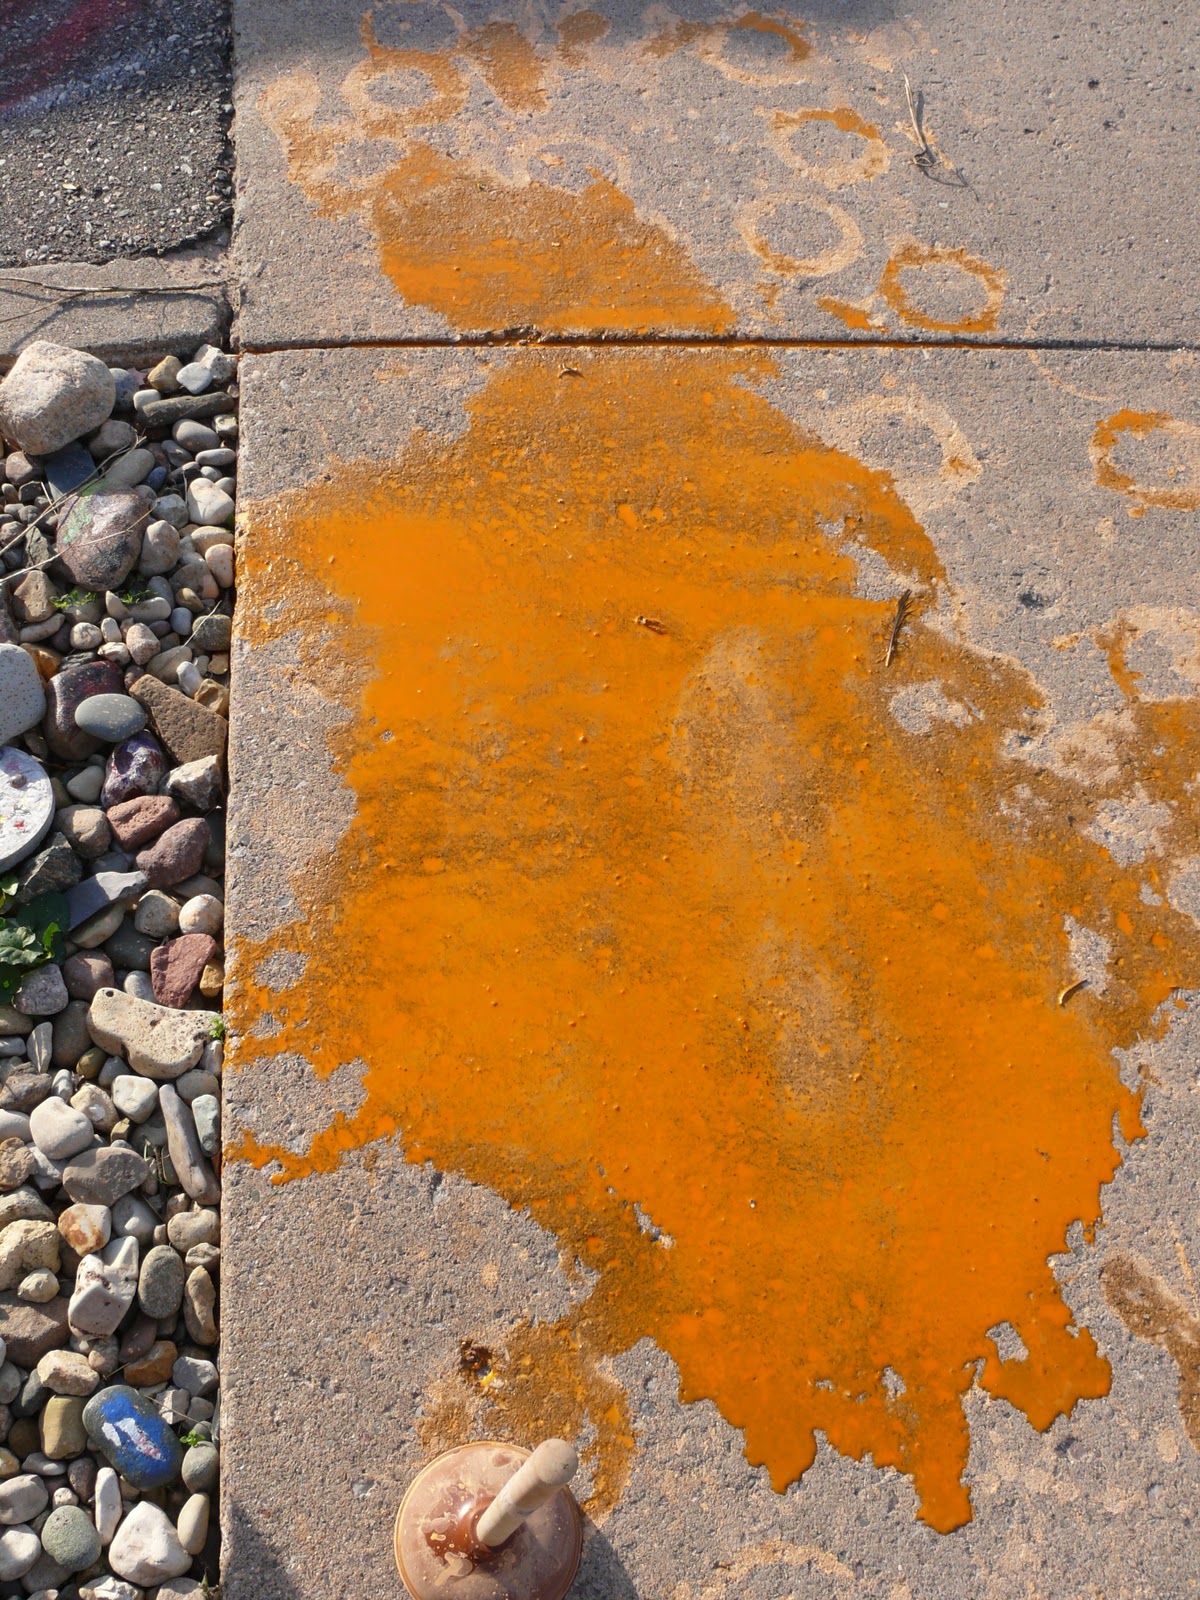
I bet we could step in it and make footprints too!
Lots of plunger print pumpkins and fun little foot prints right outside our door!

A few notes on the plungers: 
     Of course, we only use clean never touched the toilet or drain plungers. I found these ones at our Dollar Tree. Sometimes it is difficult to find the traditional type plunger, but those ones work best. (Some of the newer ones have a different head on them that is not as open.) 
     As a "loose" part, plungers are great. The children found all sorts of fun ways to use them. One of the older children is working on the "blue prints" for a giant bow and arrow.... They spark all kinds of creativity! 
    As children explore, they learn that the plungers stick to some things, and not to others. This leads to hours of exploration. Why does it stick here? I wonder if it will stick there.... AND when it gets stuck, it takes the use of muscle power to set it free again. Sometimes children need to ask for help from their friends in order to make that happen. Then, not only is the activity great for motor skills, but also for children's social skill development. 


I hope you have as much fun playing with plungers as we have!

This post was linked up over at:

PreK + K Sharing

Comments

Anonymous said…
I love the creativity here, with the plunger prints, and footprints. The children evidently thoughly enjoyed this!
And it looks like a great fall day for this!
We have a few plungers at our center,but I wasn't sure I liked them, but you describe the kind of exploration and discovery that can happen with plungers so well, I'll have to give them another thought!
Brenda
Brenda
Aimee said…
That is such a fun idea! Thanks for linking up to the Sunday Showcase
Carolyn said…
Looks like the kids had a lot of fun with plunger painting...a different way for them to learn and explore. I like it...looks great!

Popular posts from this blog

A Few Ideas With Marker Caps (As Promised)

Yesterday, I hope I convinced you not to throw away your markers that "don't work." Today, I will share with you a few ideas for what to do with all of the caps. The possibilities are nearly endless, but here are a few of our recent creations: 1) A Leprechaun/Fairy Ladder/Rope Ladder: 2) #1 if not permanently secured can also double as a rope bridge: 3) #1/#2 can also be made into a train track for your homemade trains :). (No photo available) 4) You can use them as beads for a necklace: 5) You could make them into a wind chime. (No photo available). 6. You can use them as small manipulatives to count, sort, and make patterns with. (No photo available). 7) You could use them as playing pieces in your own homemade board game. (No photo available). 8) You could put them on a wire and glue them in place to make a twirling whirly-gig. 9) You could top them with a lid from a milk jug to make tiny tables or toadstools. 10) You could make them...

"The Markers Don't Work!"

How may times have you heard, "Ms. (fill your name in here), this marker doesn't work!" I know I hear it all the time. Sometimes it is because our little friends forget to replace the caps, and sometimes the markers have just been "all used up!" What do you do with all those markers that just don't work? Please don't tell me that you throw them out, try this instead: First, sort your markers out. Put the caps in one container ( save those too, I'll show you what you can do with them in tomorrow's post) and the markers in another. I have a box for the markers that "don't work" for the children to place them into every time they run across one. You can also have the children help you test the markers periodically to sort out the ones that need to be removed from the "working set." When it comes time to use "the markers that don't work," we use a small sponge paint roller to roll water onto our card...

Our DIY Light Tables

There has been a lot of buzz about light tables over at Teach Preschool on Facebook . Deborah has collected some great ideas for light table play and has been experimenting with making her own table over on the Teach Preschool blog.   I thought I would share with you our two light tables and how we made them. This first table is one that we put together with some scrap wood pieces, an old plexi-glass door from an entertainment center, and a couple of aquarium lights. Total Cost = $0. (We had everything on hand.)  The table needs a little bit of tweaking. (It is on my to do list).  Basically, we made a frame of wood around the plexi-glass and placed the lights under it. Our DIY skills in putting this together were far from expert, so the frame has a couple of gaps (and the reused wood is warped). We plan to try a new frame and use some caulk to seal any gaps.  We also plan to attach the lights to the side of the frame instead of just placing them on the f...