
 This is a photo of a milkweed plant. In June, I asked my dad if he thought that they had any growing on their 40-acre farm. I wanted to have a place to gather some for food in the case that we were able to get some monarch caterpillars from a friend of mine. When I finally took the time to look up milkweed plants, I came to realize that I've been killing milkweed all summer long. It keeps sprouting up in my flower beds and I have been pulling those weeds!!!
GAAAAAAAAACKKKKKKKKKKKKKKKK!
Live and learn, I guess. Fortunately, my darling hubby thought that they looked pretty cool and let a patch of them grow near our shed and near one of the liloc bushes. Now, we don't need to have someone bring us monarch caterpillars, we have been able to find our own!

Here is Dane pointing to a tiny little egg sitting on the back of this leaf. We gathered some eggs and some tiny little caterpillars to watch them transform with all of the children. Most of them are quite small. The largest one found by Mr. Allan is about a centimeter long. The rest are very tiny.

You can see the centimeter ruler we put in the next two photographs to give you an idea of exactly how big they are.

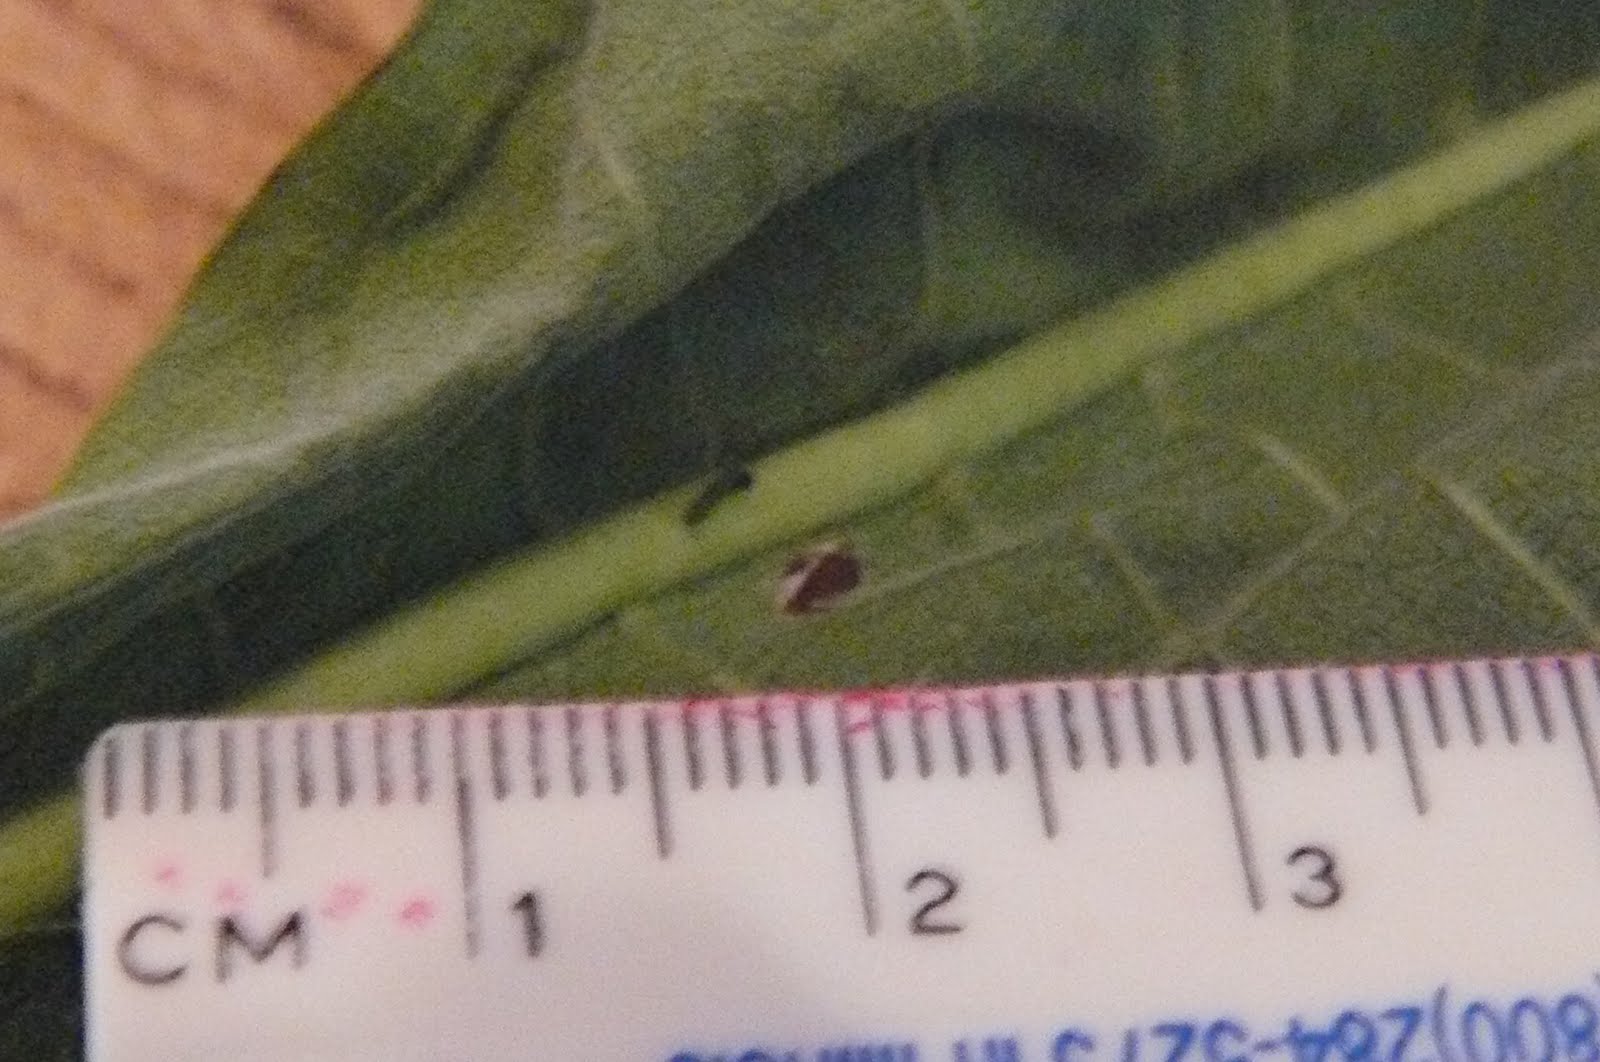
After we looked at the milkweed that was in our yard, we went for a short walk to the bike trail near our house. We found a lot of milkweed, but not many eggs or caterpillars. However, with our overall collection, I think we have 7 caterpillars and quite a few eggs. You will have to check back to watch us as we observe this "magical" tranformation happen.
 If you missed our first caterpillar/butterfly metamorphosis observations with the Painted Lady Butterflies, you may wish to check out these posts:
I can tell you already that I am liking the experience with the Monarchs much better than that with the painted ladies. For starters, I like how we can see the full life cycle and how the children can help to find the eggs. I also like how they can see the caterpillars eating their natural food and not some "goop" in a jar. I know there will be more to post as we compare the two experiences in the next couple of weeks. Stay tuned for more updates!
Comments
Thanks for the tip on legos! I feel smarter already knowing where the word originated! :)