
 Most of our art materials are always "open" and available for the children to use. The scrap bucket of paper is usually raided quite frequently, and I like to make sure that there are plenty of "standard" shapes cut for the children to use. Of course, we encourage lots of cutting of their own shapes, but sometimes it is nice to have just the right shape without having to cut it. Today- I hid all of the pre-cut shapes and replaced that basket with paper punches instead!
 Some of the punches required the children to push down, while others required them to squeeze. This was a challenging activity that required them to use their small/fine motor skills. For some of the younger children, assistance was required to add the necessary pressure. (I didn't help them until they had exhausted their own techniques and they asked for my assistance).
 The "squeeze" punches were used much more frequently than the standard push punches. The children were giggling and talking about how the shapes (especially the frog) just jumped right up!
 Most of the children opted for glue sticks. (Although we always have sticks, bottles, and dabbers available for them to choose from). Much to my surprise, the projects were completed without the use of any other materials, and children opted to keep not only the page they glued the shape to, but also the scraps of paper they cut the shapes from. I anticipate that these new paper punch tools will be used quite frequently now that we have a set of them on our shelves.

Some of the children used scrap pieces of our homemade paper on their colllages too. They were quite satisfied with the shapes and the glue, as they opted not to add any additional materials. I anticipate many more creations using multiple mediums with these new additions in our future projects!
 Most of the children opted for glue sticks. (Although we always have sticks, bottles, and dabbers available for them to choose from). Much to my surprise, the projects were completed without the use of any other materials, and children opted to keep not only the page they glued the shape to, but also the scraps of paper they cut the shapes from. I anticipate that these new paper punch tools will be used quite frequently now that we have a set of them on our shelves.
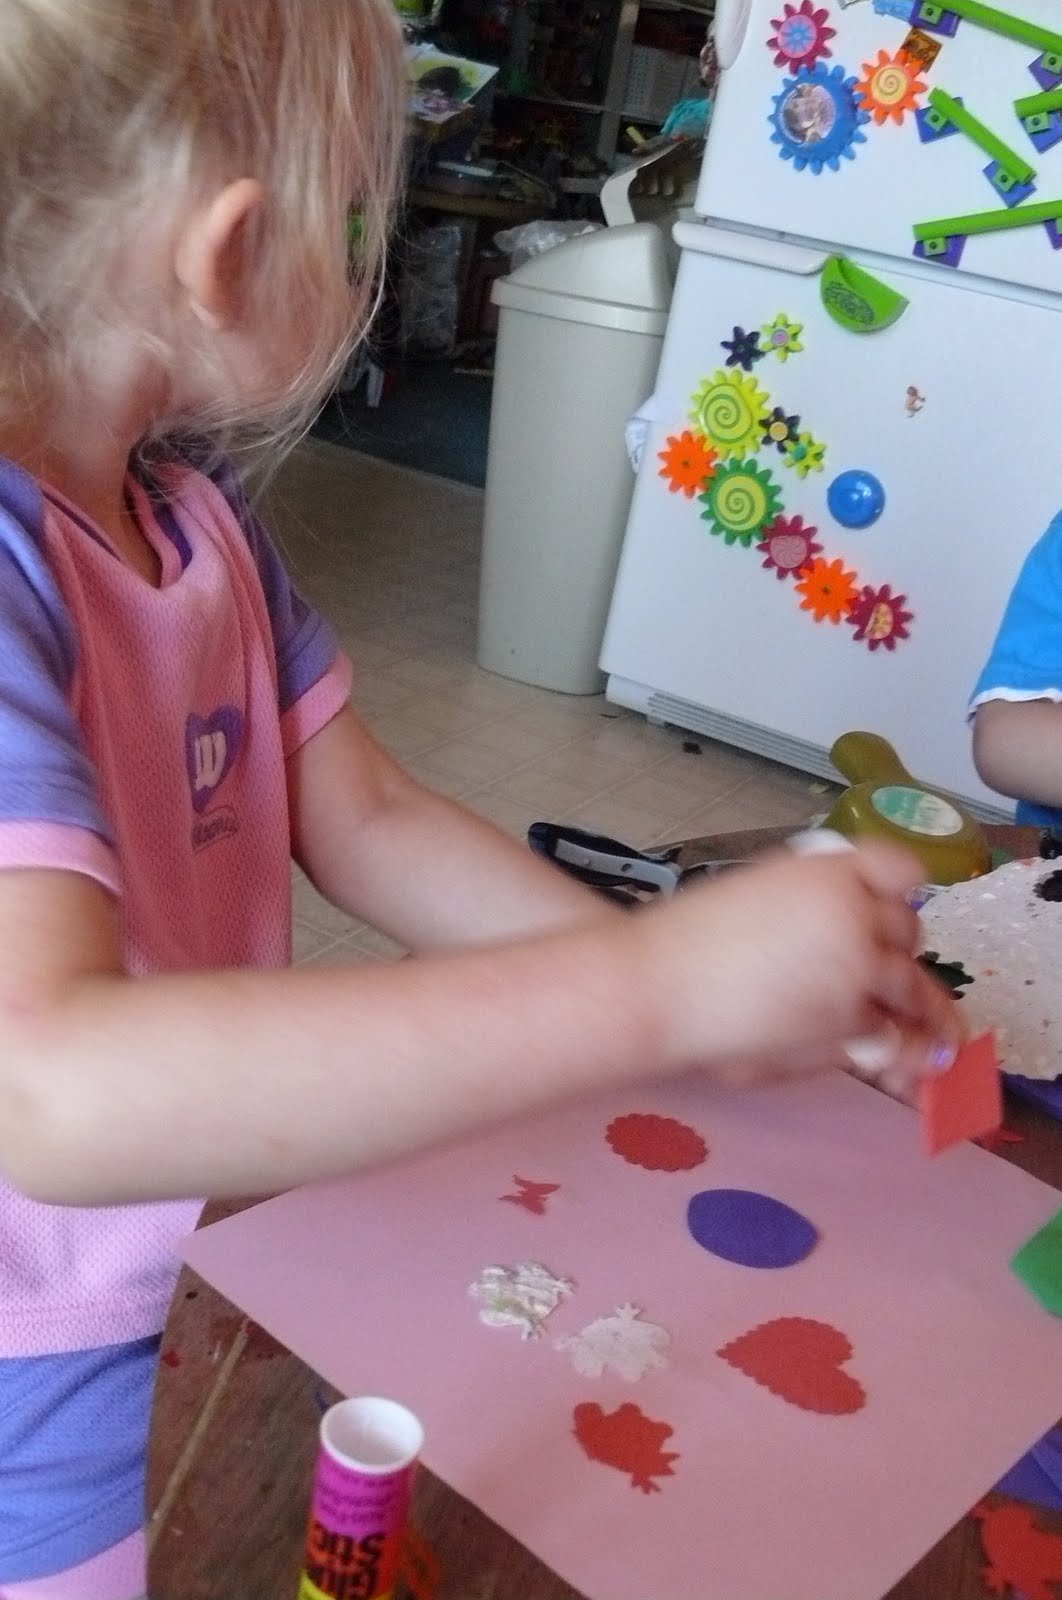
Some of the children used scrap pieces of our homemade paper on their colllages too. They were quite satisfied with the shapes and the glue, as they opted not to add any additional materials. I anticipate many more creations using multiple mediums with these new additions in our future projects!
Comments