
This time of year can be crazy, for adults and for children too. Sometimes it is hard to keep everything in perspective and to help to teach children to think of others, especially when we live in world with so much commercialization around the holidays.
 Today, we decided that we would take some time to help out others. Being that the stress of the season can seriously sometimes be "FOR THE BIRDS!" We have opted to help out our little friends..... the birds.
I found some great inspiration from Abbie over at Greening Sam and Avery. She also found some additional resources worth checking out! Valerie over at Frugal Family Fun Blog also has some great resources for feeding and identifying birds.
 Today, we started with popcorn kernels. I thought this would be a fun experience for the children as most of them have never really had the opportunity to see popcorn pop out of the kernels! Most of the little ones didn't know what I had in my hand. (Those that do eat popcorn talked about making it in the microwave or eating it at the theater).
 "Wow! It's popcorn!"
 We had to taste-test just to make sure that it was good enough for our little birdie friends.
 Then we very patiently threaded it on fishing line.
 When we were done, we hung it out on our back deck. The deck is not licensed for children's use, which means that the adults need to put the creations out there, but what is great about the back deck is that we have a HUGE sliding glass door that we can view the birds from, and *hopefully* it is high enough up that the snow won't cover it up completely :).
Stay tuned for more bird activities as the weeks progress!
 Today, we decided that we would take some time to help out others. Being that the stress of the season can seriously sometimes be "FOR THE BIRDS!" We have opted to help out our little friends..... the birds.
I found some great inspiration from Abbie over at Greening Sam and Avery. She also found some additional resources worth checking out! Valerie over at Frugal Family Fun Blog also has some great resources for feeding and identifying birds.
 Today, we started with popcorn kernels. I thought this would be a fun experience for the children as most of them have never really had the opportunity to see popcorn pop out of the kernels! Most of the little ones didn't know what I had in my hand. (Those that do eat popcorn talked about making it in the microwave or eating it at the theater).
 "Wow! It's popcorn!"
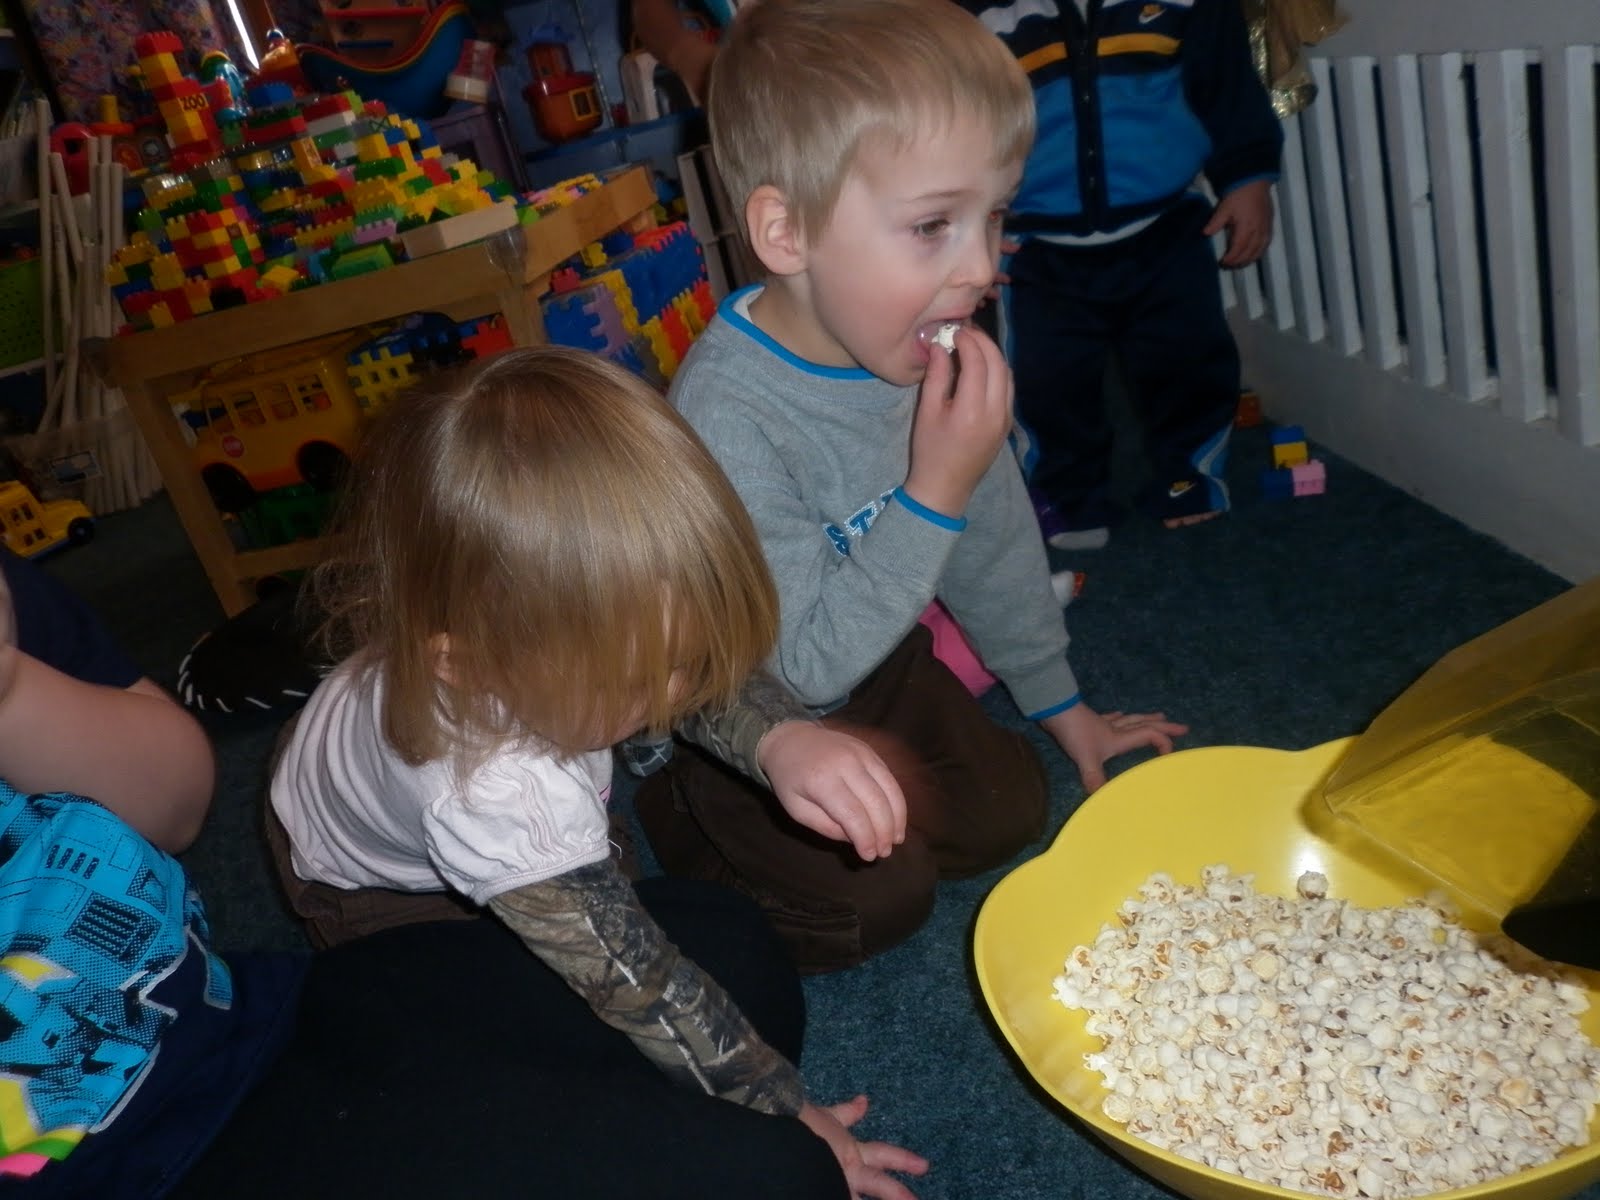 We had to taste-test just to make sure that it was good enough for our little birdie friends.
 Then we very patiently threaded it on fishing line.
 When we were done, we hung it out on our back deck. The deck is not licensed for children's use, which means that the adults need to put the creations out there, but what is great about the back deck is that we have a HUGE sliding glass door that we can view the birds from, and *hopefully* it is high enough up that the snow won't cover it up completely :).
Stay tuned for more bird activities as the weeks progress!
Comments