
A couple of years ago, my mom asked Dane what he wanted to be when he grows up. His response was: "A chef, a builder, or just to just be lazy." Needless to say, we have been doing our part to nurture his interests in the first two. Chances are, statistically, he will have an opportunity to try out a number of different jobs in his lifetime.
This weekend, we did some wood working. Dane received a set of real tools a couple of years ago along with some project books. He really wanted to make dollhouse shelves for his cousins, and it was imperative that we started on his pinewood derby car considering that the pack race is next weekend!

Some boys might be interested in designing a car to win. Dane doesn't really care about winning or losing, he just wanted to make sure that his car was "cool." The biggest decision was in the design. Should it be a hippo? a dinosaur? a taxi? a camel? an elephant? a police car? an ice cream truck? a pig? or an alligator? There are just so many possibilities!

We go through this same decision making process every Halloween. I reminded him that making his derby car was kind of like deciding on a Halloween Costume, if he sticks with Boy Scouts, he will have another opportunity next year. Like his costume, we decided that his car needed to be an alligator.

Dane drew the outline and Allan helped with the cutting. Dane was going to do some of the cutting himself but decided that he wanted to get a little bit more practice in with the saw. Dane did however sand and stain the gator himself. He helped to drill the holes for the penny weights and googly eyes. (We used the stain we made from The Markers that Don't Work).

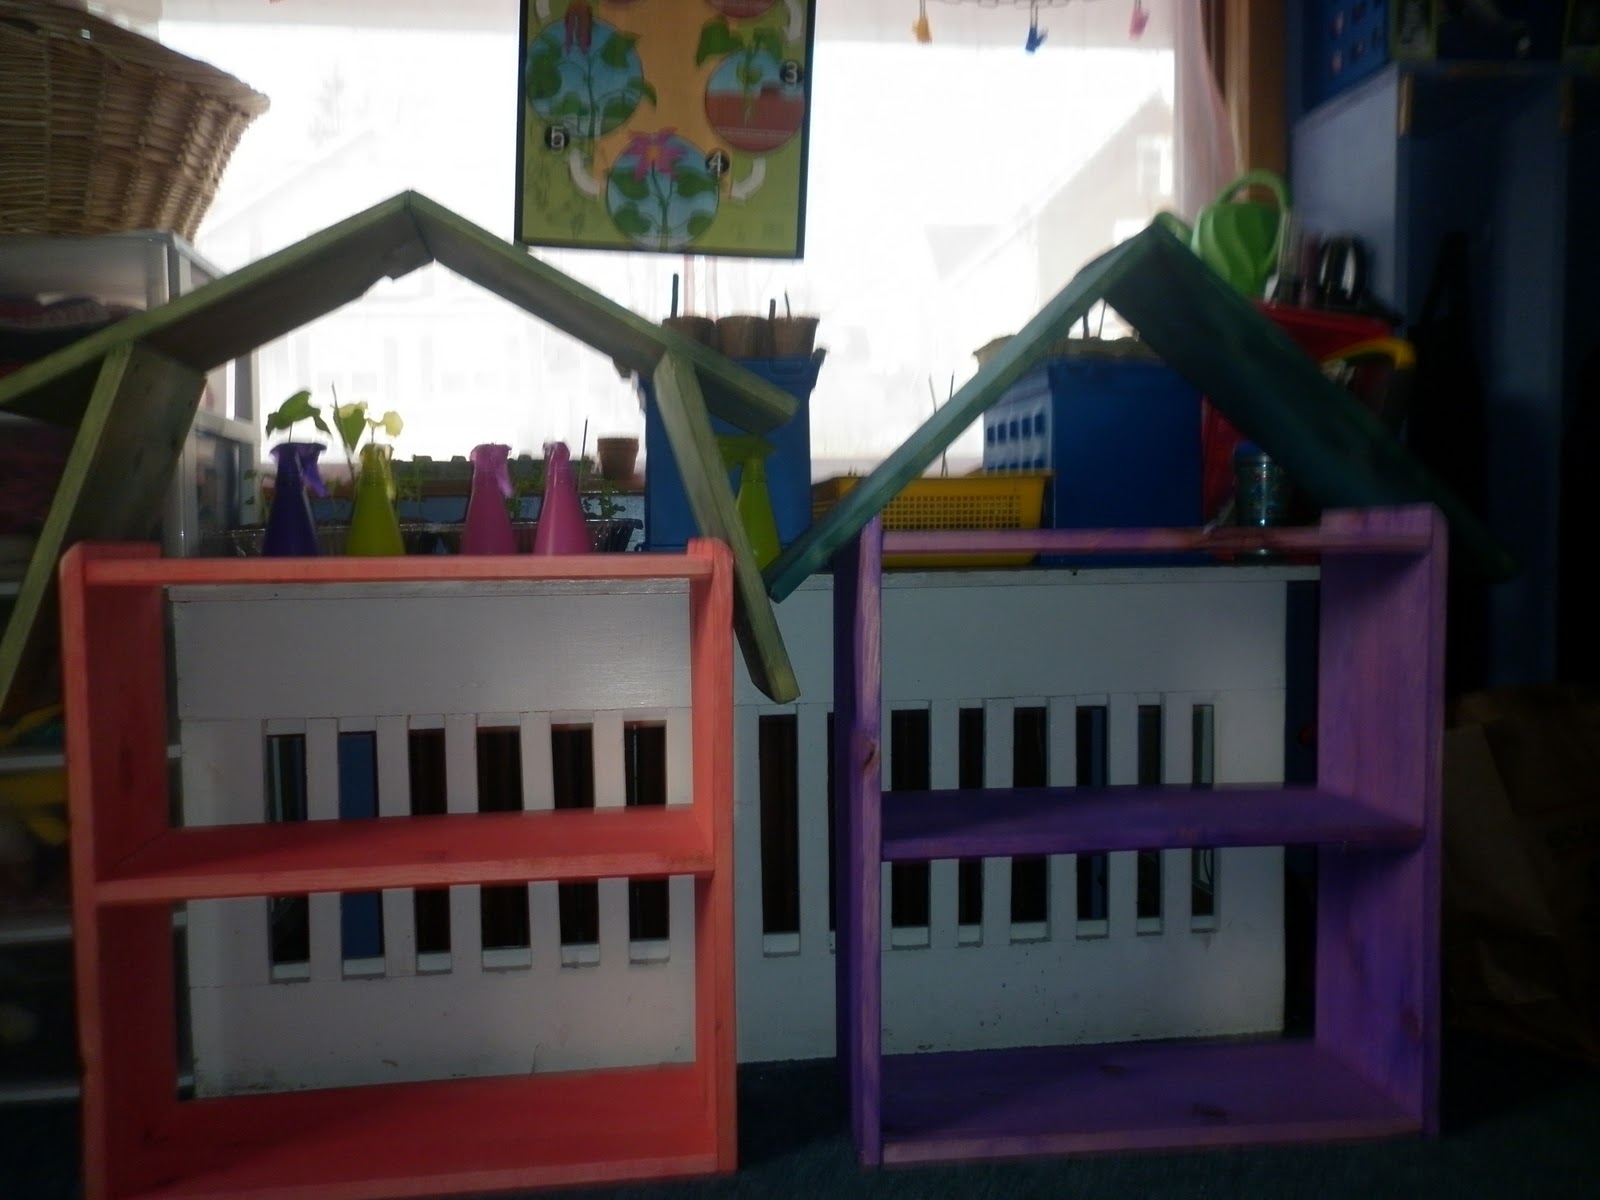
We also put together the shelves Dane has been working on for his cousins. One of them is a house shelf.

And... the other one is a barn shelf. (Don't zoom in and look too close... ) The shelves are functional, we have a long way to go before our work would be "professional, but we're practicing!
 Even though they aren't perfect, they were made with love... and Dane's cousin's are going to absolutely LOVE them!
 He thinks that we need to design one that looks like a castle to keep here.
Dane's alligator car is also ready to race! I don't think it is going to be a year before he starts working on some of his other designs. A year is just way to long to wait!

This weekend, we did some wood working. Dane received a set of real tools a couple of years ago along with some project books. He really wanted to make dollhouse shelves for his cousins, and it was imperative that we started on his pinewood derby car considering that the pack race is next weekend!

Some boys might be interested in designing a car to win. Dane doesn't really care about winning or losing, he just wanted to make sure that his car was "cool." The biggest decision was in the design. Should it be a hippo? a dinosaur? a taxi? a camel? an elephant? a police car? an ice cream truck? a pig? or an alligator? There are just so many possibilities!

We go through this same decision making process every Halloween. I reminded him that making his derby car was kind of like deciding on a Halloween Costume, if he sticks with Boy Scouts, he will have another opportunity next year. Like his costume, we decided that his car needed to be an alligator.

Dane drew the outline and Allan helped with the cutting. Dane was going to do some of the cutting himself but decided that he wanted to get a little bit more practice in with the saw. Dane did however sand and stain the gator himself. He helped to drill the holes for the penny weights and googly eyes. (We used the stain we made from The Markers that Don't Work).

We also put together the shelves Dane has been working on for his cousins. One of them is a house shelf.

And... the other one is a barn shelf. (Don't zoom in and look too close... ) The shelves are functional, we have a long way to go before our work would be "professional, but we're practicing!

Dane's alligator car is also ready to race! I don't think it is going to be a year before he starts working on some of his other designs. A year is just way to long to wait!

Comments