
This year, we decided to make some silhouette ornaments out of some of the wooden cookies we have been cutting.
 First, we took our photos in front of our felt flannel board. You could do this in front of a solid color background blanket/sheet.
 We printed them on plain copy paper in black and white. Then, cut out the silhouettes.
 We colored them solid black with permanent markers.
 The children sanded both sides of their wooden cookies.
 Then they stained the cookies with the dye we made with the "Markers That Don't Work."
  After the dye dried, we covered the cookie with a layer of glue (If your glue is too thick, add a little bit of water to it or use Modge Podge).
 Carefully put the silhouette on the cookie, and then.....
 Cover with more glue. Wait for it to dry and add more layers of glue until the cookie has a nice glazed look to it.
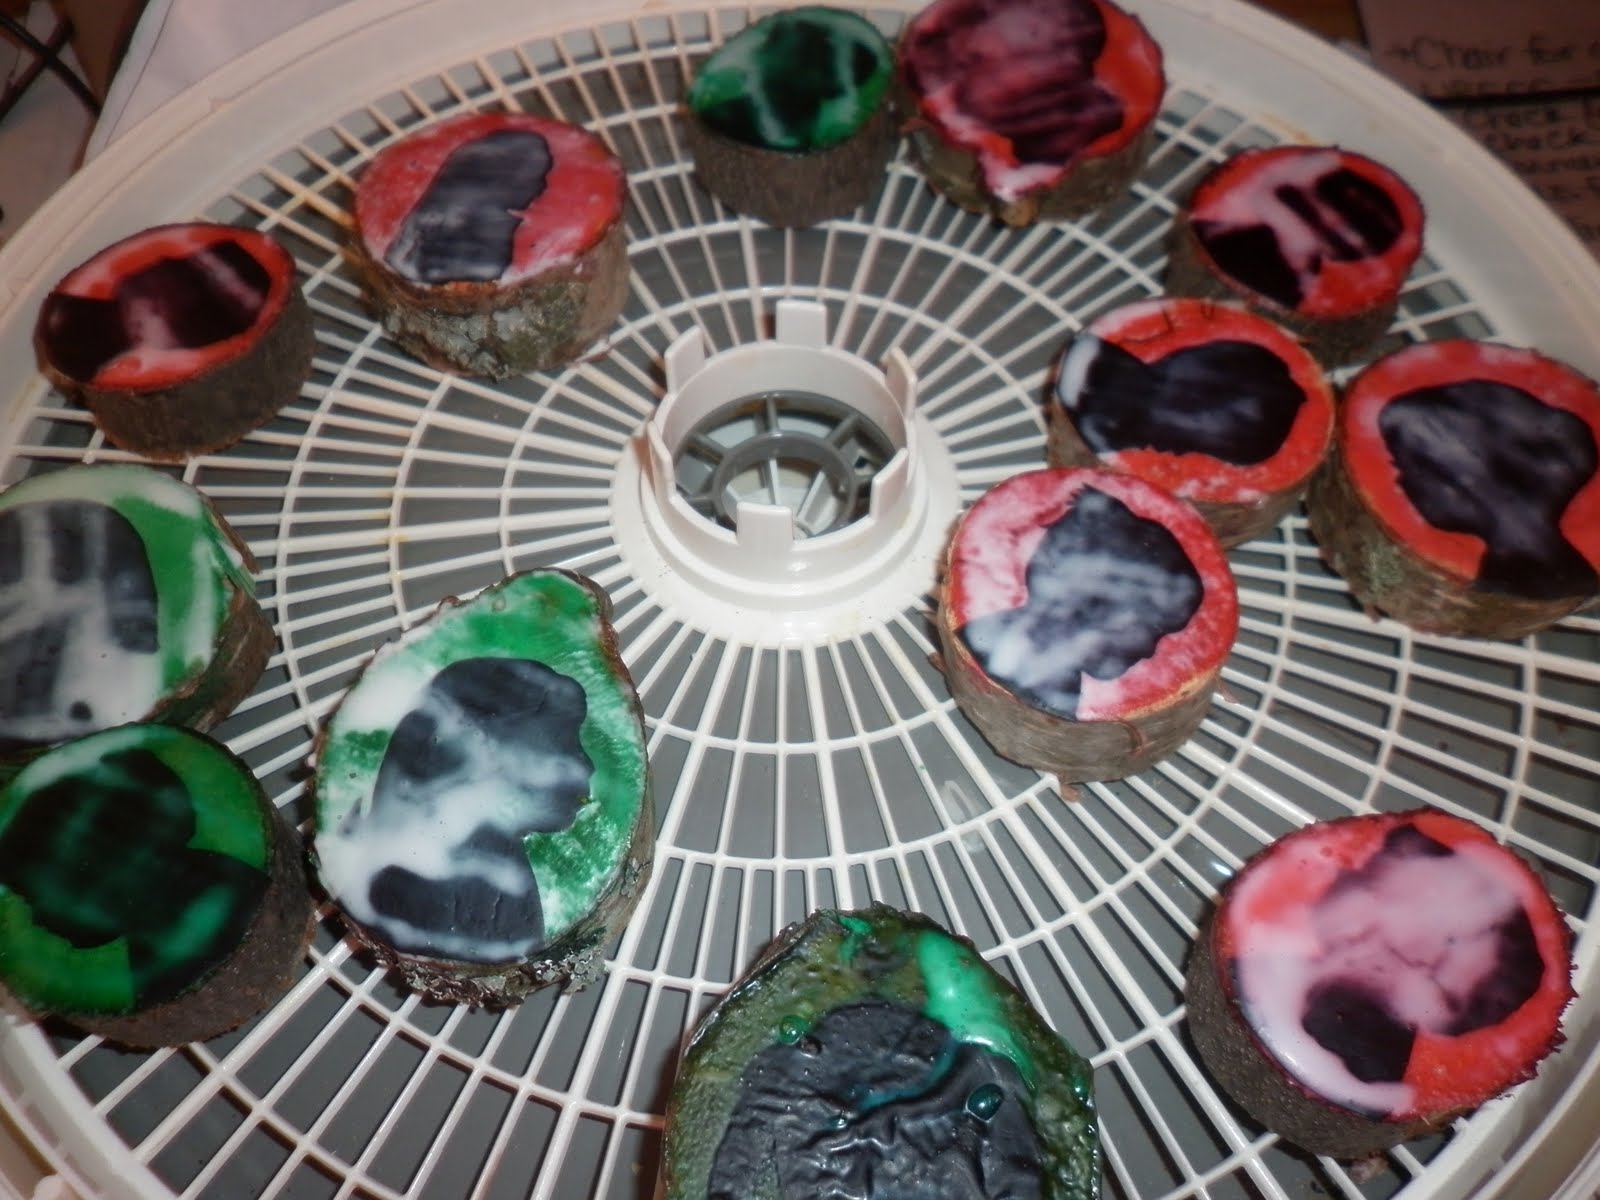 If you are impatient or are on a time crunch, you can do what we did and dry them in a food dehydrator.
I don't have any photos of the final product, but we drilled holes in them and hung them with ribbons. Each one was carefully labeled with the child's name and year on the back.
Happy Holidays!
I am now on vacation until January 3. I anticipate taking some time to blog while in Denmark, but I'm not promising that it will be frequently!
Comments
Great idea!