

If you have been following along on our journey, you know that Dane has opted to add Art History to his curriculum this year, and we tend to focus on that every Thursday. (It is abundantly clear that all of the subjects are interwoven, but we tend to start with a focus and add all kinds of other aspects into that focus each day.) Today, we started to look at Frescoes.
Many artists throughout time have used a Fresco technique in their work. Our focus today was on the Minoan Frescoes. If you are not familiar with the technique, artists used pigments on wet plaster to create their works of art on a wall. As the plaster dries it soaks up the pigment and the work of art is then part of the wall.
Being that this was our first attempt at creating a Fresco, we opted to make ours on a cardboard/plaster canvas instead of on the wall. However, don't be surprised if you see a post in the future where we put this technique to use on the walls!!!!
 We started with some cardboard pieces taken from our recycle bin. We just happened to have some cracker boxes in our stash today.
 Then we mixed up a batch of Plaster of Paris, and spread it on the cardboard. (I opted to put it on the colored side, but if your children dig down into the plaster, you might prefer it to be on the solid side as some of the color has the potential to show through.)
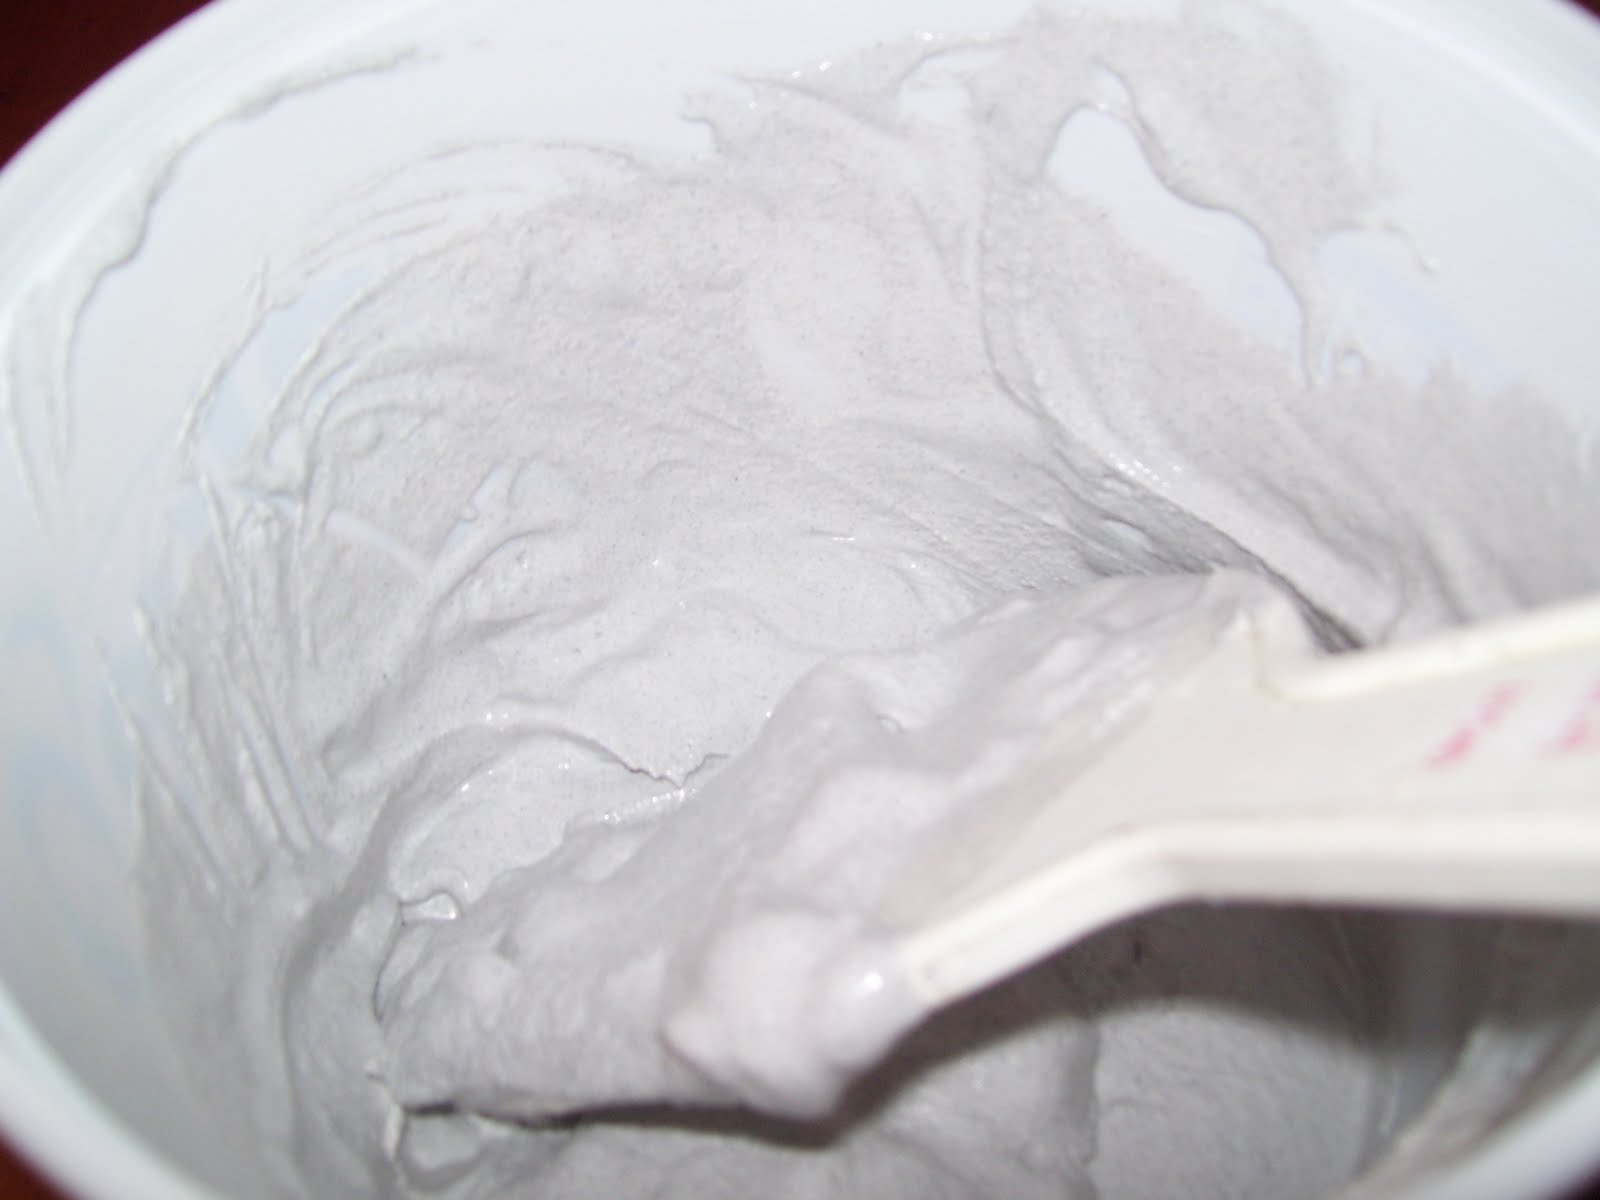 Finally, it was time to paint while the plaster was still wet.
 We had a wide variety of color choices, but only a small amount of each color. (Our wonderful paint pallets are from Toffifay candy. We recycle a lot around here ;).
 The children really spent some time exploring this new medium, I have a feeling it is one we will be revisiting often.


If you are interested in some of our other art history projects, you may want to look at these:
Cave Paintings
Mummy and Decorating a Sarcophagus (Part of a longer post)
Comments