
Our outdoor area is going through a HUGE transformation. If you remember from last week, we moved all of the equipment off of the sandbox. This was for a couple of reasons. First, we needed to shift the sand. Secondly, we have been having a problem with some wasps trying to build their homes in the climber. So, we have opted to keep the equipment stored away for awhile and utilize our open sand area!
One great idea I found while reading comments on Teacher Tom's blog about pendulum painting was that Sherry and Donna from Irresistible Ideas for Play Based Learning had used the pendulum with sand. What a brilliant idea! So, we moved our giant pendulum to the sand pit! (Along with our sensory salts and some colored sand. We used our salts for quite some time inside, and rather than throwing the salt out, we used it in the sandbox).
 As you can see, the use of the pendulum in the sandbox prompted great teamwork.

 The patterns the sand and salt made were not as evident, but this activity, like most has nothing to do with the "product." It is all about the process......


If you missed our other pendulum activities, please make sure to check them out:
When Monster Pendulum Meets Sidewalk Paint
Pendulum Painting
One great idea I found while reading comments on Teacher Tom's blog about pendulum painting was that Sherry and Donna from Irresistible Ideas for Play Based Learning had used the pendulum with sand. What a brilliant idea! So, we moved our giant pendulum to the sand pit! (Along with our sensory salts and some colored sand. We used our salts for quite some time inside, and rather than throwing the salt out, we used it in the sandbox).
 As you can see, the use of the pendulum in the sandbox prompted great teamwork.
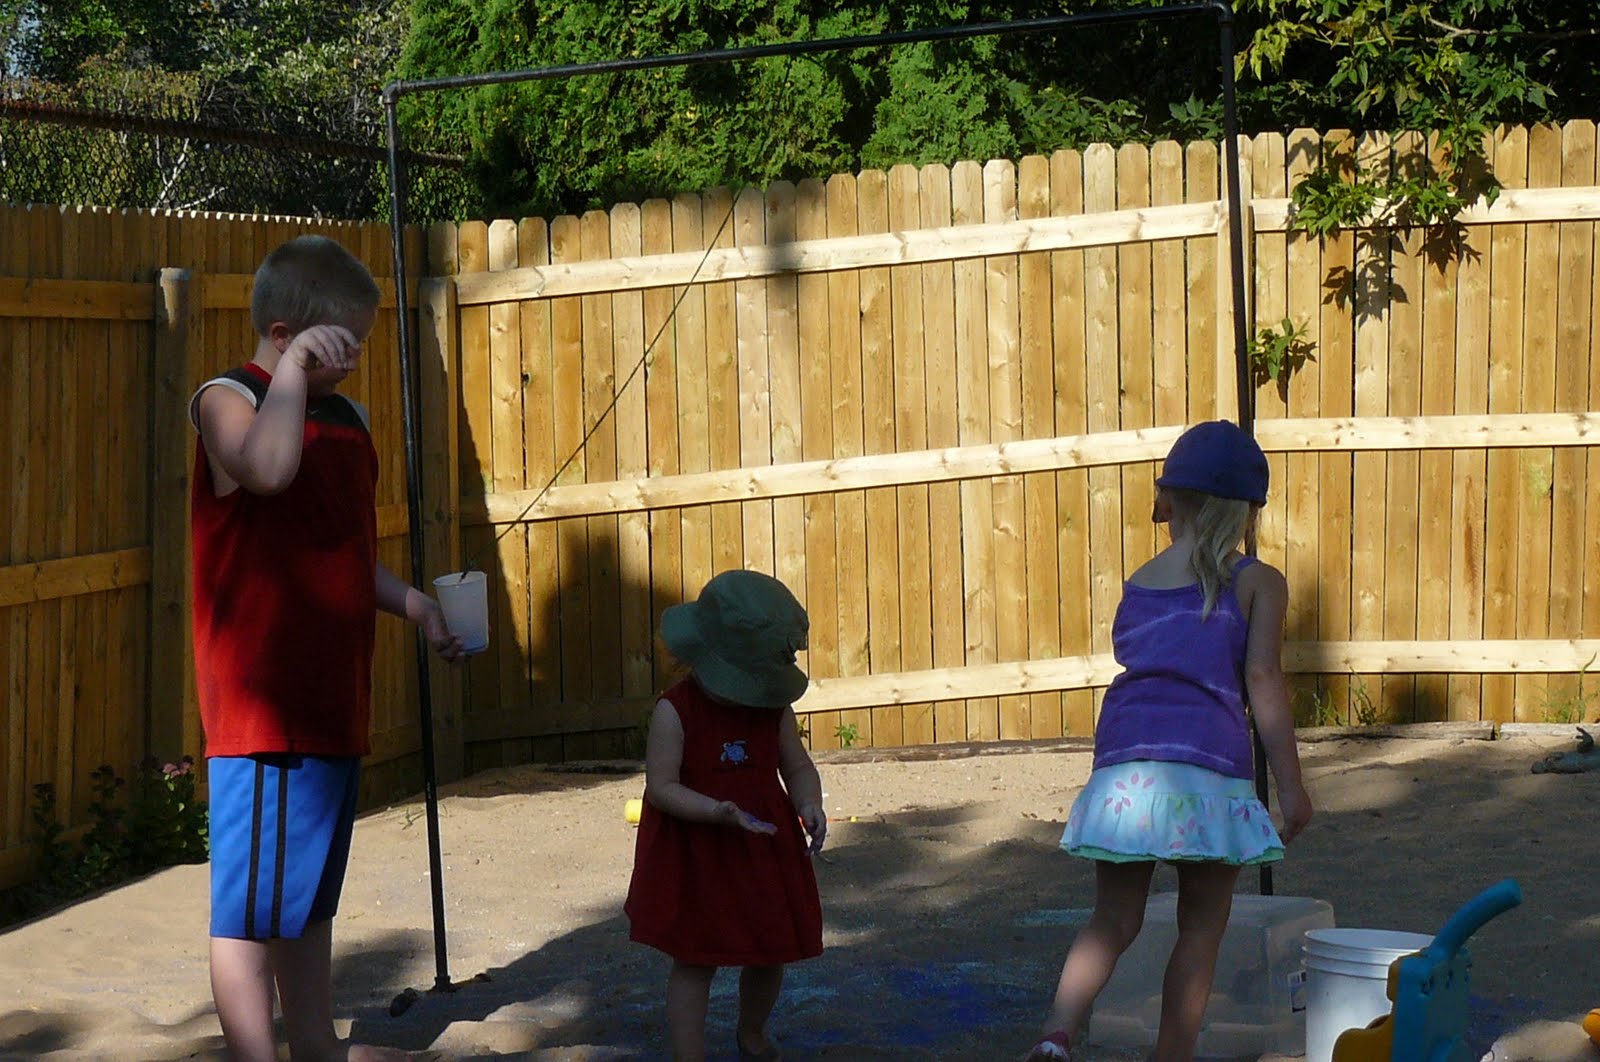
 The patterns the sand and salt made were not as evident, but this activity, like most has nothing to do with the "product." It is all about the process......


If you missed our other pendulum activities, please make sure to check them out:
When Monster Pendulum Meets Sidewalk Paint
Pendulum Painting
Comments