
 Dane made a decision that he wanted to learn more about Art and Art History this year. So this week, we started to learn about cave paintings. We read a couple of books from the library, and we looked at a lot of cave paintings online.
One of the books we read a section of is:
Cave Paintings to Picasso (The inside scoop on 50 Art Masterpieces) by Henry Sayre
We found a large collection of cave paintings while researching the internet here:
Wikipedia has a great collection of works of art here.
It was interesting to see the different paintings from different places around the world. After looking at so many great works of art, it was time to create our own. Dane thought it would be fun to do as a group project, so that is what we did.
First, before you can do any cave painting.... you have to have a cave. (We thought about a real one, but then decided real caves could be pretty dangerous and we didn't have on right in our backyard, so we made one instead..._
 We started with our trusty PVC pipe building kit. We made what kind of looked like a dog house. We had fun sitting in it.
 Then we made the walls of the cave. We took brown paper grocery bags with the bottoms cut out and a slit made down the side to make a long rectangular piece of paper. We talked about how cave walls would look and feel like. We didn't think that they would be very flat or smooth like the paper was, so we each took turns crunching and crushing the paper until it looked like this:
 Then we took the paper and taped it to our PVC pipe form to make a cave. Our form required that we use 4 grocery bags. We didn't want to make our cave too big, because it said that the caves weren't very tall and most of the painters had to crawl into the caves and l sometimes lay on their backs in order to paint on the walls. We wanted to try that too, so we made sure our cave wasn't too big.
 (If you notice, we rounded the top of the cave instead of having it come to a point like our form did.)
 Now, that we had a great little cave, it was time to make our paint. We learned that most cave paint was made from pigments and animal fat. Pigments could come from a lot of different things, but was most often different colored sands or clay. So, we went outside to see if we could collect different colored sand....
 We put a scoop of sand into a small zipper bag, and hunted until we found 3 different colors of sand.
 Then we brought the sand inside and mixed it with a couple of spoons of Crisco. Crisco isn't animal fat, but we thought that it might work anyway.
 We sealed the bag and then we worked together to squish and pound the sand and the Crisco together.
 Finally, when it was mixed really well, we turned the bags inside out on a plate and ta.. da.. cave paint!
 I also burnt the ends of some sticks we found at the playground. (I carved the ends to a point first, and did this part while there were no children in care.) In one of the books we read, it said that sometimes cave paint was made my mashing burnt wood and adding it to animal fat. I decided to let the children use these utensils to draw with instead of mashing the burnt wood.
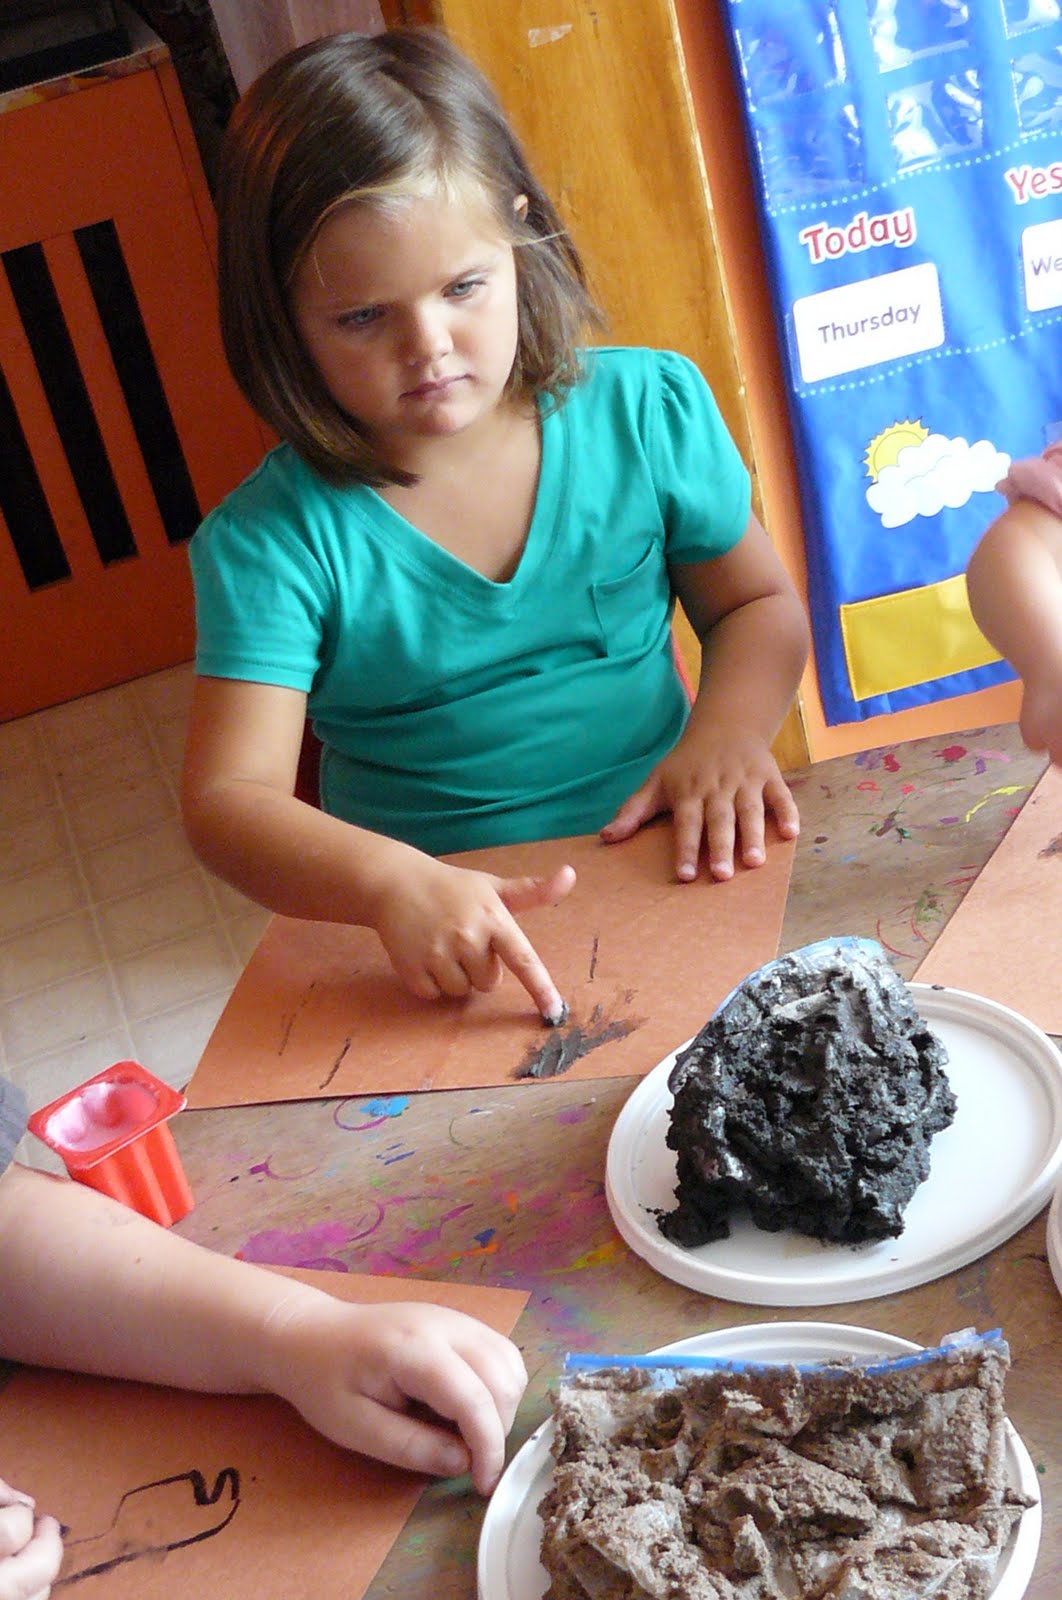
 Because the cave was so small, we decided to try some of the paint and burnt wood on some brown paper at the table until it was our turn in the cave. The paint has a very interesting texture; it was greasy and gritty at the same time. We also found that the sand from the sandbox did not work as well as the dirt we found in other places.
 When it was our turn, we had an opportunity to paint in the cave. It was hard to paint when you were on your back, but it was fun to try.
 After we were done with the cave paints, we moved the cave to the play area along with the markers so the could continue to explore with cave "drawings"
 Perhaps we will add more options for our cave as time goes on. Regular finger paints or tempera paints may be next on the agenda. It is fun to explore the different mediums and compare how different the results and process need to be. (I imagine that tempera will be quite messy :). I can't wait to try!)
I linked this post up at:


Comments
BTW..I am a new follower from the blog hop. Nice to meet you! :-)
http://txbramletts.blogspot.com