
On Monday(Social Science).........

 We learned about pirates. We made these really cool pirate swords that we found through this post at Filth Wizardry. (The instructions are actually posted on Alphamom).
On Tuesday (Science) ......
 We made a really cool worm farm. You can see the full post of our worm activities here.
We also did some chemistry, (Dane wanted to blow things up, so inspired by Teacher Tom, we did...)


On Wednesday (Danish Day)........
 We played animal hotel. Dane remembers his numbers to ten now:
1-en
2-to
3-tre
4-fire
5-fem
6-seks
7-syv
8-otte
9-ni
10-ti
He also remembers a lot of basic sayings, colors, and animals.
On Thursday (Art History)..........
 We learned about the Egyptians, and the art that they made for the dead. One of the books we have been using that has been FANTASTIC is From Cave Paintings to Picasso. We read about King Tut and saw how his sarcophagus was decorated.) We made our own mummy. (This great kit pictured above was our starting point. Unfortunately, I don't think you can buy this exact kit anymore. We saved the original mold and the sarcophagus pattern.)
 The mold uses plaster of paris and gauze.
 Then while you are waiting for your mummy to dry, you can decorate your sarcophagus. In our studies we learned that the Egyptians only had red, blue, yellow, and green. (They also had browns and blacks). So, Dane kept his coloring to those selections.
 When the mummy was dry and sarcophagus was complete, we placed the mummy inside.
On Friday (Math Day).......
 Dane had an opportunity to try some math with Legos. I ran across this REALLY COOL Lego Unit, and we built off of it..... Dane had fun estimating, sorting, counting, and graphing his legos.
 All of these things were review for him, but is is good to review once and awhile :). We also used Legos to talk about multiplication and practice a few basic multiplication facts. (This is also included in the unit.)
Here are a few other things we tackled this week:
 We started to talk about our city and state as part of a post card exchange we are going to do. You can learn more about that by clicking here.
Dane has been making a picture/word journal almost every night he draws a picture and writes something about his day. He is continuing to read The Magic Tree House series. Some of the other books we have read this week are:
Diary of a Worm
Wonderful Worms
How I Became a Pirate
Pirate (DK Eye Wonder)
This post was shared on
http://www.weirdunsocializedhomeschoolers.com/2010/09/weekly-wrap-up-one-with-birthday.html

 We learned about pirates. We made these really cool pirate swords that we found through this post at Filth Wizardry. (The instructions are actually posted on Alphamom).
On Tuesday (Science) ......
 We made a really cool worm farm. You can see the full post of our worm activities here.
We also did some chemistry, (Dane wanted to blow things up, so inspired by Teacher Tom, we did...)


On Wednesday (Danish Day)........
 We played animal hotel. Dane remembers his numbers to ten now:
1-en
2-to
3-tre
4-fire
5-fem
6-seks
7-syv
8-otte
9-ni
10-ti
He also remembers a lot of basic sayings, colors, and animals.
On Thursday (Art History)..........
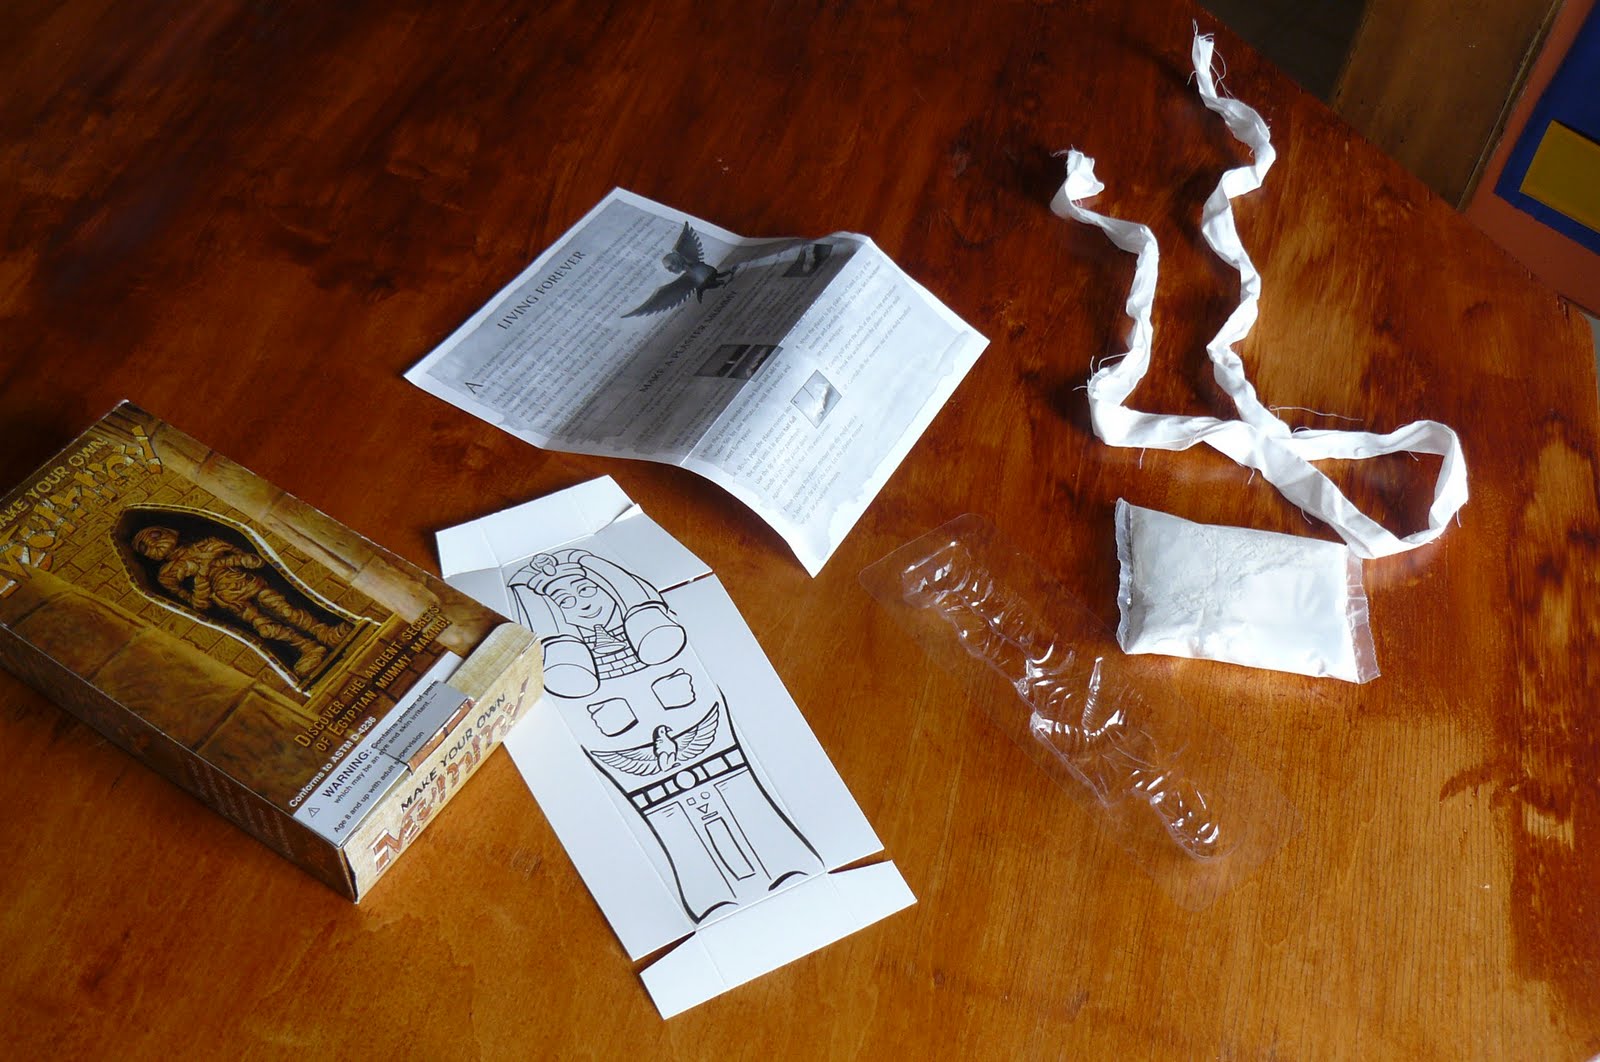 We learned about the Egyptians, and the art that they made for the dead. One of the books we have been using that has been FANTASTIC is From Cave Paintings to Picasso. We read about King Tut and saw how his sarcophagus was decorated.) We made our own mummy. (This great kit pictured above was our starting point. Unfortunately, I don't think you can buy this exact kit anymore. We saved the original mold and the sarcophagus pattern.)
 The mold uses plaster of paris and gauze.
 Then while you are waiting for your mummy to dry, you can decorate your sarcophagus. In our studies we learned that the Egyptians only had red, blue, yellow, and green. (They also had browns and blacks). So, Dane kept his coloring to those selections.
 When the mummy was dry and sarcophagus was complete, we placed the mummy inside.
On Friday (Math Day).......
 Dane had an opportunity to try some math with Legos. I ran across this REALLY COOL Lego Unit, and we built off of it..... Dane had fun estimating, sorting, counting, and graphing his legos.
 All of these things were review for him, but is is good to review once and awhile :). We also used Legos to talk about multiplication and practice a few basic multiplication facts. (This is also included in the unit.)
Here are a few other things we tackled this week:
 We started to talk about our city and state as part of a post card exchange we are going to do. You can learn more about that by clicking here.
Dane has been making a picture/word journal almost every night he draws a picture and writes something about his day. He is continuing to read The Magic Tree House series. Some of the other books we have read this week are:
Diary of a Worm
Wonderful Worms
How I Became a Pirate
Pirate (DK Eye Wonder)
This post was shared on
http://www.weirdunsocializedhomeschoolers.com/2010/09/weekly-wrap-up-one-with-birthday.html
Comments
I love those swords too, but I have had the chance to try them out.
Thank you for posting the "bomb" video. It is remarkable how universal our responses are to these small explosions -- expressions of surprise followed by laughter, then a discussion of what happened. There is something literary about is, like a the classic catharsis of Greek drama.
What a great week you had! I have been looking at that lego unit study as well- it is amazing how creative some moms are! I am going to have to follow your "blow things up" links- I have a ds who loves to make explosions, but I don't usually encourage it. :) Actually, sometimes I do. ;)
Love your profile pic. :)
Thanks for the comment on my blog! Em had her times tables down last year after almost an entire YEAR of different methods. Now I see they didn't stick very well - so we're going backwards. *sigh* Thanks for the Lego idea - I know my son has a bunch of them!
BTW I have two other children, both who have "math brains" - they got it from their dad - as I have no "math brain" either! LOL
Sherry