
We've Gone Catapult Crazy!!!!


Earlier this week, we started to make a few catapults after reading this wonderful post over at All Things Beautiful. They found the idea from Almost Unschoolers (click here). I love all of the online tweaking and inspiration going on!!!

Our first group of builders this week decided that they wanted to decorate their catapults with paint. So, of course, we had to wait for the paint to dry before we put them together. We used scraps of wood, clothespins, plastic lids (from milk, juice... etc), and tongue depressors. We also used hot glue to put them together.

Our ammunition has consisted primarily of cotton balls. Although, today when a group of girls was simultaneously shooting theirs off, they became "POPPING POPCORN BALLS."


"Fire in the hole!"

Today's group of children did not want to wait for the paint to dry. They were having so much fun with the painted catapults, that they wanted their own "right now!" So, they opted to decorate/personalize their contraptions with markers.
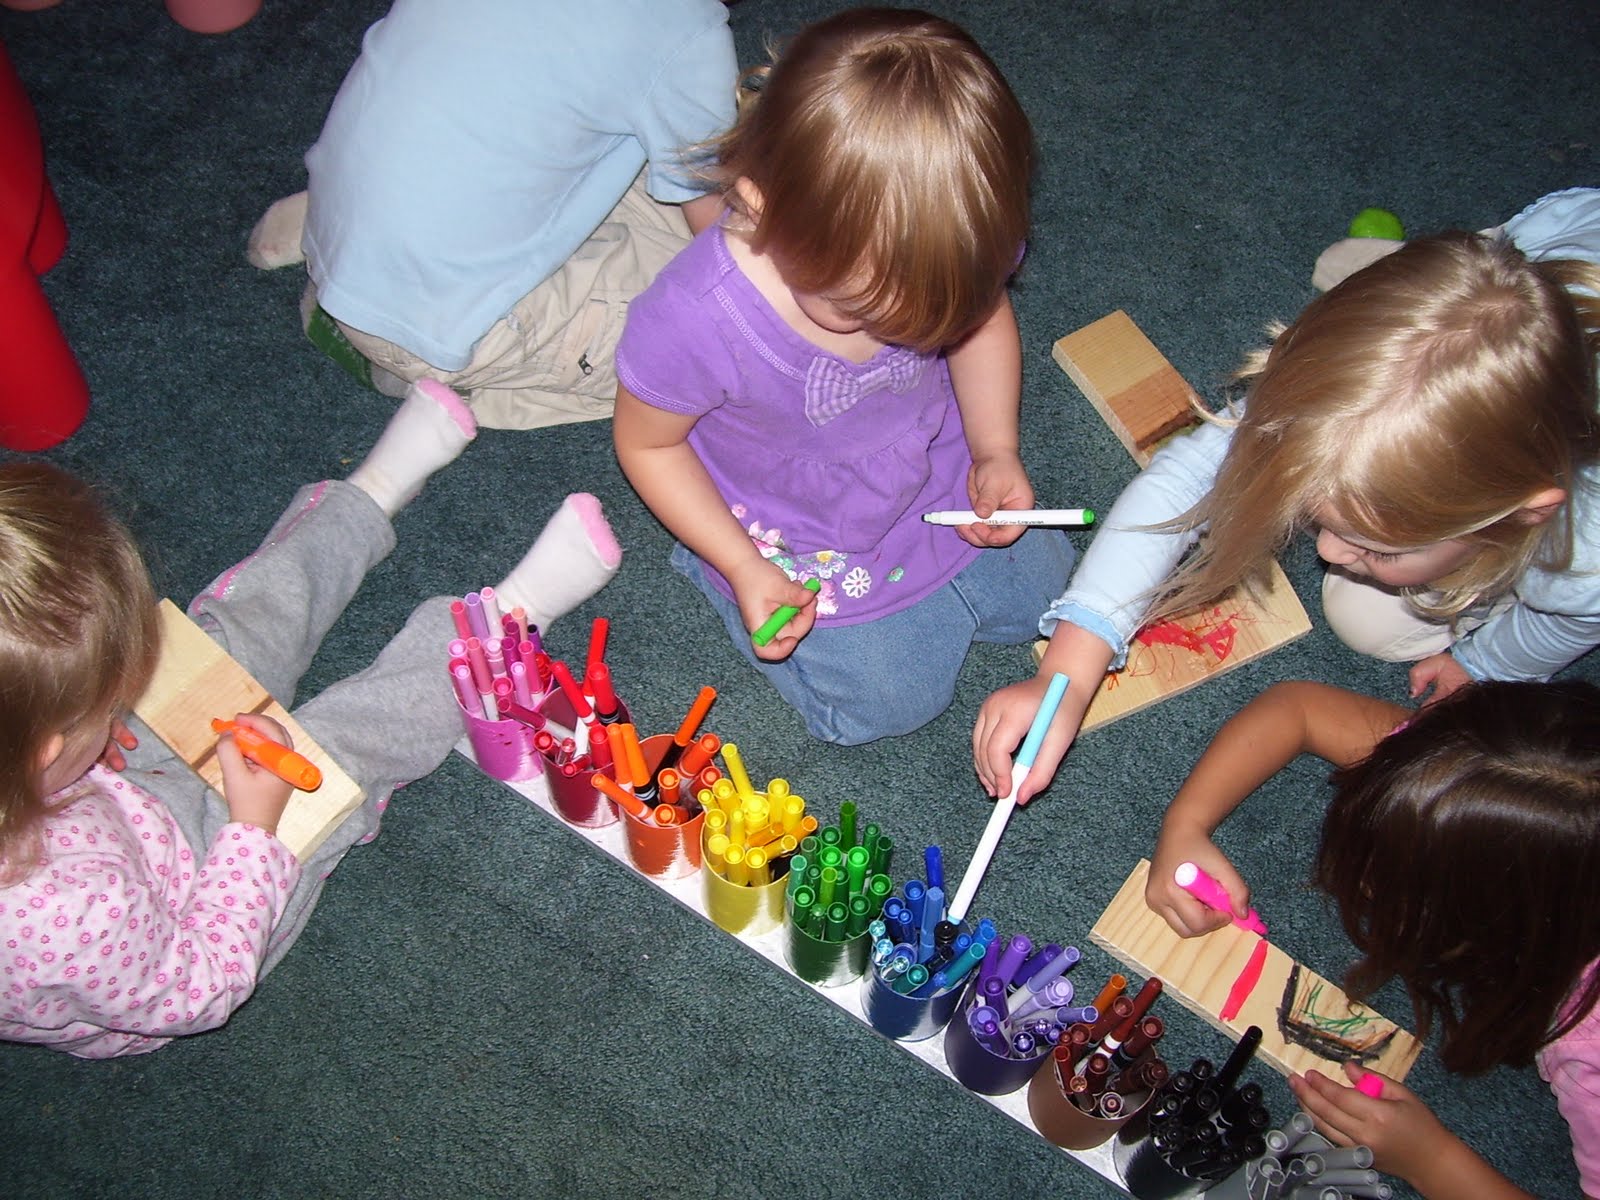
A quick set with hot glue, and they were ready to fire!


Our hula hoops hanging from the raptor's foot made a great obstacle/target to try to aim our cotton balls through.


I have a feeling we will be tinkering with a few other ideas. I found this great post about other catapult designs here. I have a feeling we will be thinking BIGGER very soon!

Comments

I know a whole preschool of kids that would go nuts for these! Thanks for sharing :)
Design It Chic said…
I am now following you thanks to New Friend Fridays, and it would be nice if you could share the love back on my blog;)
Also today we have the coolest blog hop there is... no rules just fun and would love you to join in with us at Boost My Blog Friday :) Plus, don't forget, if you need any help increasing your blog's traffic or easy blog design tutorials, you know where to come! Happy Friday!

Popular posts from this blog

A Few Ideas With Marker Caps (As Promised)

Yesterday, I hope I convinced you not to throw away your markers that "don't work." Today, I will share with you a few ideas for what to do with all of the caps. The possibilities are nearly endless, but here are a few of our recent creations: 1) A Leprechaun/Fairy Ladder/Rope Ladder: 2) #1 if not permanently secured can also double as a rope bridge: 3) #1/#2 can also be made into a train track for your homemade trains :). (No photo available) 4) You can use them as beads for a necklace: 5) You could make them into a wind chime. (No photo available). 6. You can use them as small manipulatives to count, sort, and make patterns with. (No photo available). 7) You could use them as playing pieces in your own homemade board game. (No photo available). 8) You could put them on a wire and glue them in place to make a twirling whirly-gig. 9) You could top them with a lid from a milk jug to make tiny tables or toadstools. 10) You could make them...

Our DIY Light Tables

There has been a lot of buzz about light tables over at Teach Preschool on Facebook . Deborah has collected some great ideas for light table play and has been experimenting with making her own table over on the Teach Preschool blog.   I thought I would share with you our two light tables and how we made them. This first table is one that we put together with some scrap wood pieces, an old plexi-glass door from an entertainment center, and a couple of aquarium lights. Total Cost = $0. (We had everything on hand.)  The table needs a little bit of tweaking. (It is on my to do list).  Basically, we made a frame of wood around the plexi-glass and placed the lights under it. Our DIY skills in putting this together were far from expert, so the frame has a couple of gaps (and the reused wood is warped). We plan to try a new frame and use some caulk to seal any gaps.  We also plan to attach the lights to the side of the frame instead of just placing them on the f...

"The Markers Don't Work!"

How may times have you heard, "Ms. (fill your name in here), this marker doesn't work!" I know I hear it all the time. Sometimes it is because our little friends forget to replace the caps, and sometimes the markers have just been "all used up!" What do you do with all those markers that just don't work? Please don't tell me that you throw them out, try this instead: First, sort your markers out. Put the caps in one container ( save those too, I'll show you what you can do with them in tomorrow's post) and the markers in another. I have a box for the markers that "don't work" for the children to place them into every time they run across one. You can also have the children help you test the markers periodically to sort out the ones that need to be removed from the "working set." When it comes time to use "the markers that don't work," we use a small sponge paint roller to roll water onto our card...